What’s up, everyone!
Did you hear that Microsoft promoted APIs for Windows 365 into GA? This is a really cool thing because we can now manage Cloud PCs outside of Microsoft Intune or even better, use automation to perform tasks. Let’s start with a post on how to use Graph Explorer to reboot a Cloud PC.
Enjoy!
Requirements
Here are the requirements to connect to Microsoft Graph and use the Windows 365 APIs:
- Use an account with the correct permissions.
- Make sure to have a Windows 365 license available in the tenant.
- Both Enterprise and Business are supported.
- There are two API endpoints available. Beta and v1.0. I used the v1.0 endpoint.
Connect to Microsoft Graph
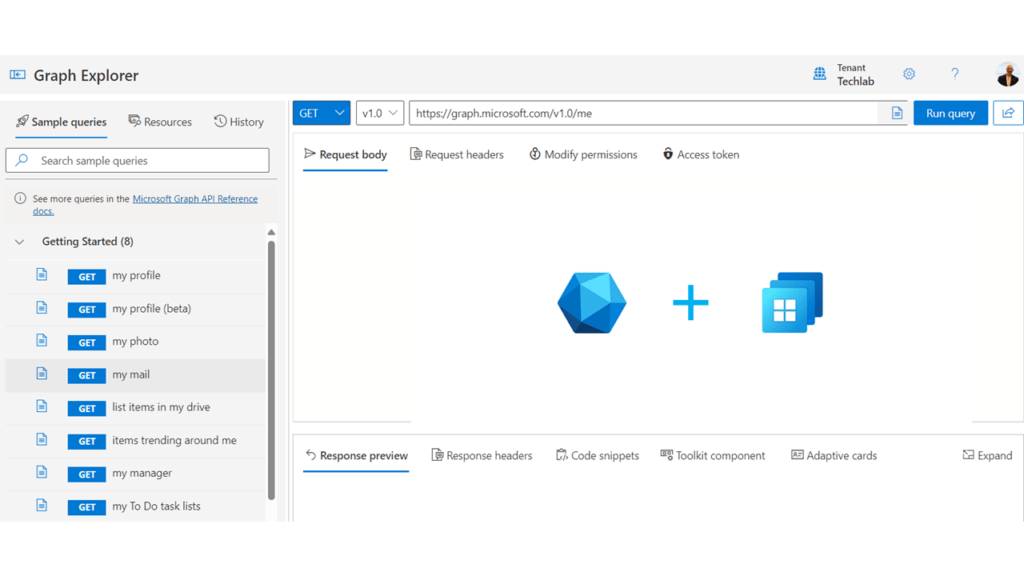
Probably the easiest way to connect to Microsoft Graph is to use Graph Explorer. This tool is accessed via a website. The following is a screenshot of Graph Explorer:
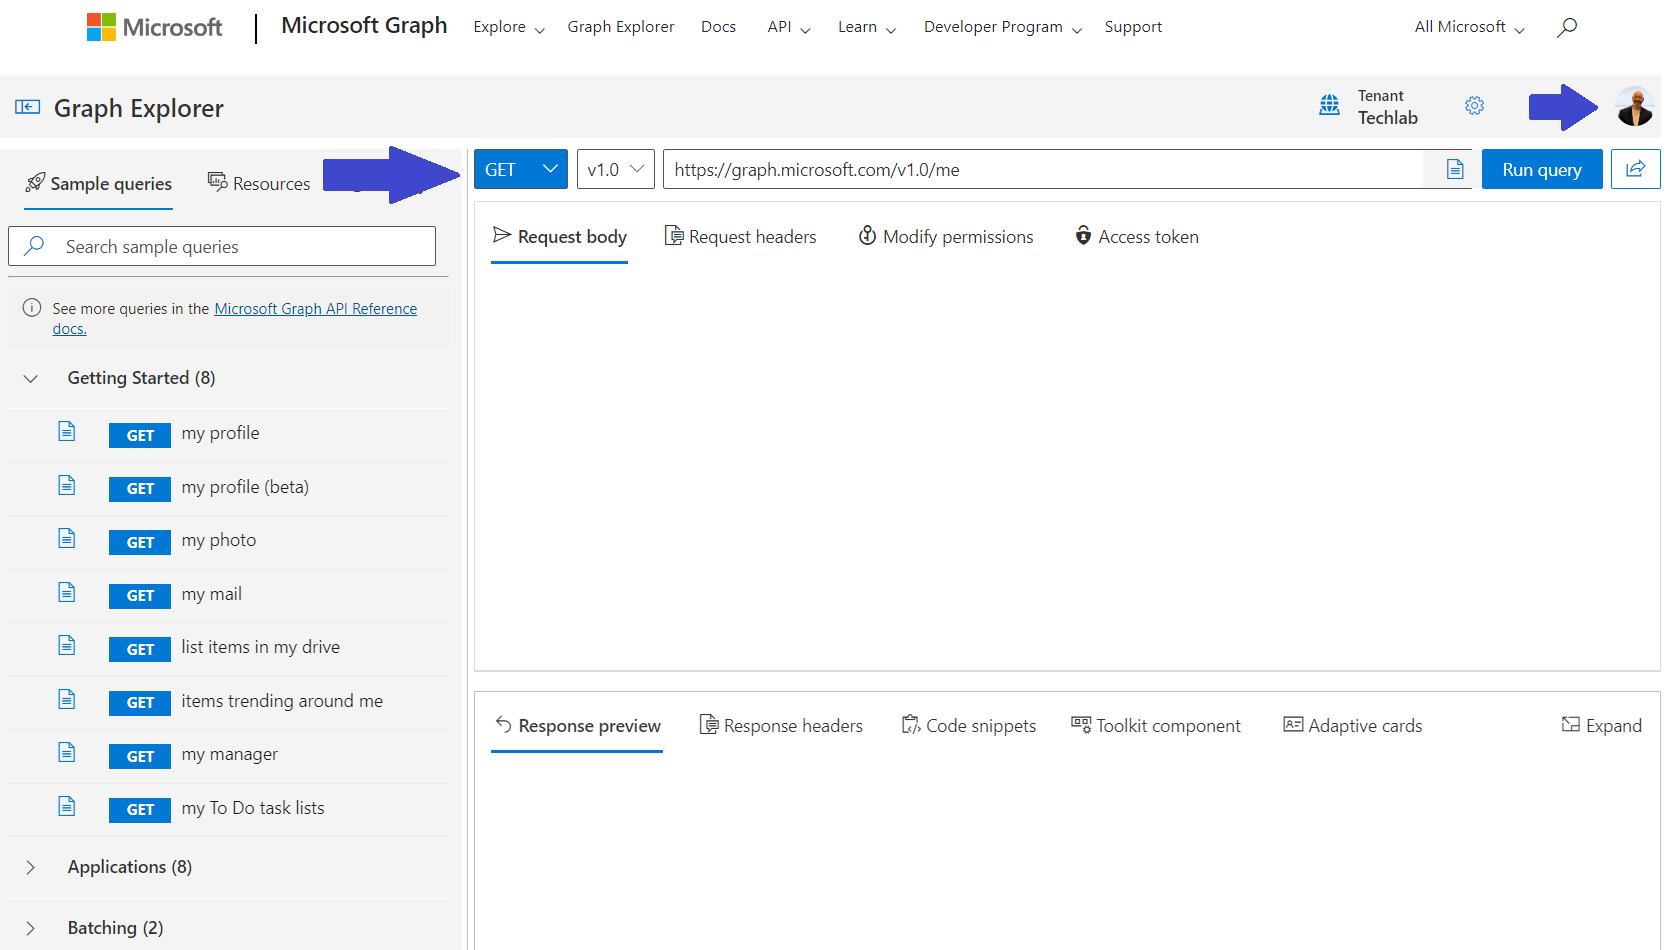
Let’s do a quick intro on the GUI if you have not used Graph Explorer before. The first thing you need to do is sign in to your own tenant. Use the profile selector on the top right hand side.
Let’s take a look at how we can perform tasks using the Graph Explorer.
Step 1: Choose the correct HTTP method.
Depending on the task that you are trying to accomplish, choose the correct HTTP method. Here is a quick overview for your convenience:
- Get: Read data from a resource.
- Post: Create a new resource or perform an action.
- Patch: Update a resource with new values, or upsert a resource. (*)
- Put: Replace a resource with a new one.
- Delete: Remove a resource.
* Yes, you read that correct! Upsert! That’s a thing, or two things actually. It combines update and insert into one word. So update if the resource exists or insert if the resource does not exist.
Step 2: Select the desired API endpoint.
Select either v1.0 which is in GA or Beta. I’m using the v1.0.
Step 3: Enter the HTTP request with the necessary information.
This is the place where you paste your HTTP request with all the information necessary to get information about an object or change information. What you enter here all depends on the task you are trying to accomplish.
This concludes the very short introduction to Microsoft Graph. Let’s use it to get some information about Cloud PCs now that we are connected.
Use GET to get information about a Cloud PC
So how can we get information about HTTP requests? Well, Microsoft has got you covered! There’s a good description here. We can see that there are APIs for:
- List CloudPCs: we can use this API to get information about our Cloud PCs.
- Reboot: This is pretty obvious, right?
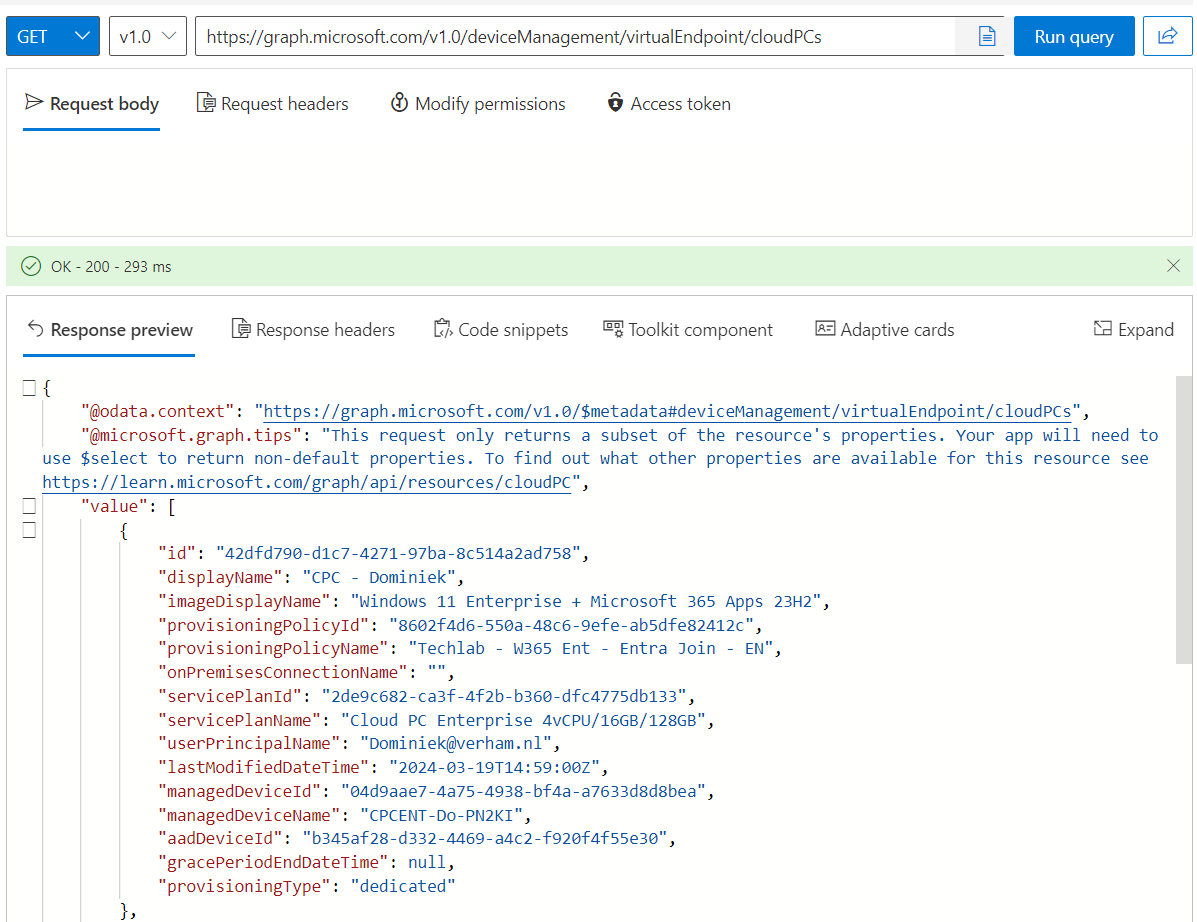
Let’s use List CloudPCs first. The HTTP request looks like:
GET https://graph.microsoft.com/v1.0/deviceManagement/virtualEndpoint/cloudPCsThis request does not need any editing so we can paste this into Graph Explorer, click the Run query button and watch the magic happen:
There you go, all the information we need to continue to the next step and try to reboot our Cloud PC.
Use POST to reboot a Cloud PC
If you look at the HTTP methods described earlier in this post, you can see that we need to use POST to perform an action. And by looking at the Reboot API, we see the following HTTP request:
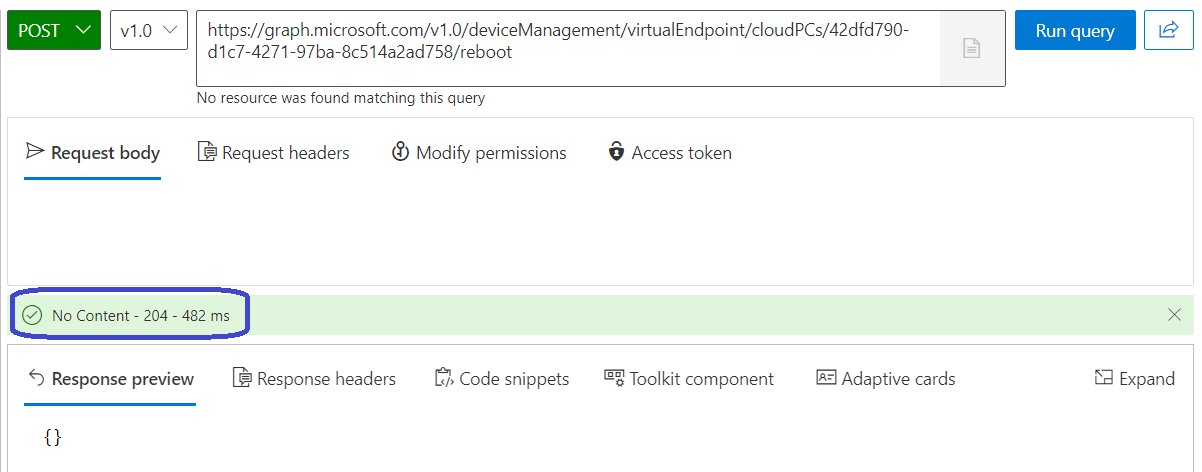
POST /deviceManagement/virtualEndpoint/cloudPCs/{cloudPCId}/rebootBut running this HTTP request will fail because we did not customize it with the ID of our the Cloud PC. Copy the ID from the information we requested earlier and complete the HTTP request. Finish up by clicking the Run query button.
So a couple of things might catch your eye in the previous screenshot:
- The “No resource was found matching this query” notification. Well, that happened when fiddling with the HTTP request and it just stayed there even when I entered the correct request.
- The “No Content” message. This actually is not an error. If you get this, everything worked out like it should.
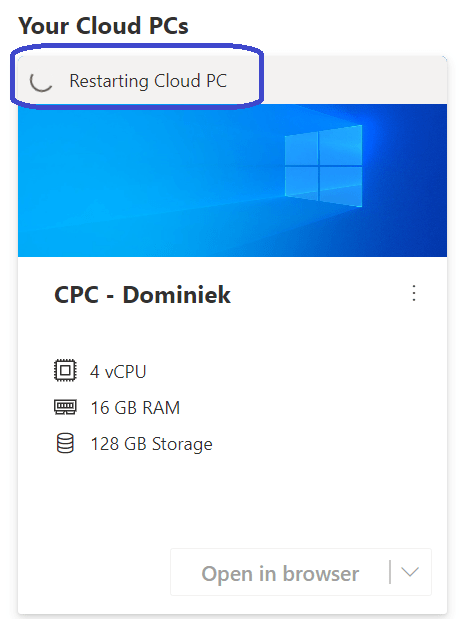
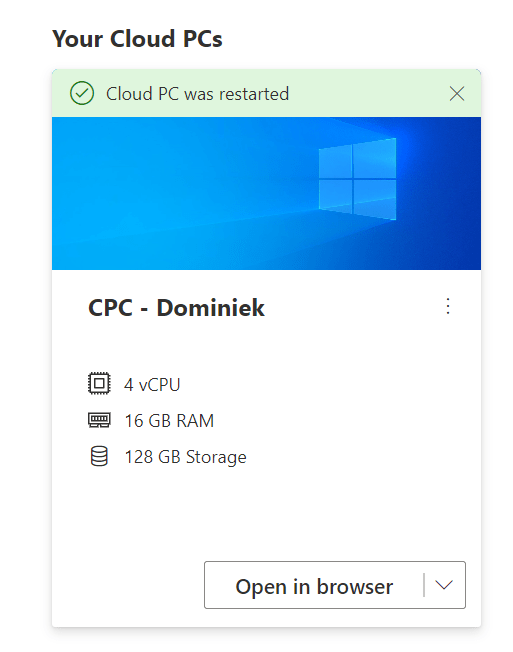
After a couple of moments I could see that the Cloud PC was back online and the reboot had completed:
That’s all there is to it to reboot a Cloud PC using the Graph Explorer.
This might be a simple example of connecting to Microsoft Graph and reboot a Cloud PC. Now imagine being able to use Visual Studio Code and PowerShell in combination with Microsoft Graph to automate the management of Cloud PCs, that’s very powerful right! I’m definitely excited to get more hands on with Microsoft Graph and I hope you are too!
Resources
I used the following resources for this post:
Announcing the general availability of Microsoft Graph Windows 365 APIs | Windows IT Pro blog
Use Graph Explorer to try Microsoft Graph APIs – Microsoft Graph | Microsoft Learn
cloudPC resource type – Microsoft Graph v1.0 | Microsoft Learn
List cloudPCs – Microsoft Graph v1.0 | Microsoft Learn
cloudPC: reboot – Microsoft Graph v1.0 | Microsoft Learn
Use the Microsoft Graph API – Microsoft Graph | Microsoft Learn

One thought on “Introducing Graph APIs for Windows 365”