What’s up everyone!
This post is part of a series about Windows 365! (Also known as Cloud PC) In this series I will explore this awesome technology. If you are curious what Windows 365 can do for you and your organization, this series might be for you!
In this post we will have a look at Windows 365 Enterprise. This solution is intended for larger businesses and enterprises. It’s fully integrated with Microsoft Endpoint Manager, supports a connection to your customers on-premises corporate network and has can be more customized to meet your customers requirements. Let’s get to it!
Series – Windows 365 with Nerdio Manager
- Part 1: An Introduction To Windows 365
- Part 2: Windows 365 Business vs Enterprise
- Part 3: Configure Windows 365 Business
- Part 4: Configure Windows 365 Enterprise
- Part 5: How To Migrate From Citrix Or VMware To Windows 365
- Part 6: Use Universal Print on Windows 365
- Part 7: Monitor And Improve Performance For Windows 365 Cloud PCs
- Part 8: Use Windows Autopatch To Keep Your Cloud PCs Up-To-Date
Prerequisites
Have a look at the requirements from Microsoft before you implement Windows 365 Enterprise.
In short, you need;
- An Azure subscription with sufficient rights.
- A Microsoft tenant.
- Ensure that Windows (MDM) platform corporate enrollment is set.
- Plan your infrastructure if you want to use Hybrid Azure AD Join.
- Have the correct licenses in place.
- Make use of MEM to configure the Cloud PC’s.
- Make sure you have the correct roles assignments.
- Choose your region and check if the region is supported for Cloud PC provisioning. (Most common regions already support Cloud PC provisioning).
Configure Windows 365 Enterprise
We can configure and manage Windows 365 Enterprise using Microsoft Endpoint Manager. Select Devices, Provisioning, Windows 365.
We can configure Windows 365 Enterprise from this blade. If you don’t see any options or get an error, you probably need to add licenses to the tenant. Once they are added, all options will appear.
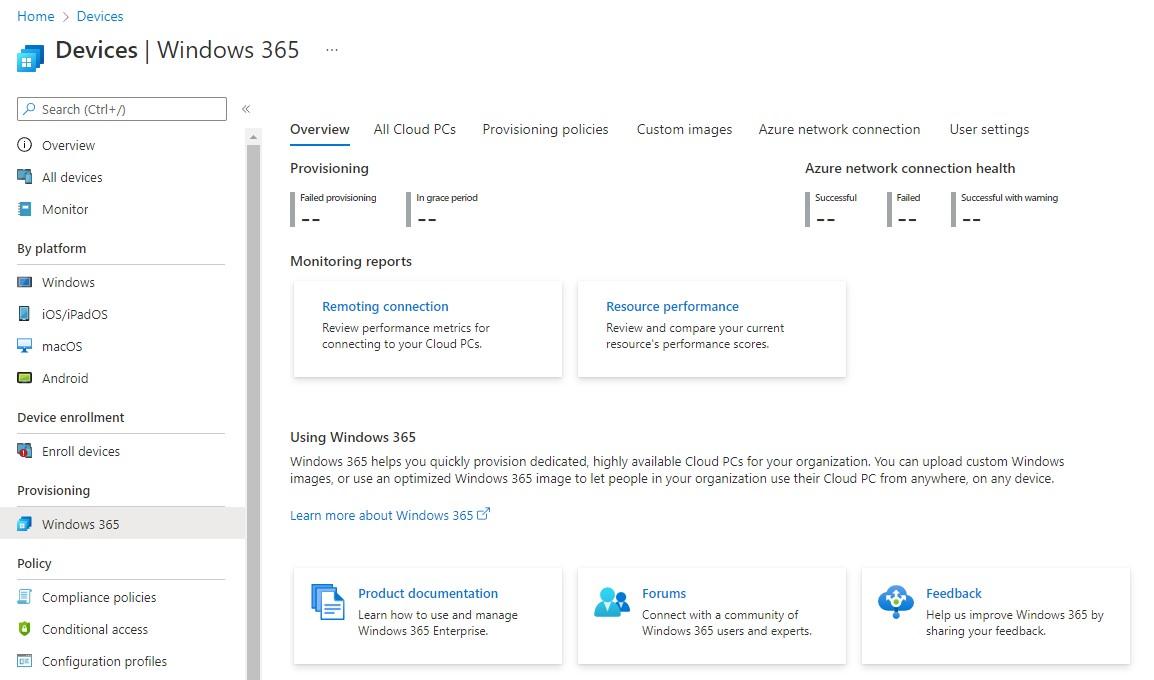
Let’s have a look at the menu items.

We have the following options;
- Overview: the overview will show you details on the provisioning status, how many Cloud PCs have been provisioned. How many have failed provisioing and how many Cloud PCs are in grace period. It will tell us if there is an issue with the Azure network connection and it has some buttons to show performance and resources performance.
- All Cloud PC’s: will show us the Cloud PCs and their status.
- Provisioning Policies: shows us the provisioning policies. I will explain more on provisioning policies later on in this demo.
- Custom images: gives an overview of available custom images and allows us to add custom images.
- Azure network connection: formerly known as a connection to on-premises resources. The Azure network connection allows Cloud PCs to be created in your organization’s Azure Virtual Network.
- User settings: shows user setting policies. I will explain more about user settings later on in this post.
Assign Licenses To Users
Let’s have a look at the options we have to assign licenses to our users;
- Direct assignment
- Group Based Licensing
To assign a license to a user via a direct assignment, just go the account of the user and click on Licenses.
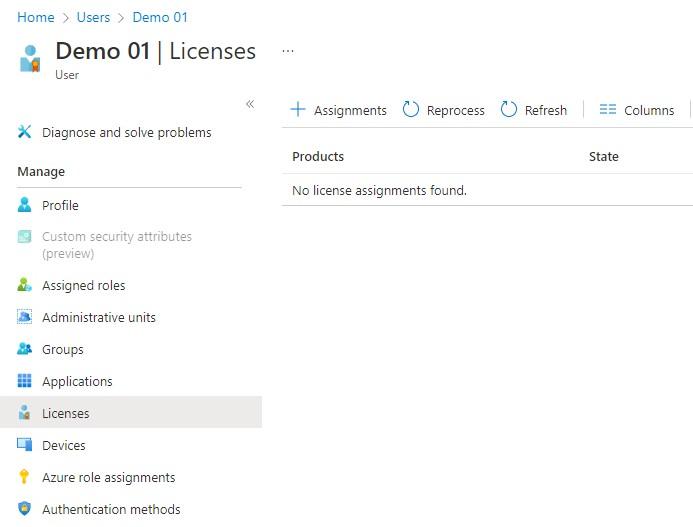
Click on the + Assignments button.
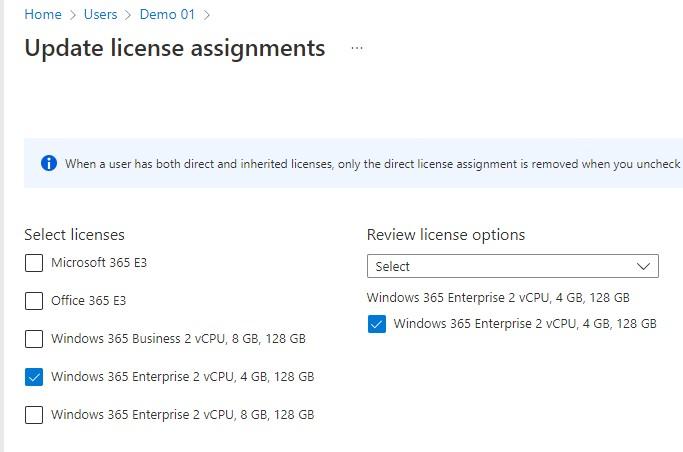
Check the box next to the license you want to add and click the save button on the bottom of the page.

The assignment path shows it is a direct assignment.
We can use group based licensing to assign licenses to users. Just create a security group and use the Licenses option to assign licenses to the group. Members of the group will automatically get the assigned license.
In my example I created a security group and named it CPC – Ent_2vCPU_8GB_128GB. From the licenses tab I added Windows 365 Enterprise, 2 vCPU, 8 GB, 128 GB.
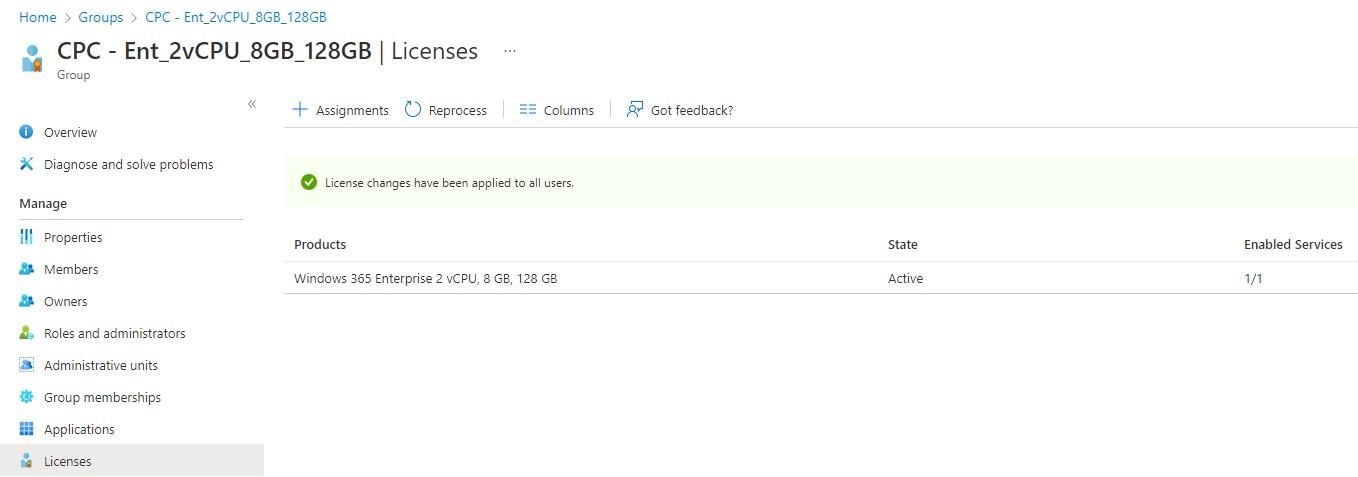
Then just add the users to the group.
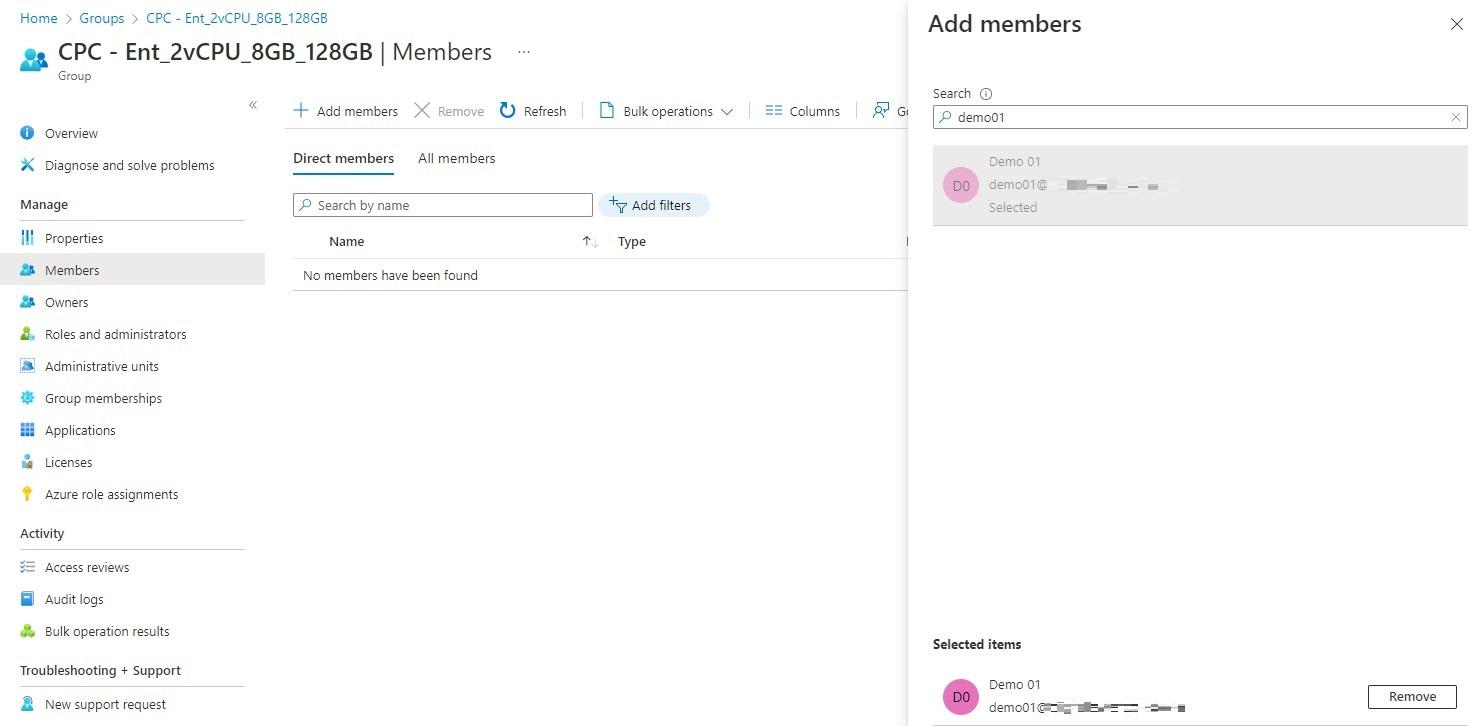
We can see the the user Demo01 is now a member of the group.

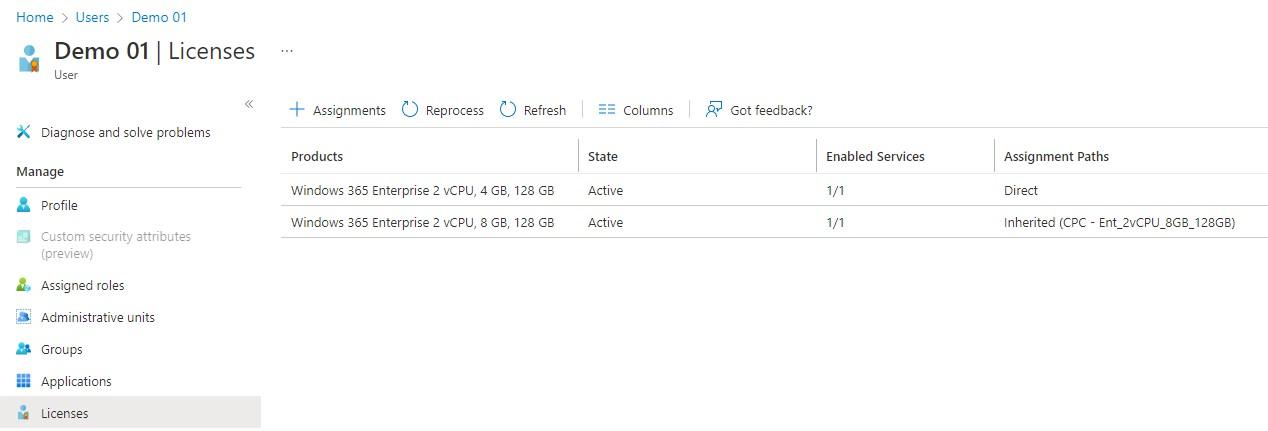
If we go back to the user account and click on the licenses tab, we can see that there are two products assigned. One already directly assigned and the other via a group.
Add An Azure Network Connection
We can connect to an on-premises corporate network if we use Windows 365 Enterprise. At this point we can choose between Azure AD Join and Hybrid Azure AD Join.
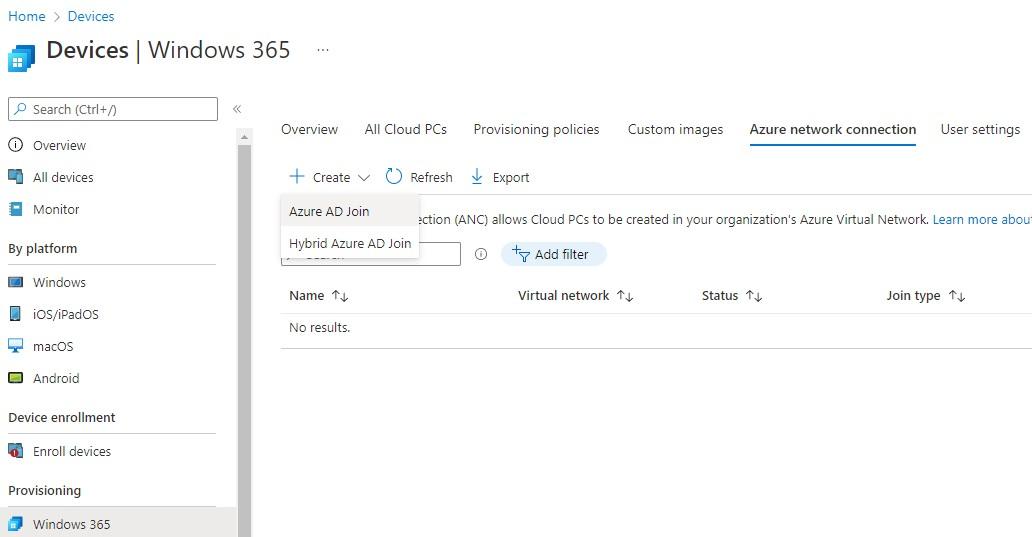
Azure AD Join
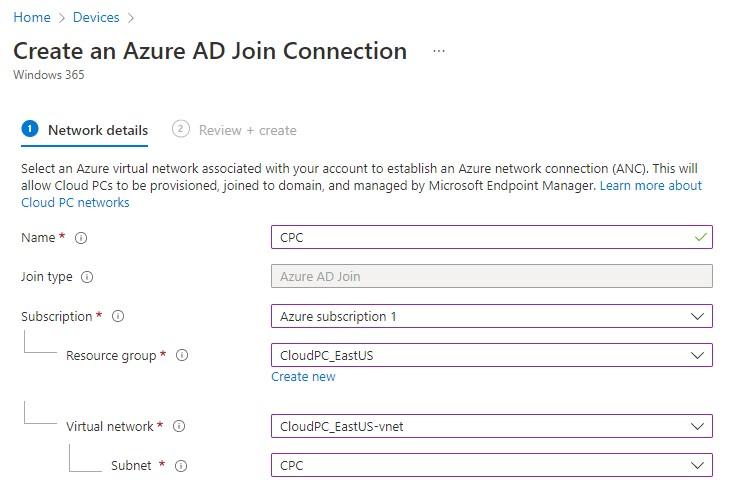
To configure an Azure Network Connection for an Azure AD Joined identity, choose create and fill in the network details.
I already created my vNET and Subnet before I started.
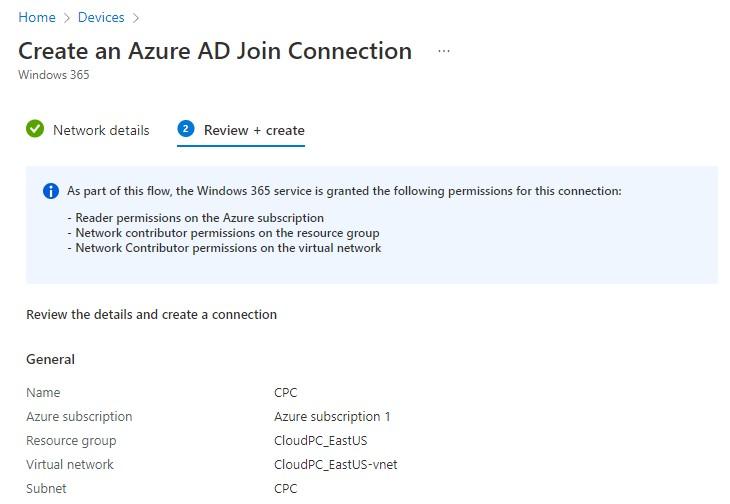
We get the message that the Windows 365 service is granted permissions for this connection. Accept and create this connection.
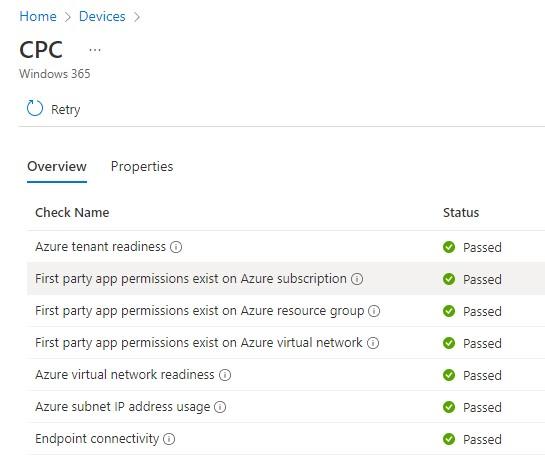
The connection will now appear on the Azure network connection tab. Windows 365 has some builtin checks to make sure connectivity with Azure AD or the on-premises corporate backend is alright. We can see the status of Running checks since we just created this connection. Wait for the status to change.

The status will change to Checks successful once all checks have completed successfully. If you want more detail on these checks, just click on Checks successful.
On the screenshot you can see that there’s a Properties tab. This will only display some basic information like;
- Name
- Azure subscription
- Resource group
- Virtual network
- Subnet
Hybrid Azure AD Join
If you want to be able to manage your Cloud PCs using Group Policy, you could decide to hybrid join the Cloud PC. This requires a ‘DNS line of sight’ to the on-premises Active Directory Domain Services. Since my lab doesn’t have a corporate network with AD DS configured, I can’t show the entire process. The process however is pretty similar but with the option to connect to your AD domain and specify an OU.
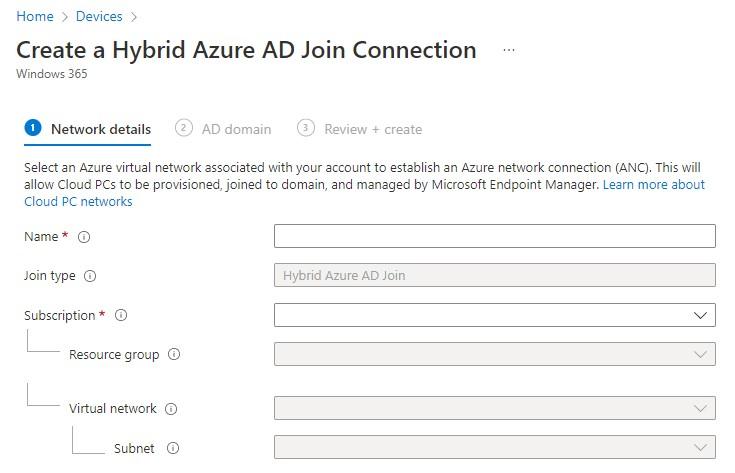
Again, Microsoft has done an excellent job of documenting the Azure network connection. Have a look at the following MS document.
If you want more detail on the health checks Microsoft has implemented for Azure network connection, take a look at this MS document.
Create A Provisioning Policy
We can use a provisioning policy to select an image (gallery or golden) and assign it to a group. This gives us some more flexibility on how many and what type of images we can use. For instance, we can use a gallery image for one department and a golden image for another department. Or use Windows 10 for a group of users that use an application that is not compatible with Windows 11, and still use Windows 11 for the other users.
I’m not saying you should go crazy on all the possibilities here, but it’s nice to be able to mix and match if the requirements demand it.
Let’s create a provisioning policy. Go to Devices, Provisioning, Windows 365, Provisioning Policies. Click on the + Create policy button.
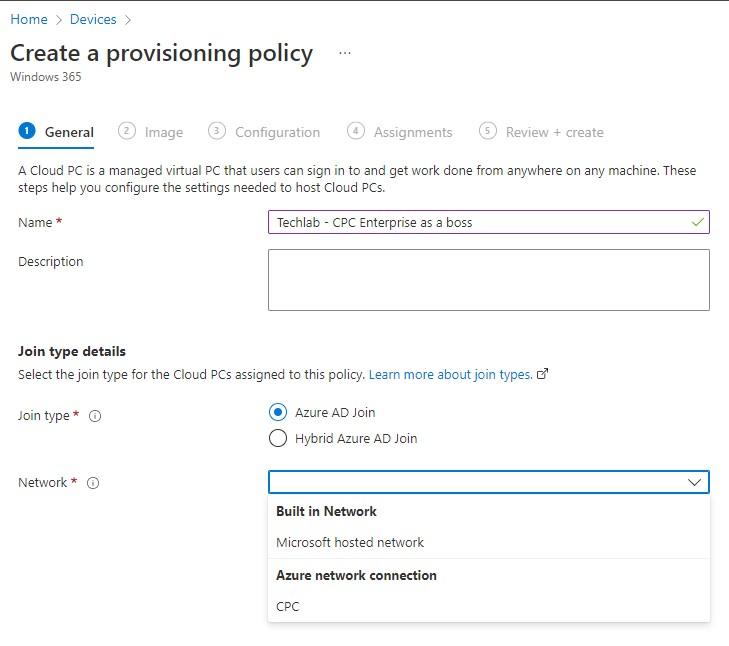
Give the provisioning policy a name and select the join type.
If you select Azure AD Join, you can choose which network you want to use. You can use the Azure network connection we created earlier. Or we can just leave the networking up to Microsoft and choose Microsoft hosted network.
If you select Hybrid Azure AD Join, you only have one choice. Select the Azure network connection which has AD DS configured.
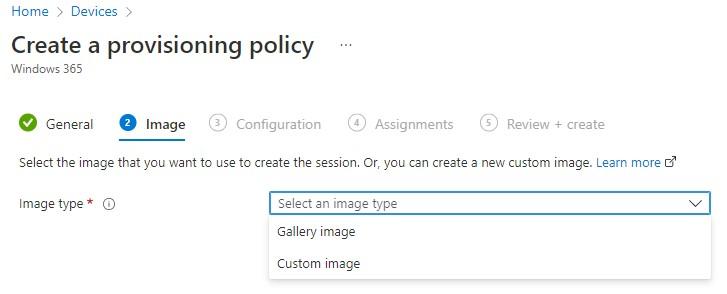
In this step we get to choose our image. Again, the gallery image is prepped by Microsoft. It has optimizations for Teams and has the Microsoft 365 Apps installed.
We can also choose a custom image (or golden image) if we have one. At this point, I did not create one yet. I will come back to this on a later post.
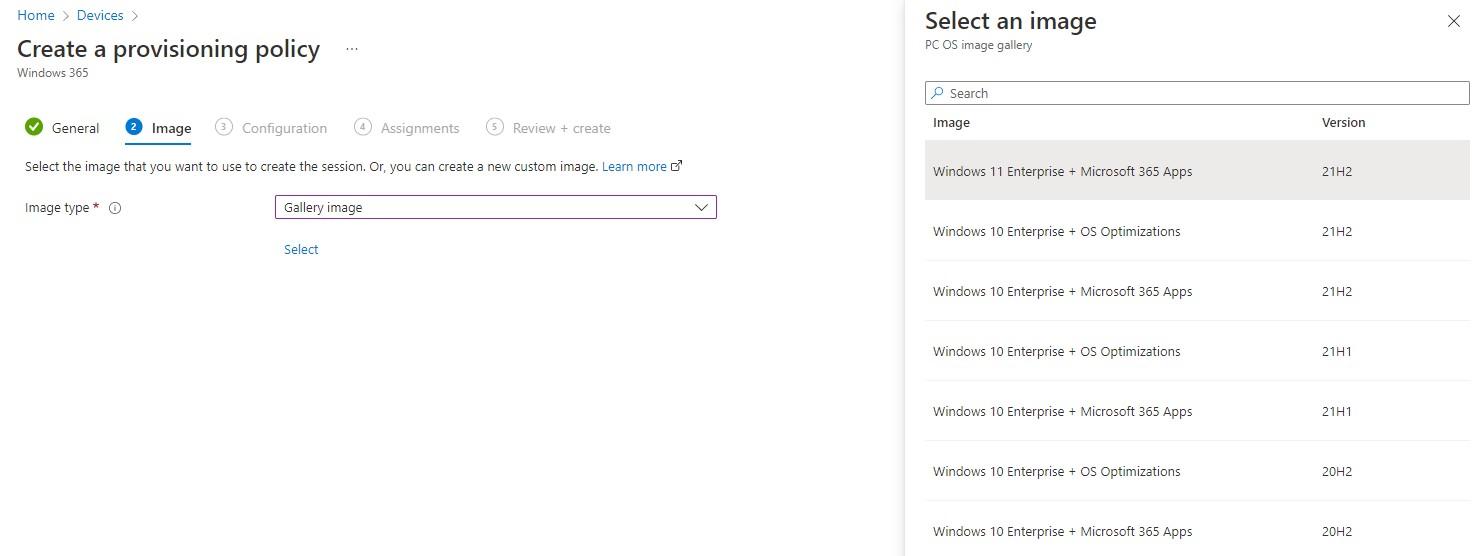
I’m perfectly happy to use the latest Windows 11 image for this demo. So I’ll select that and continue.
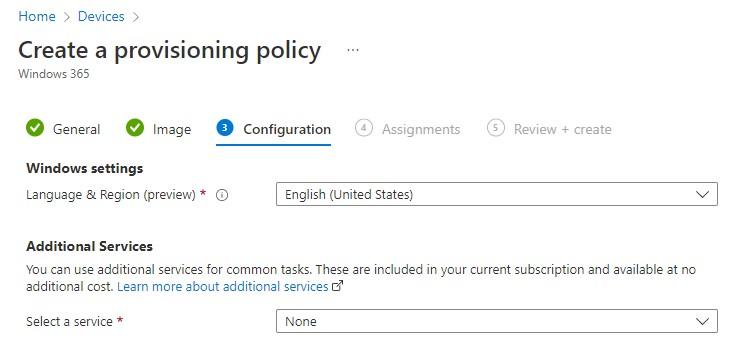
In the next step we can choose our language and region settings as well as additional services. At this time, the only service we can select is Windows Autopatch. I will come back to this in a later post. For now I’ll just choose English (US) and none additional services.
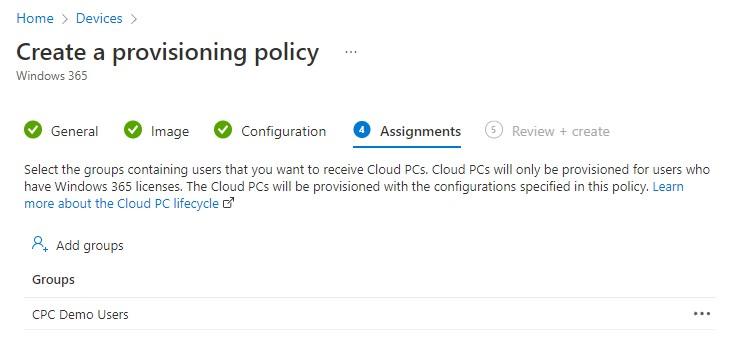
We can assign this provisioning policy to groups only, which makes sense.
I created a security group named CPC Demo Users and added the users Demo01 and Demo02 as members. Then I added the CPC Demo Users to the assignments. I did not configure group-based licensing for this group.
Finish up by click on the create button on the review + create screen.
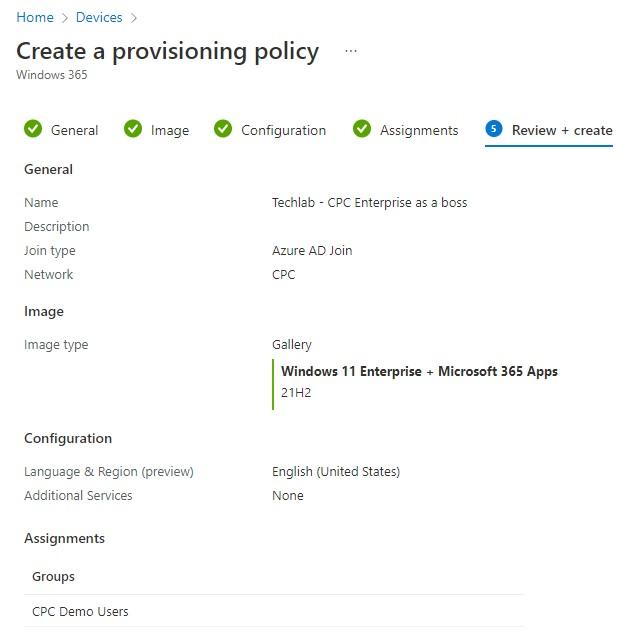
We can see the policy in the provisioning policies tab.

Now if we head back to the Demo01 user and check the license assignment, we see that a provisioning policy does not assign a license. It simply gathers some details which are applied when a Cloud PC is provisioned for the first time.
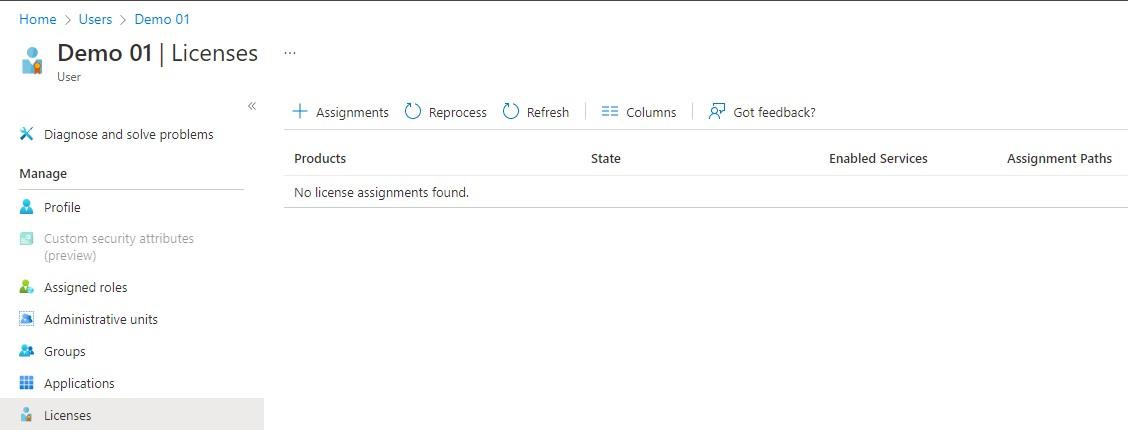
I added the demo users as members to the group to apply the license for the Cloud PC. I checked a demo user and I could see that a Cloud PC license was assigned. Then I went back to the All Cloud PCs tab and I can see that the Cloud PCs are provisioning.
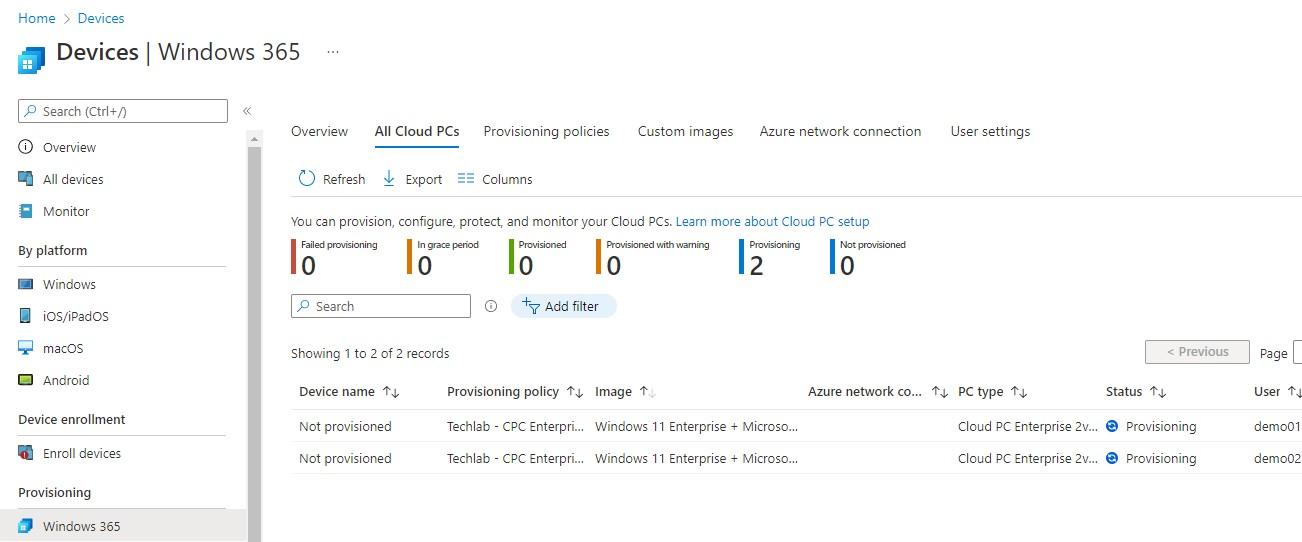
User Settings
Let’s have a look at the User settings option. If we click on the Add button, we can choose if the user becomes a local administrator on all their Cloud PCs and we can configure the Point-in-Time restore service.
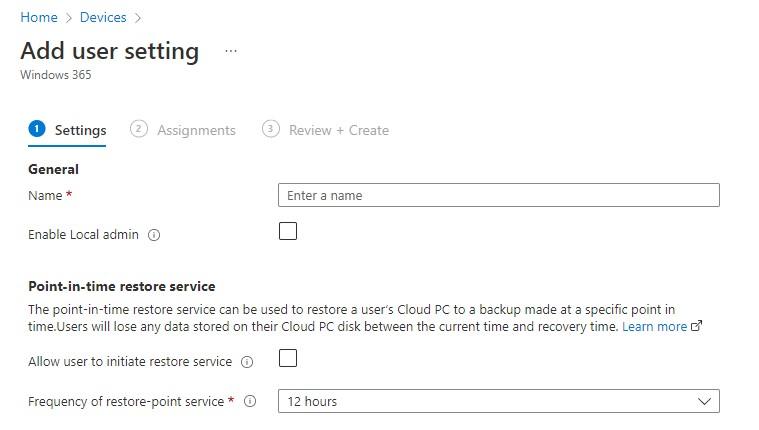
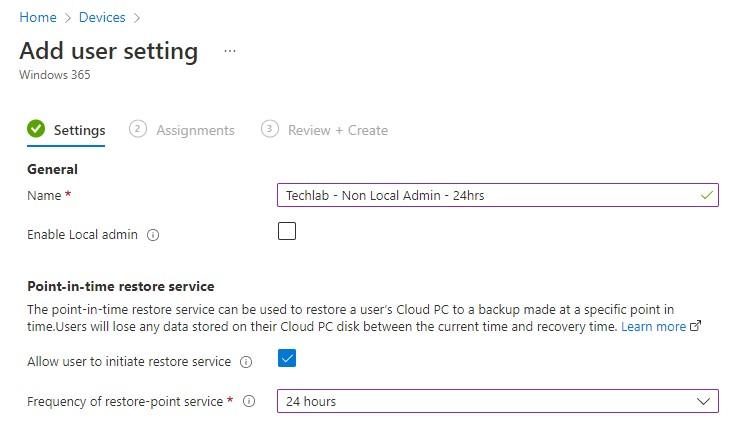
If you want to the user to be able to restore their Cloud PC to a previous moment in time, you can check the box next to Allow user to initiate restore service.
We can define the frequency of the restore-point service. We have the following options at this point:
- 4 hours
- 6 hours
- 12 hours
- 16 hours
- 24 hours
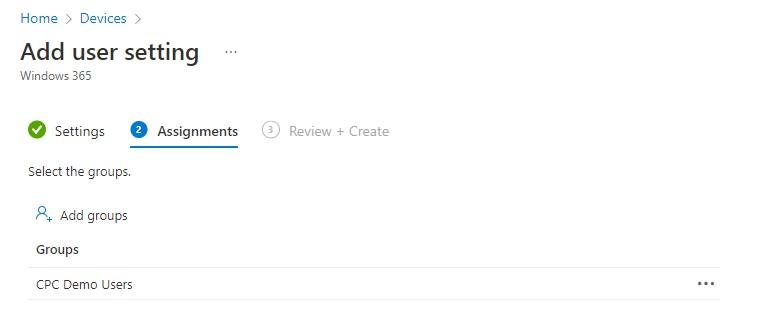
Assign the policy to a group and create the policy.
That’s all for the user settings part.

Log In To The Cloud PC
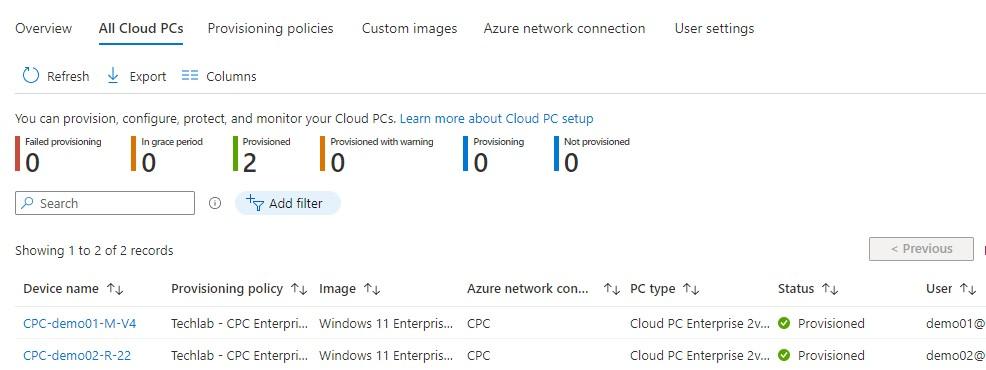
Fiddeling with the user settings gave the provisioning process some time. Both Cloud PCs are ready now and their status has changed to Provisioned.
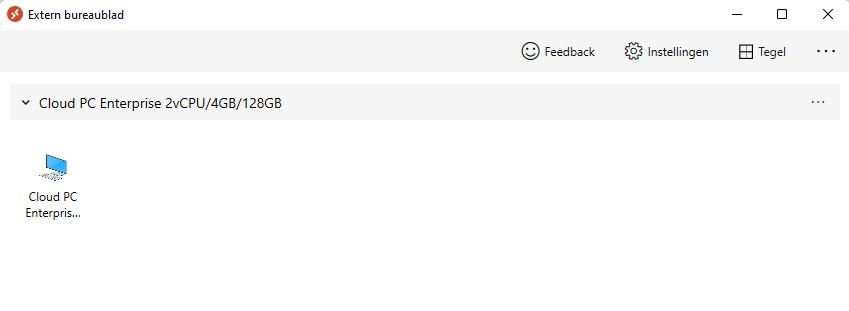
I already had the Remote Desktop application installed on my system. Just login using your credentials and the Cloud PC should appear. Doubleclick on the Cloud PC to connect.
You can also connect via a webbrowser;
https://windows365.microsoft.com
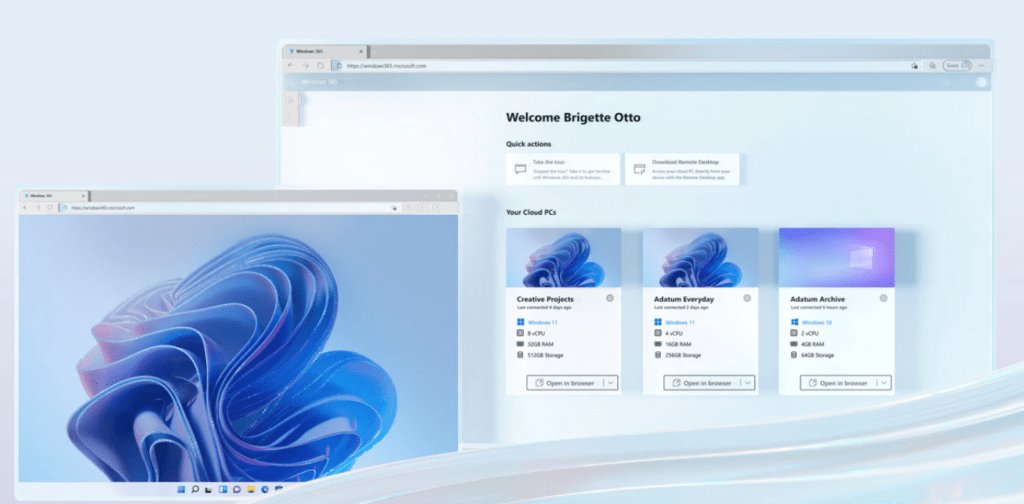
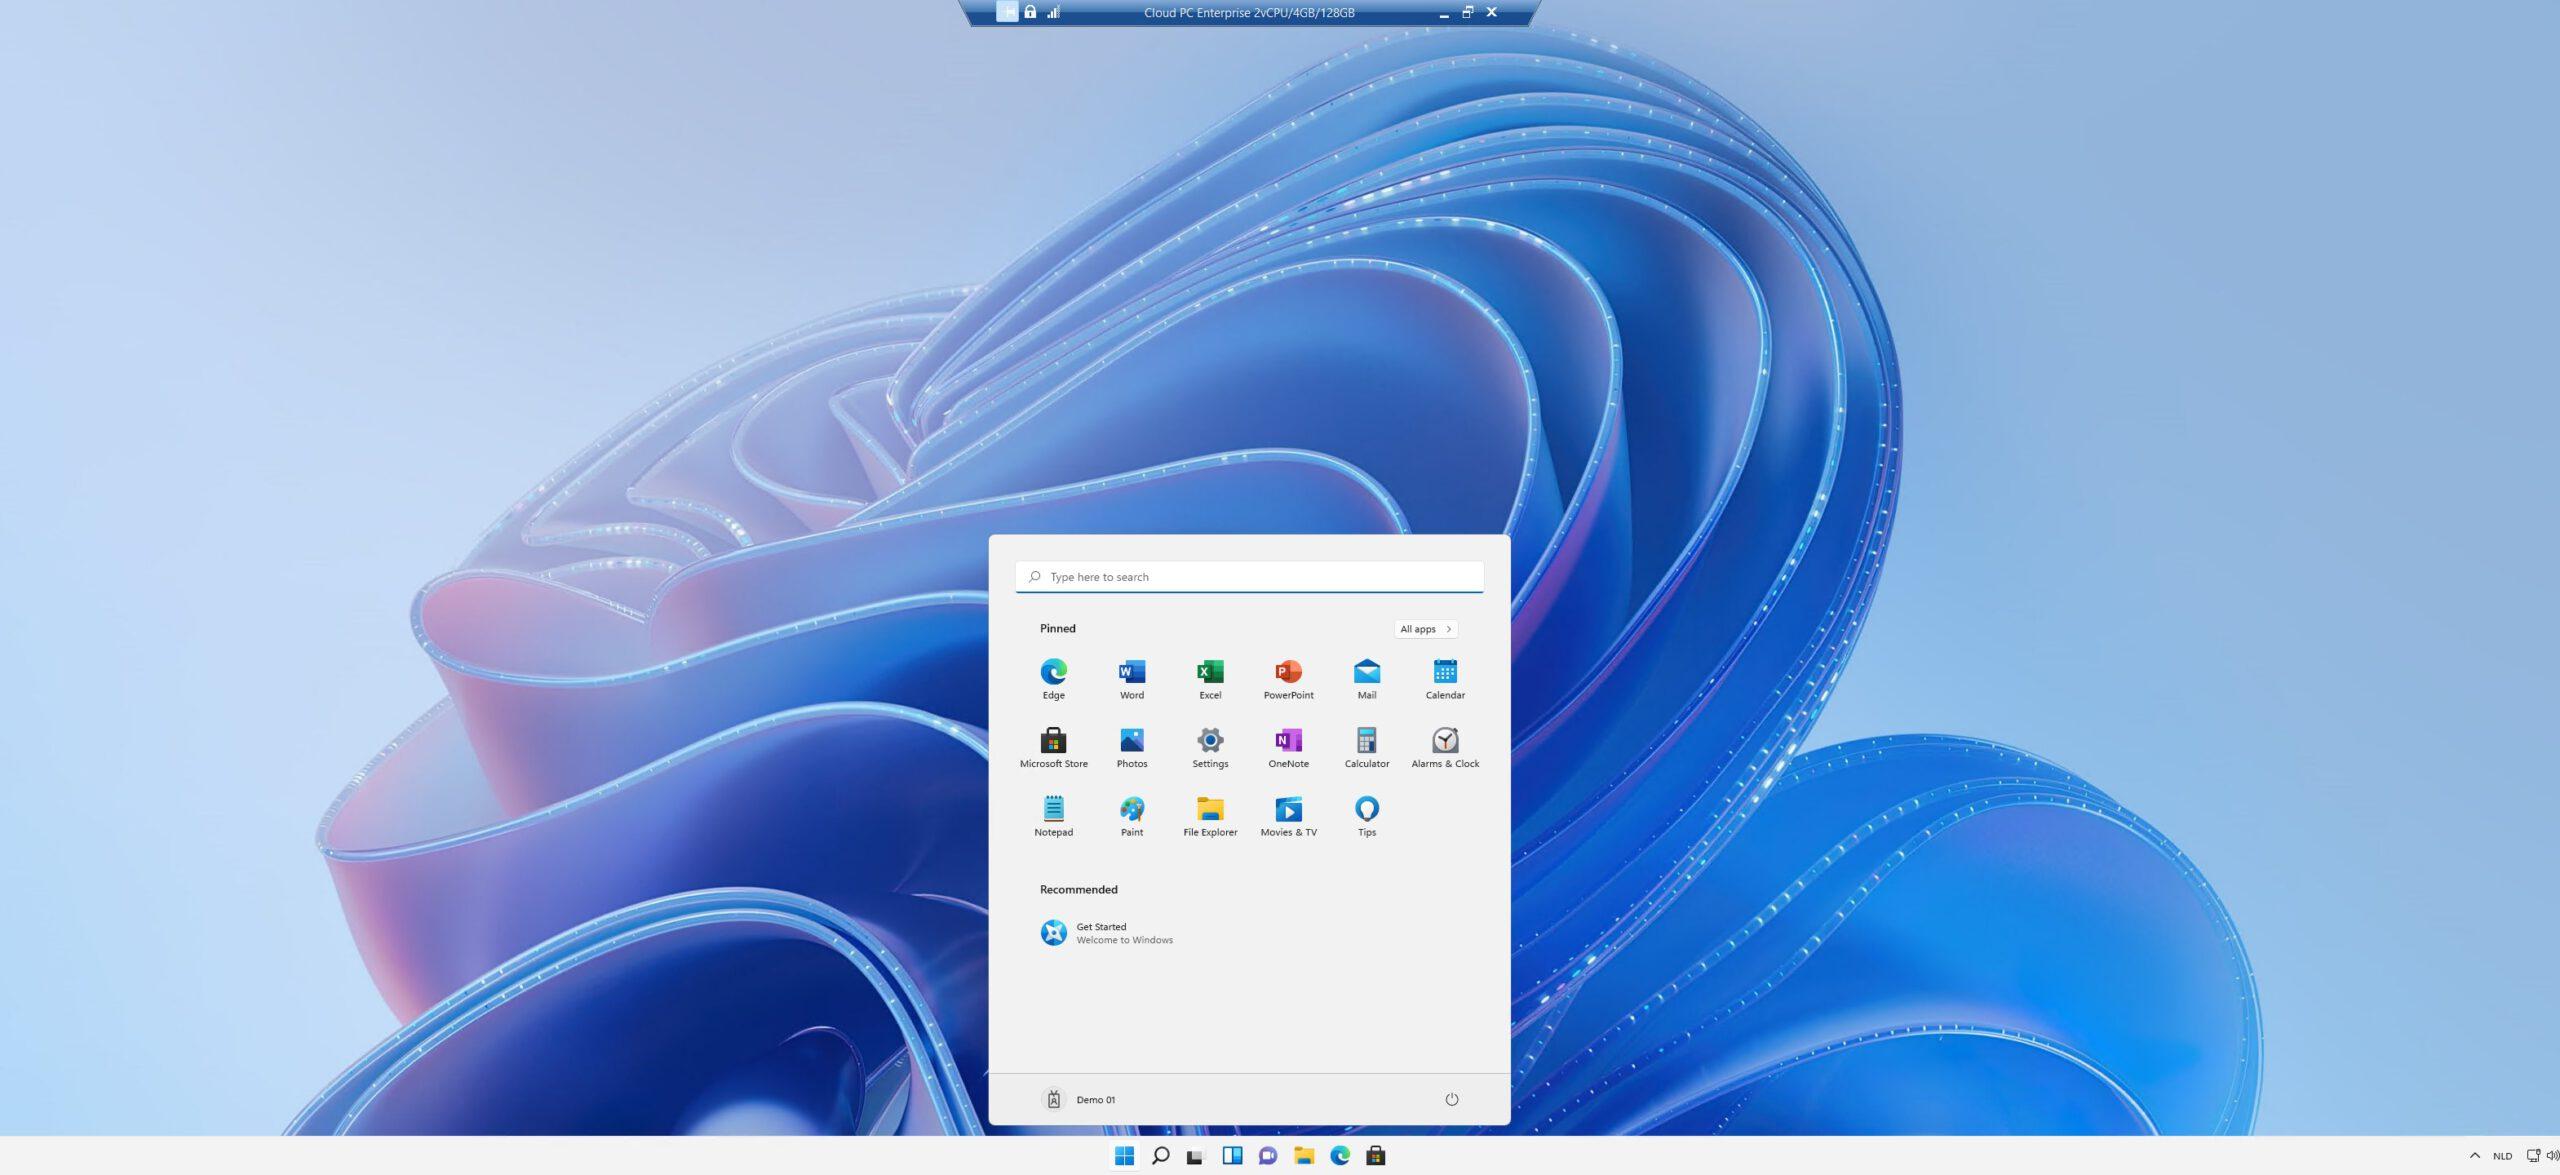
And there it is!
Azure Active Directory And Intune
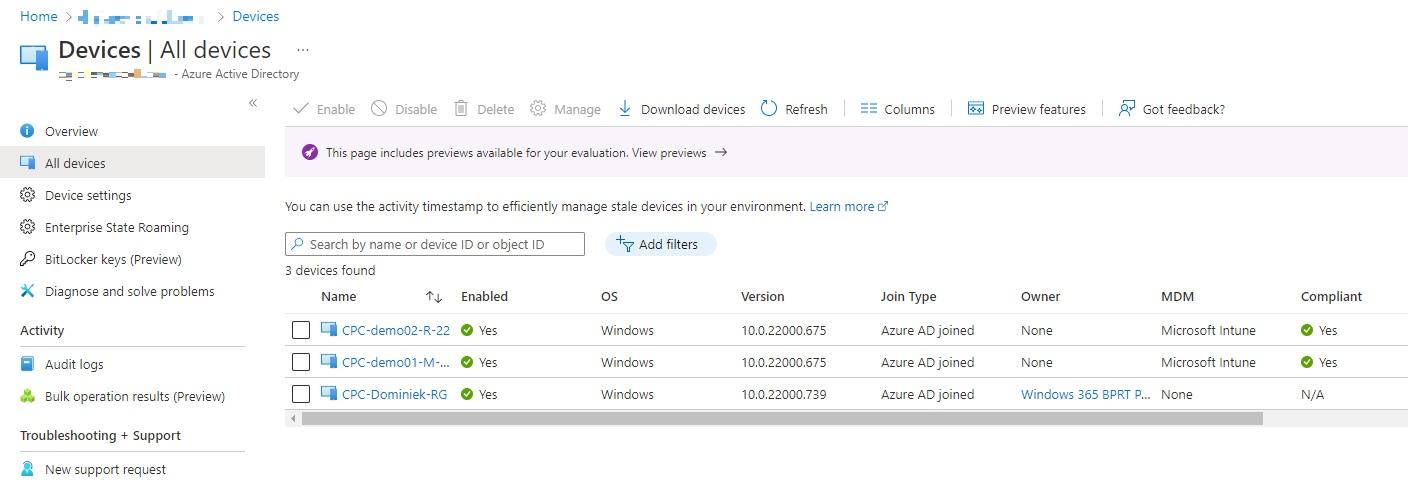
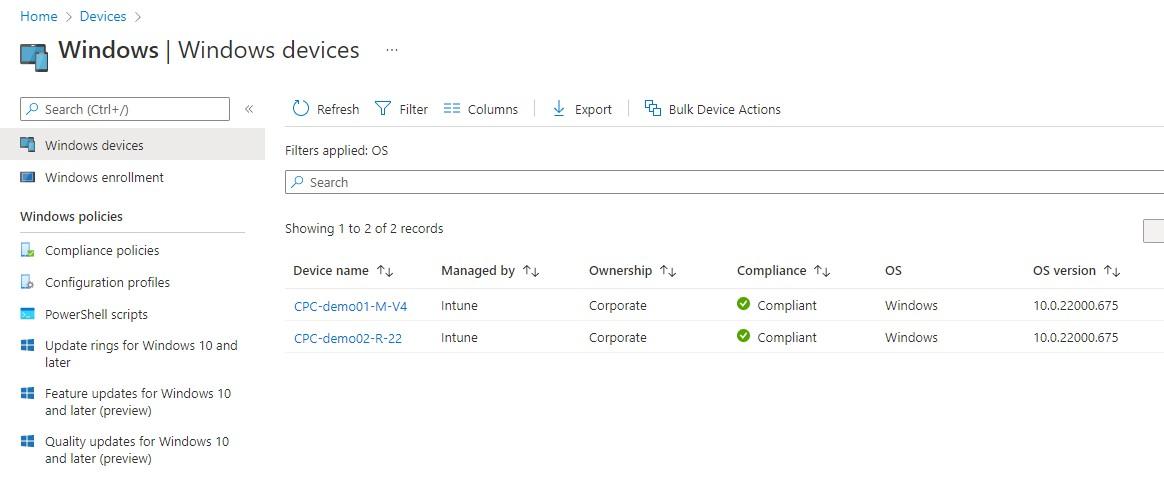
Before we end this demo, let’s check if the Cloud PCs joined Azure Active Directory and if they can be managed using Microsoft Endpoint Manager (Intune).
These are the basic steps to setup and configure Windows 365 Enterprise. Ofcourse, there are a lot of other options to think about like configuring Windows Update for Business for instance. But that’s for another time.
Resources
I used the following resources for this post:


