What’s up, everyone!
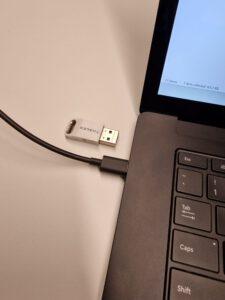
This week I got my hands on a FIDO2 security key which allows me to sign in to my Cloud PC without a password. This is a great way to improve on security while enhancing the user experience. Or well at least I think it improves the user experience!
In this post I will demo how to configure your tenant to use security keys, how to register a security key to a user and I will sign in to the Windows app webclient using the security key. I hope you’ll enjoy the post!
Prerequisites
In this demo I will use a:
- Cloud identity
- Thales group eToken FIDO2 key
- The account needs to have 2 factor authentication enabled
You can check if your FIDO2 key is supported here.
A short recap on sign in methods
Let’s start with a short recap on the sign in methods before we get to the configuration and demo part of this blog. It might come as no surprise that plain old passwords aren’t considered a very secure sign in method. But what is considered a secure method?
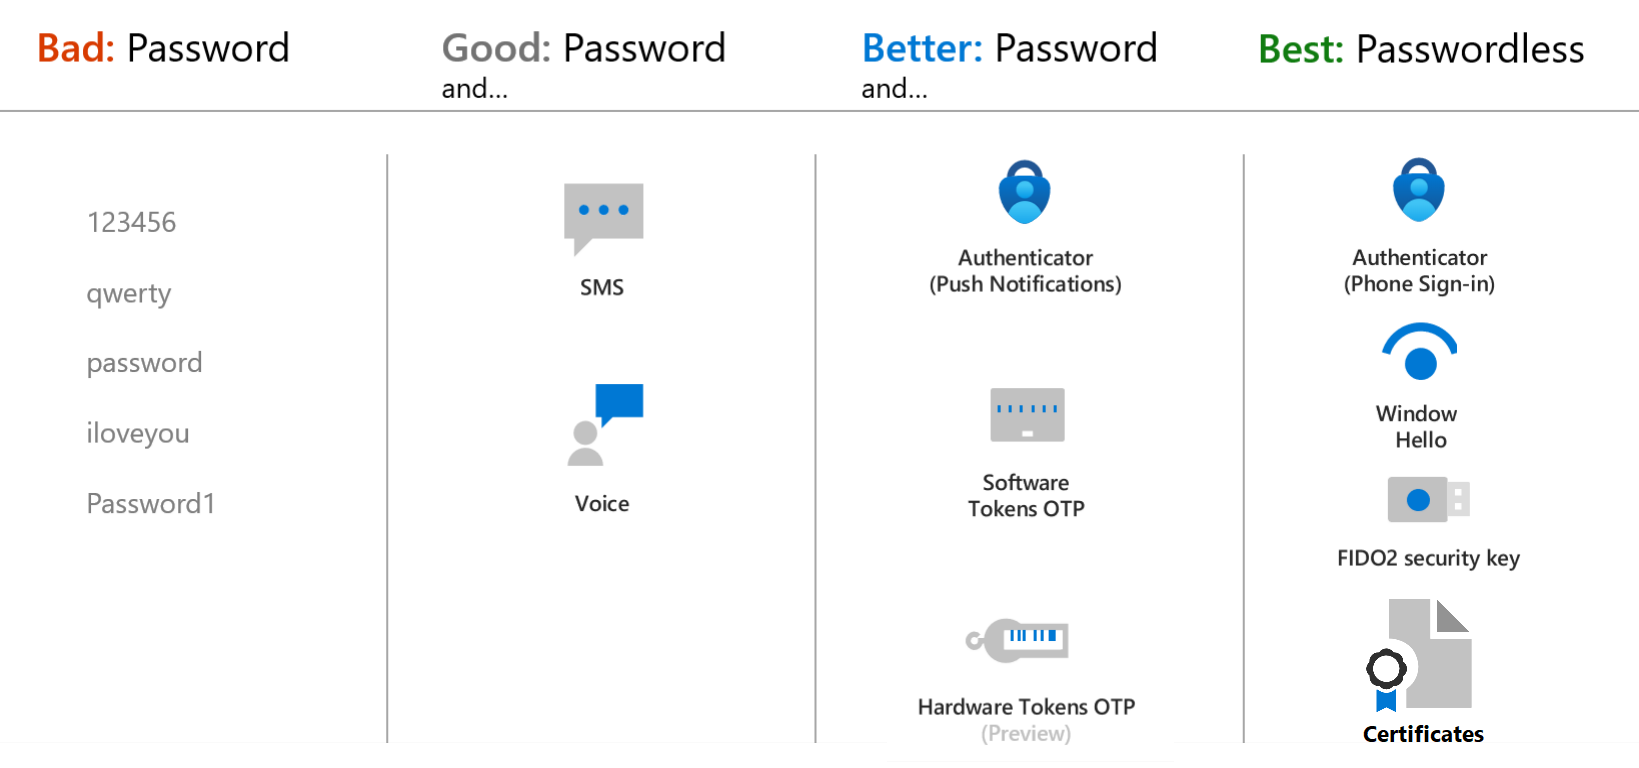
Using passwords without a secondary authentication method is just a no go. They can be easily hacked so make sure to stay away from just passwords.
A more secure solution is to use a password in combination with a secondary factor. Solutions like a phone call or voice are good, but using software/hardware tokens or push notications from the Microsoft Authenticator are considered to be better.
The best solution is to go passwordless. This can be done by using the Microsoft Authenticator to sign in (this is not the same as using push notifications), Windows Hello, Certificates or FIDO2 security keys.
With that being said, it’s time to prepare the Microsoft tenant for using FIDO2 security keys.
Step 1: Enable FIDO2 authentication
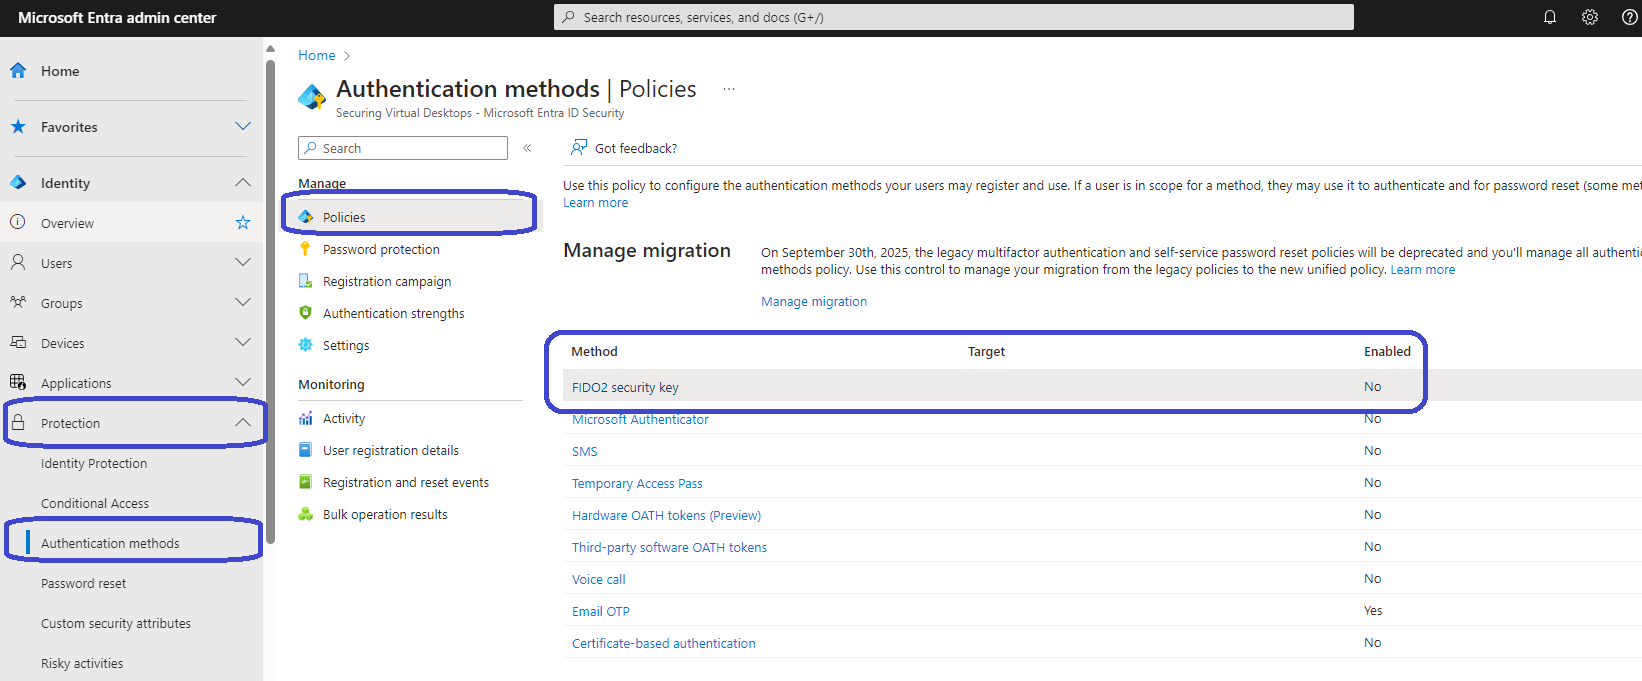
Sign into the Microsoft Entra admin center, Protection, Authentication methods, Policies. This will show the current authentication options and their configuration.
Switch the slider to Enable and decide which users you want to target. You can either select all users or select a Microsoft Entra group for more granular control.
In this case I chose a Microsoft Entra group.
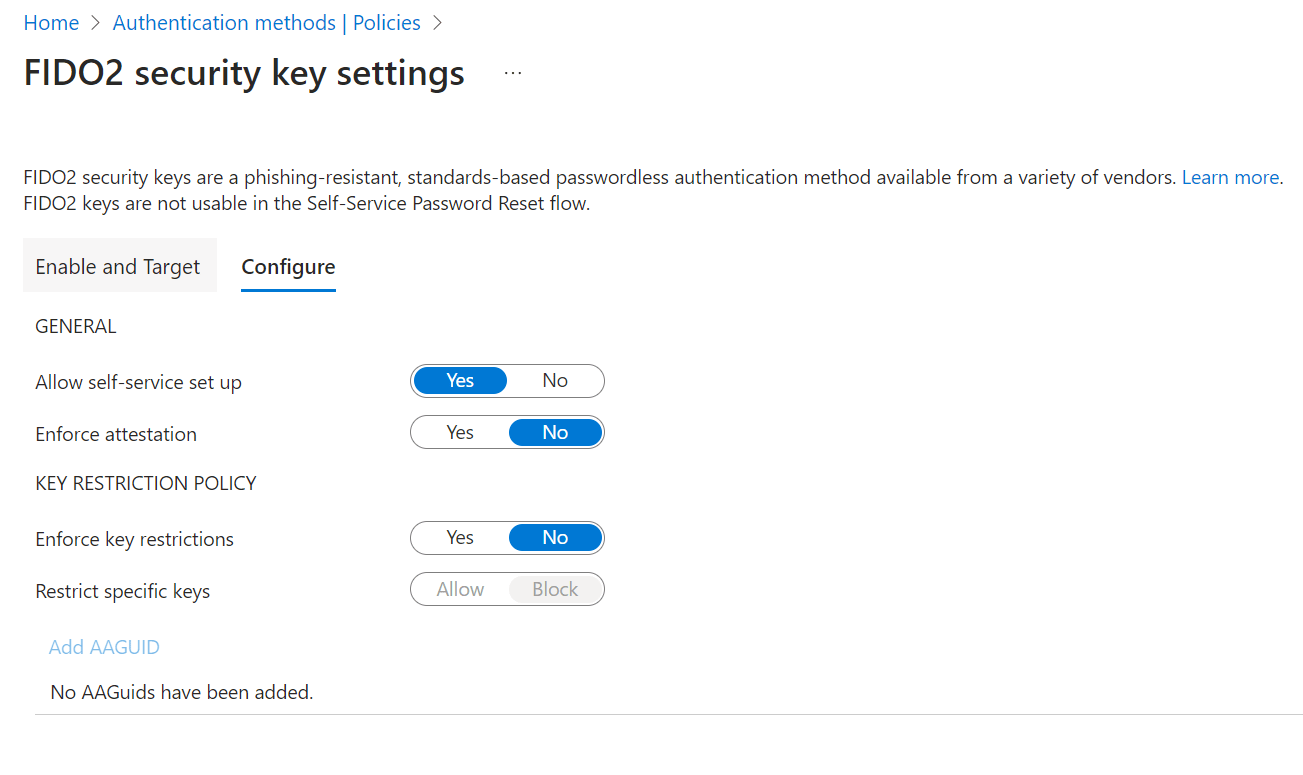
Did you notice the Configure tab? This will provide more options:
Once you are happy with the configuration for the FIDO2 keys, click the Save button on the bottom of the page. I ended up with the following:
Step 2: Register the FIDO2 security key
We can now register the FIDO2 key now that the tenant is prepared. There are a couple of ways on doing just that. If you sign in as the user, you can just use Windows to configure the FIDO2 security key. Just search for security keys in the start menu. You should end up at your account and select sign-in options, security keys. From there you see a Manage button to manage the security key. You can configure it for your account or use this button to reset an existing security key.
But I thought it was a fun way to try something else. So as an admin I want to configure the FIDO2 security key for another user. To do so, all you have to do is to open the security info of the user. This link will show you the following screen:
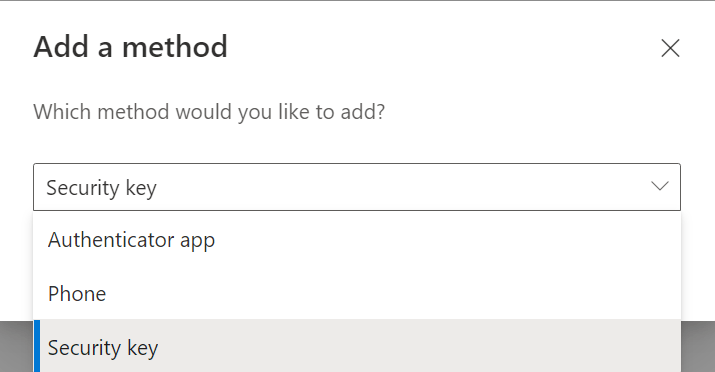
Click the + Add sign-in method button and select Security key in the drop down menu.
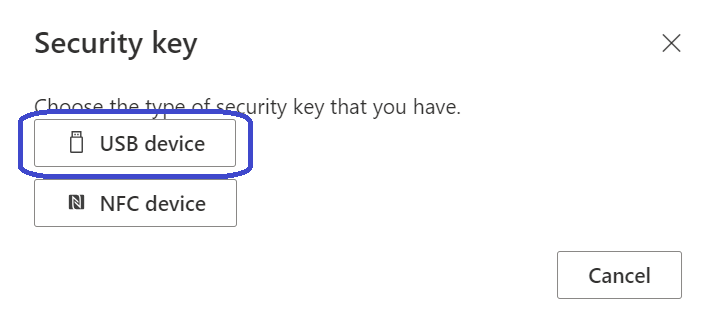
Select the type of security key. In my case this is a USB version:
Make sure to connect your USB FIDO2 key to proceed:
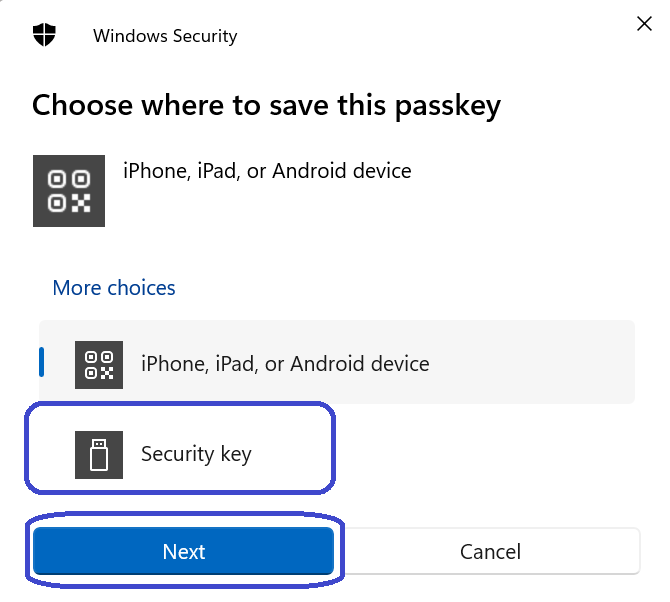
Select Security key and click Next:
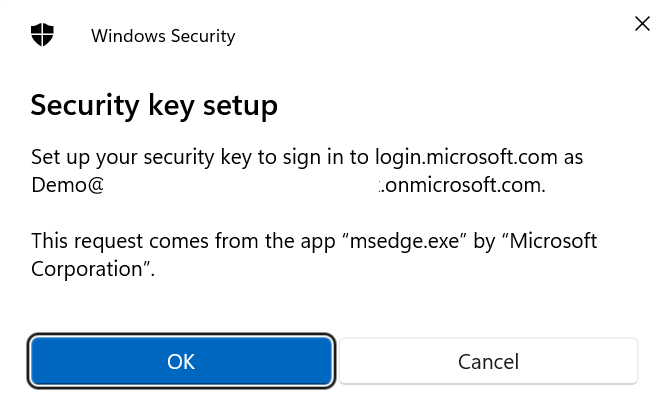
Accept the security notification. In this case I’m using the Edge browser to configure the security key so this make sense.
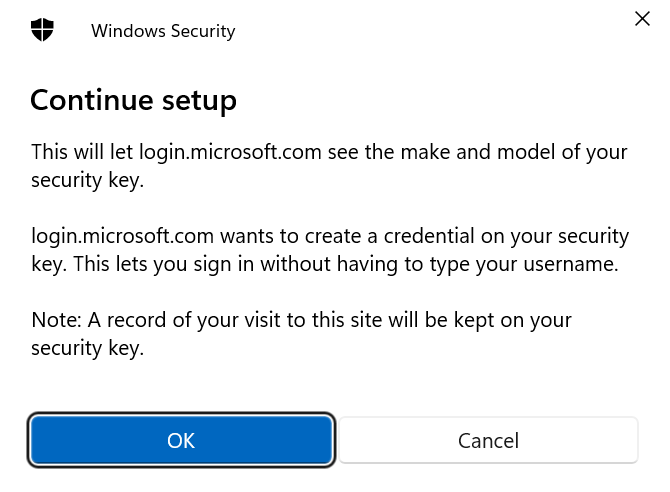
Another info screen will appear telling you Microsoft will see the make and model of the security key. Still nothing out of the ordinary so let’s continue.
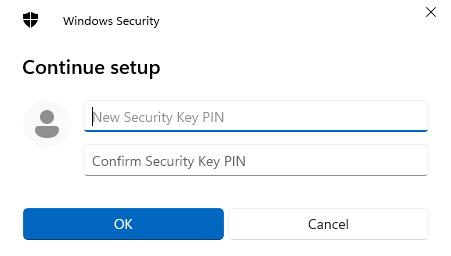
Select a new security key PIN:
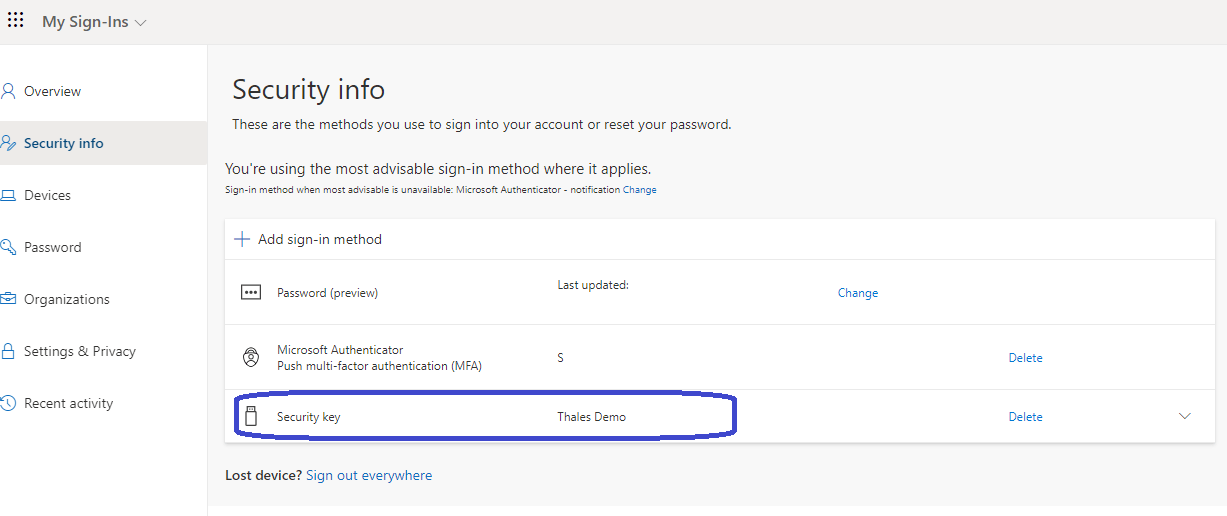
The security key now appears as a valid sign-in method. While finishing up you can give the FIDO2 security a name. In this demo I just used Thales demo as a name.
Step 3: Sign into the Cloud PC using the security key
Alright! Now it’s time to test our FIDO2 security key. Again there are a couple of ways to test it. You can simply sign into a device and select the security key as the authentication method or you can test it on your own device by opening up an inprivate window and sign into the Windows app webclient.
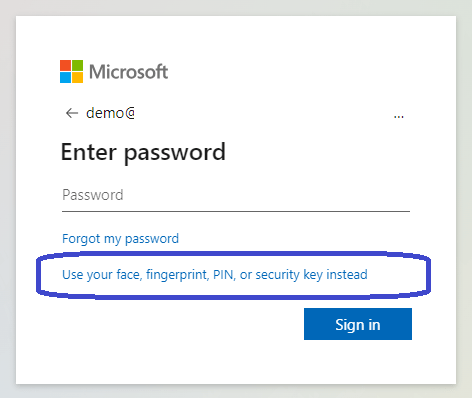
Enter the account and make sure to click the Use your face, fingerprint, PIN or security key instead.
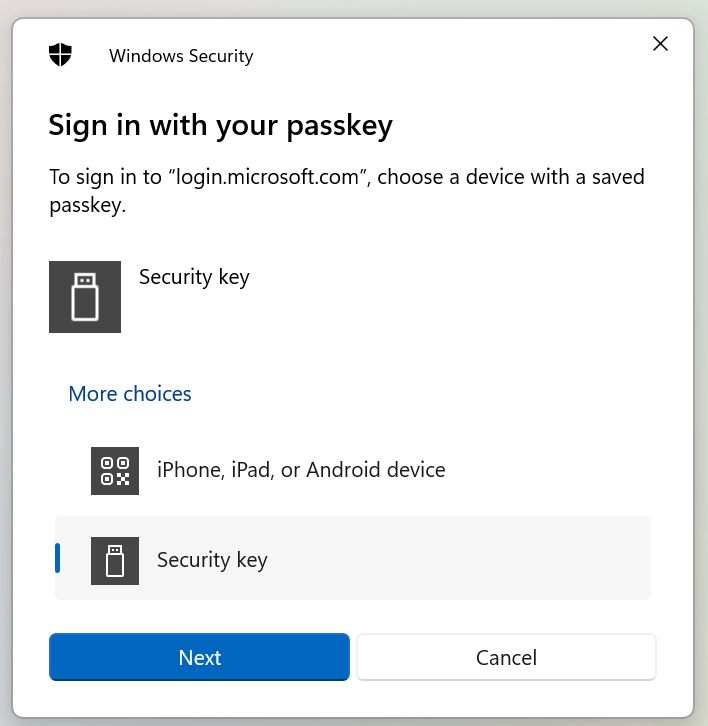
Make sure to select Security key and click Next.
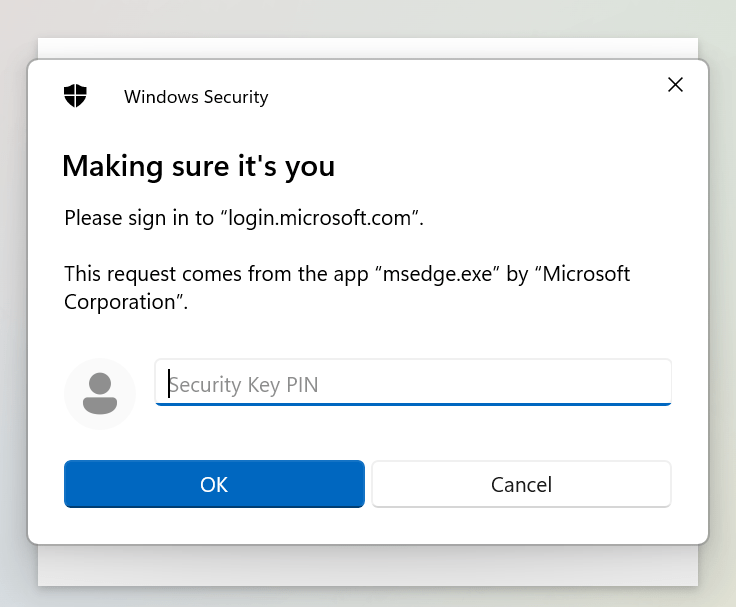
Enter the security key PIN that you’ve chosen in the configuration step:
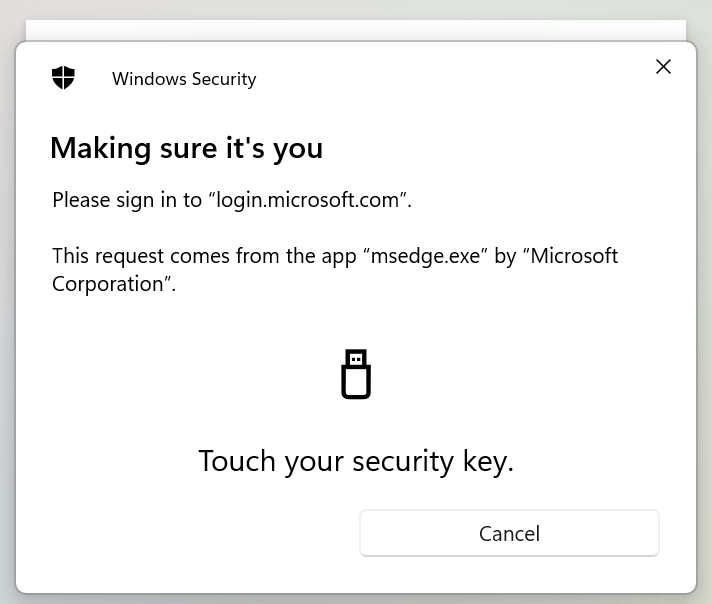
Just physically tap the key to continue:
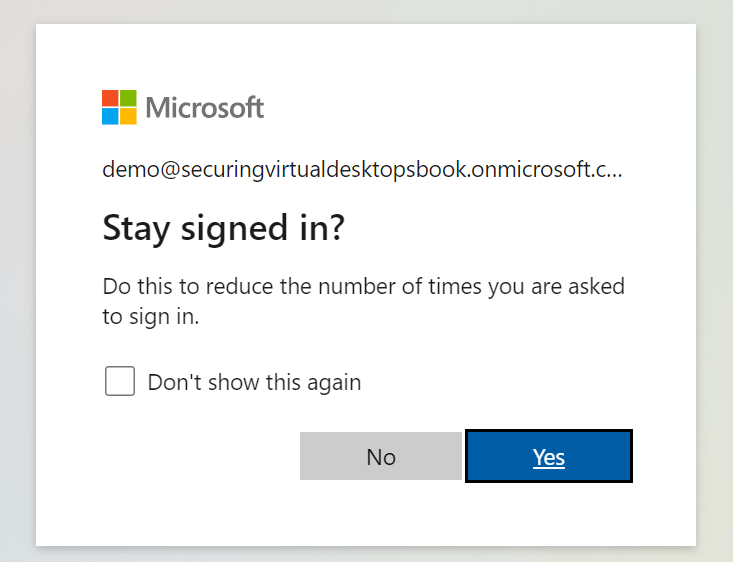
The following message is displayed after a successful sign in:
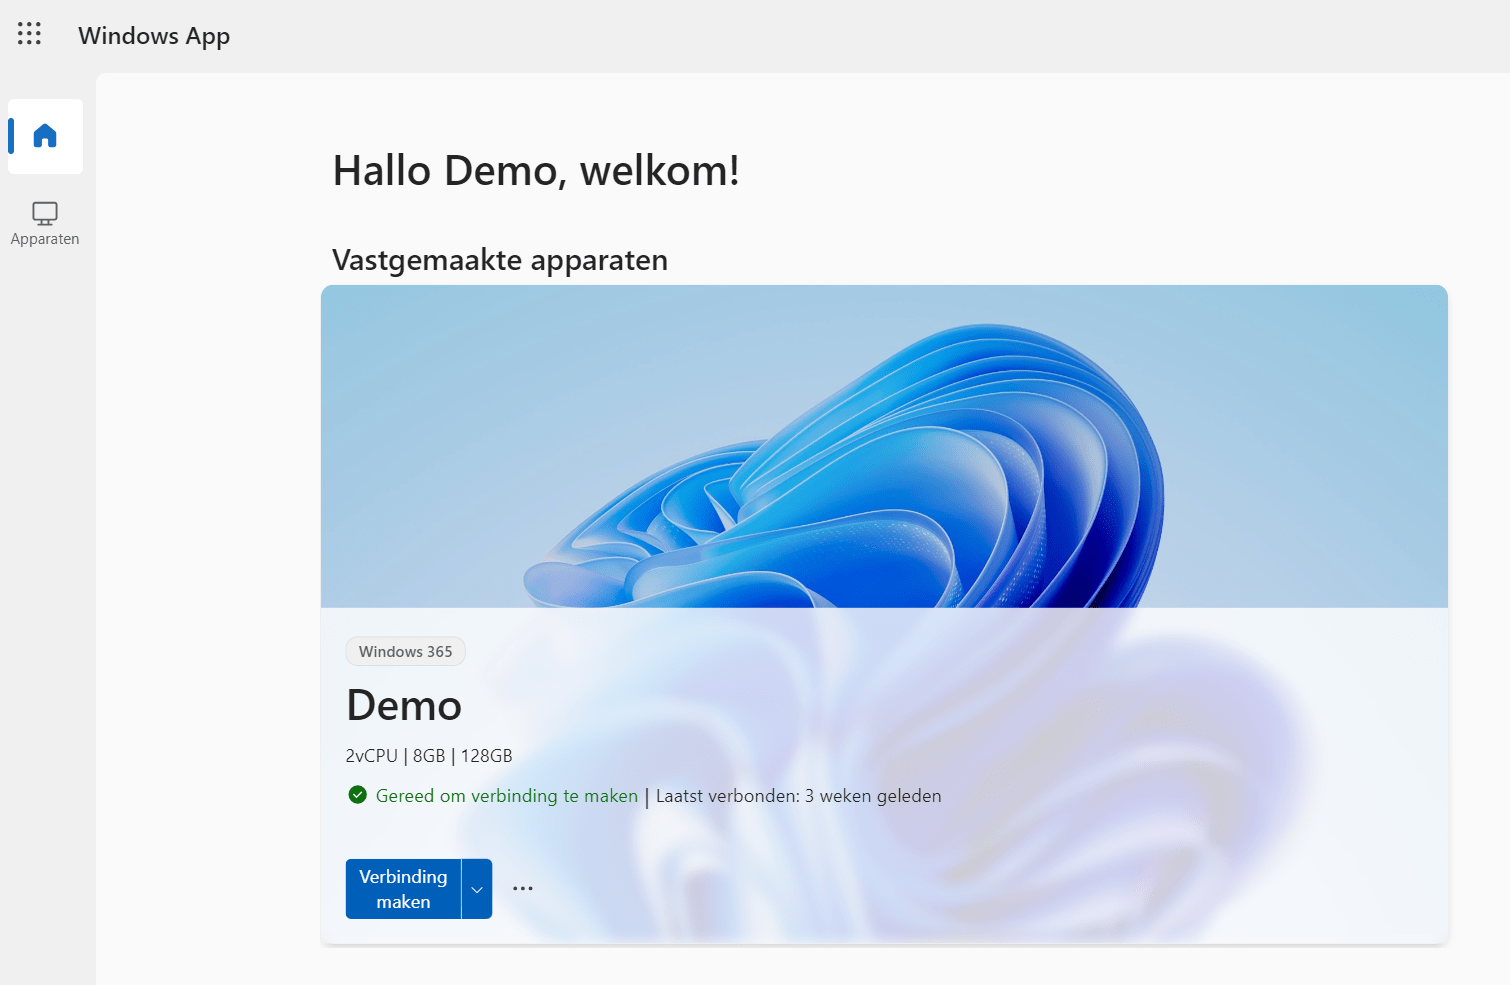
Now we can see the assigned Cloud PCs in the Windows App webclient.
Wait a minute! That’s not signing into a Cloud PC. And you are right! So what happens next depends on your configuration.
If you enabled SSO in the provisioning policy, then you don’t have to sign into the Cloud PC anymore. Just click Connect and you’re good to go. If you haven’t enabled SSO in the provisioning policy, then you will need to sign in once more.
Resources
I used the following resources for this post:
Passwordless security key sign-in – Microsoft Entra ID | Microsoft Learn
Microsoft Entra passwordless sign-in – Microsoft Entra ID | Microsoft Learn










One Comment
Comments are closed.