
What’s up everyone!
Looking at the earlier posts, it’s pretty safe to say that getting a Windows PC in de Cloud is pretty easy and fast to setup. It has all the key features we need and probably more. And then there are all the cool things to come like offline mode! That got me thinking, why not move away from more complex or older environments and use Windows 365 instead? What would a migration path look like? Let’s get to it!
This post is part of a series about Windows 365! (Also known as Cloud PC) In this series I will explore this awesome technology. If you are curious what Windows 365 can do for you and your organization, this series might be for you!
Series – Windows 365 with Nerdio Manager
- Part 1: An Introduction To Windows 365
- Part 2: Windows 365 Business vs Enterprise
- Part 3: Configure Windows 365 Business
- Part 4: Configure Windows 365 Enterprise
- Part 5: How To Migrate From Citrix Or VMware To Windows 365
- Part 6: Use Universal Print on Windows 365
- Part 7: Monitor And Improve Performance For Windows 365 Cloud PCs
- Part 8: Use Windows Autopatch To Keep Your Cloud PCs Up-To-Date
Migrate From Citrix, VMware or ... Microsoft?
Citrix and VMware are arguably the biggest names next to Microsoft to deliver virtual Desktops, remote apps or manage devices. Let’s start with Citrix.
Citrix
Citrix is well known for their products to deliver desktops or remote apps. Their older product line is called XenDesktop/XenApp. The latest version has been rebranded to Virtual Apps and Desktops. Both products have the same key components;
- Delivery Controllers; a server-side component that is responsible for managing user access, brokering and optimizing connections
- Citrix Studio; the management console to configure and manage XenApp/XenDesktop or newer
- Citrix Director; used to monitor and troubleshoot XenApp/XenDesktop or newer
- Citrix StoreFront; an app store that endusers use to connect to virtual apps and desktops
- Citrix License Server
- Virtual Delivery Agents; a component that is installed on each machine that delivers applications or desktops to users
- And optional components, like the federated Authentication Service or Self-Service Password Reset
VMware also has a suite of products that integrate with each other to deliver virtual desktops, remote apps or manage devices. VMware has more products, but these are the core components.
- VMware vSphere; provides virtualization capabilities
- VMware Horizon; virtual desktop infrastructure solution
- VMware Horizon Client; needed to connect to the virtual desktop
- VMware Airwatch; a mobile device management provider, currently integrated into VMware Workspace ONE Unified Endpoint Management
While both vendors have great solutions and their own strenghts, they also have the same drawbacks. Setting up and maintaining a virtual endpoint or manage a device requires specialized knowledge. The technical staff needs to know how every component works and how it’s configured. It requires training, documentation, maintenance and ofcourse costs.
Microsoft
Yes, Microsoft itself is a name we can include here. On-premises Remote Desktop Services provide a virtual desktop or remote app for your users to work on. RDS environments are easier to setup and maintain then their Citrix or VMware counterparts, but that doesn’t mean we can think about replacing RDS by Windows 365.
How To Migrate ... A Guideline
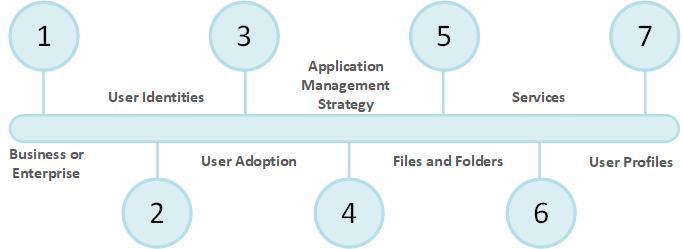
What would a migration scenario look like? To answer this question, I’ve prepared a guideline. Let’s take a look.
Step 1: Choose The Right Solution
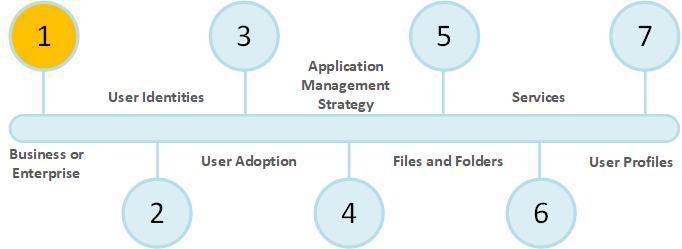
The first question we get to answer is…
Business or Enterprise?
We need to determine which edition we are going to use. To make the right decision, we need to answer these basic questions;
- Does the customer (want to) use Microsoft Endpoint Manager?
- Do we need more than 300 Cloud PC licenses?
- Does the customer need Hybrid Azure AD Join or access to their corporate network?
If any of these questions are answered by yes, we need to select the Enterprise edition. We can select the Business edition if all questions are answered by No.
Have a look at my earlier post which describes the differences between the Business and Enterprise edition for more information.
Licenses and Azure subscription
We need to have a look at the different SKU’s that are available for the Cloud PC before we can add licenses to the customer’s tenant. Check this list for an overview of the available virtual hardware types.
If you have done some form of user adoption, chances are that you already grouped users into persona’s. By doing so you should have a good understanding of the virtual power that our users need to smoothly work on the assigned Cloud PC. In this scenario we need to count the amount of users and add the correct number of licenses per SKU to the tenant. To assign the Cloud PC license, create a group and use group-based licensing to assign the Cloud PC license to a user.
We also need a valid Azure subscription if we need to host resources in Azure. For instance, if we want to connect to our on-premises corporate network.
Identity
We have to choose the identity method which depends on the requirements of the customer. We have two choices;
- Azure AD Join
- Hybrid Azure AD Join
Azure AD Join (AADJ) devices are only joined to Azure AD and require an organization account to sign into the device. These devices can be managed via an MDM solution (like Intune) or Configuration Manager (standalone or co-management with Intune). This method is supported for Business and Enterprise.
Hybrid Azure AD Join (HAADJ) devices are joined to to on-premises AD and Azure AD requiring an organizational account to sign into the device. These devices can be managed via Group Policy or Configuration Manager (standalone or co-management with Intune). Choosing HAADJ is a bit more complicated than Azure AD Join only. We need to configure Azure AD Connect to setup Hybrid Azure AD Join (on the device options tab). This method is supported for Enterprise.
Network connectivity
Check if the customer has a corporate network we need to connect to. Do they have services that need to be accessible on the Cloud PC, like a print solution (secure printing or follow-me printing), a SQL database that a client application needs to be able to access or a file share? In this case we can connect to the on-premises corporate network using;
I won’t go into too many details. A site-to-site VPN connection might be the easiest and cheapest way to setup connectivity. Keep in mind, setting up a connection to your on-premises corporate network is an Enterprise feature.
If you have many clients connecting from one location, an office for instance, I’d advise you to review the bandwidth requirements for a session. Especially for locations with a lower bandwidth you should prevent that the internet connection becomes a point of failure.
Make sure to have a look at RDP ShortPath. By default RDP uses TCP-based reverse connect transport. While it’s very reliable, it is a bit slower. You can enable RDP ShortPath to establish a direct connection with your Cloud PC.
Operating System
The next step is to determine which operating system we can use for the Cloud PC. There are some things to take into consideration, for example;
- Are the applications compatible with windows 10 or 11?
- Are the printer drivers compatible with Windows 10 or 11?
- Should we use a gallery image or a golden image?
- What is our application management strategy?
For Windows 365 Business, we can choose between Windows 11 (preferred) or Windows 10. Both are gallery images from Microsoft and have the Microsoft 365 Apps preinstalled.
You might already use Microsoft Endpoint Manager, or maybe the customer is new to MEM. Make sure to think about;
- Configuration Policies; For instance, how to configure Edge (Firstrun, homepage etc.) Or Onedrive (known folder move etc)
- Compliance Policies; What does your Cloud PC need to have before you can mark it as compliant?
- Conditional Access Policies; Enable multifactor authentication before your users (and admins) can access their Cloud PC’s. More on that later on.
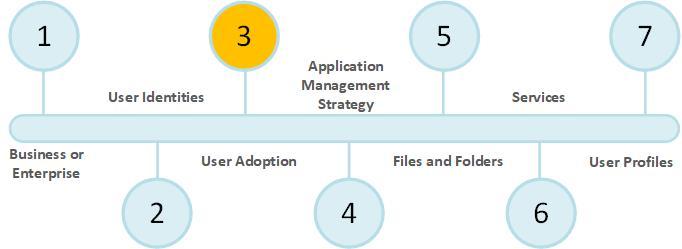
Step 2: User Identities

We need to check if the customer already uses Azure or Microsoft 365 solutions. If so, chances are they already have their user accounts synced to Azure AD using Azure AD Connect. If not, we need to prepare the environment to synchronize the user accounts to Azure Active Directory.
Make sure to check the Azure AD support topologies document from MS.
Step 3: User Adoption And Scenarios
User Adoption
A key factor in a succesful migration is that our endusers are happy working on their Cloud PC and the additional features they can now enjoy. But then again, change can result in a bit of resistance by our users. That’s why it’s a great idea to migrate using a change management model like ADKAR.
ADKAR describe 5 change management phases which are mainly used as a coaching instrument to help our users.
The screenshot below gives an excellent description of these 5 phases.
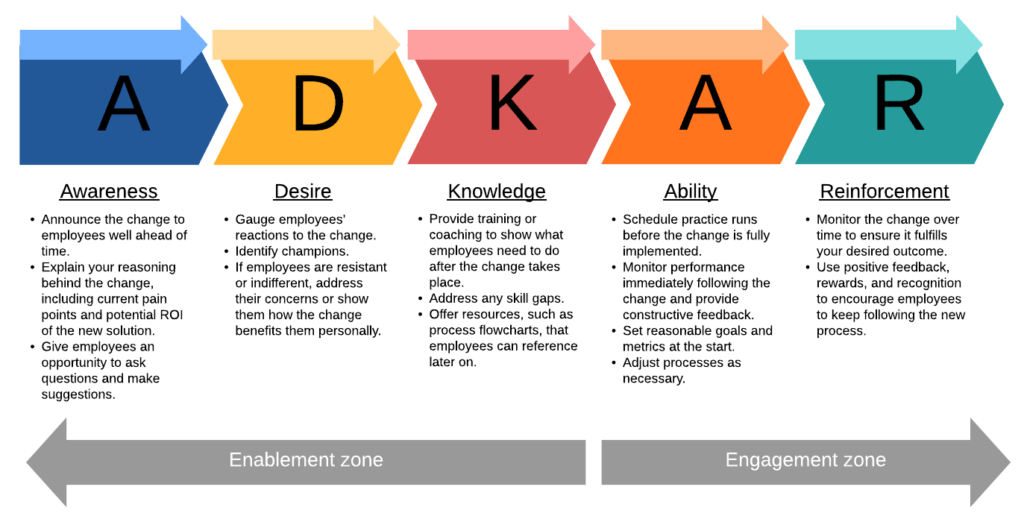
Using a change management model can be a challenging task. If you haven’t used this method before, I’d recommend you find a partner to assist you. We can train our users using traditional methods and resources, like PowerPoint presentations, instructional videos or demos. We should have a look at training using a scenario. For instance;
- Work from anywhere
- Smart collaboration
- Personal productivity
We can improve the knowledge and abilities when we use scenarios to train our users. The end goal is to improve the employee experience!
Step 4: Application Management Strategy
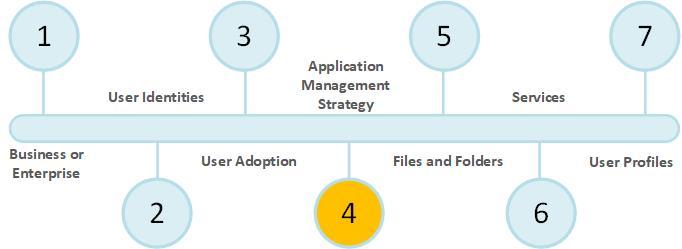
Now it’s time to have a look at our application management strategy for locally installed applications. Again we have some great choices here.
Manual installation
Arguably the most easy way to install applications on your Cloud PC’s. Just log into your Cloud PC and install the application manually.
Microsoft Endpoint Manager
If we are using the Enterprise edition, we can use Microsoft Endpoint Manager to deploy applications to the Cloud PC.
Windows Package Manager
The Windows Package Manager solution consists of a command line tool and a set of services for installing applications on Windows 10 and 11. It is part of the operating system of modern Windows 10 builds and Windows 11. For more info, check this document from Microsoft.
MSIX and MSIX App Attach
MSIX is a great way to virtualize applications and run them on virtual endpoints like Azure Virtual Desktop or Windows 365. We can use MSIX App Attach via Microsoft Endpoint Manager or Nerdio Manager for Enterprise to install MSIX images. Have a look at my post about NME and MSIX for more information.
Third party solutions
If you like to use a 3rd party solution like Liquit, Chocolatey or other solutions, we can simply deploy the agent using Microsoft Endpoint Manager and use the management console of the tool in question to manage the applications on the Cloud PC.
Golden Image
It’s possible to install all the applications in the golden image. But do we really want to? A simple update for an application has to wait till the next release of the golden image.
Step 5: Files And Folders
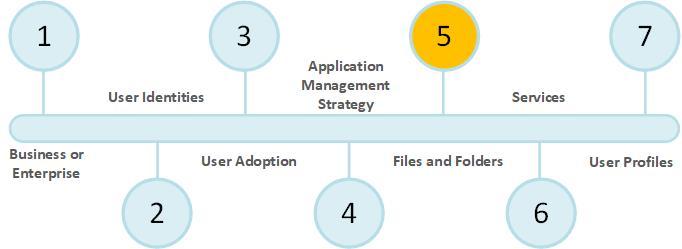
We need to make sure users can easily find their own files and folders. Traditionally they are stored on a fileserver and shared to groups of users. Windows 365 Enterprise can simply connect to that fileserver (and share) via the Azure network connection that is used to connect to the on-premises network. But that does not mean it’s the right way, there’s nothing modern about that right?
During the user adoption process, we should discuss the possibilities to migrate the data from the fileserver(s) to SharePoint Online or Microsoft Teams for collaboration data and OneDrive for personal data. These solutions have loads of advantages for your users.
You can use your preferred third party solution, or just the free Microsoft tools. I found both SharePoint Migration Tools and Migration Manager really easy to use. Migration Manager has an excellent dashboard to see the progress of the data migration. Some time ago I wrote how to use Migration Manager or have a look at the original Microsoft documentation.
Step 6: Services
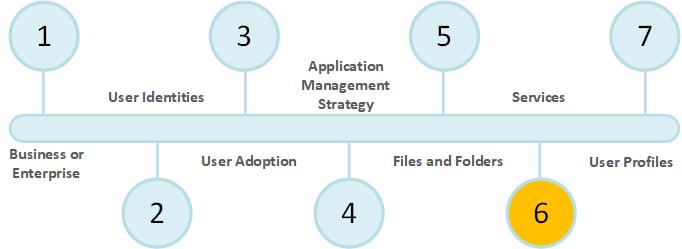
In this step we can have a look at the services we can add to the Cloud PC from the corporate network. Ofcourse, these services might be different per customer. Maybe the customer has a print and scanning solution in place or a connection to a specific server which is needed by an application. In this step we have to identify those services and make sure they are available on the Cloud PC.
Step 7: User Profiles
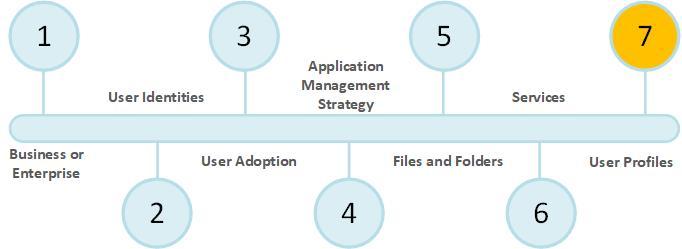
FSLogix is a great way to manage user profiles if you use Citrix, VMware or Microsoft Remote Desktop Services. It creates a virtual disk which stores the entire profile and gives us the option to include and/or exclude some other directories.
What user profile is the right fit for Cloud PC?
Windows 365 is a persistent and personalized PC in the Cloud. A local profile is more than sufficient for our users to work with. Windows 365 does not have to solve more complex problems that you would find on multi-session operating systems or non-persistent desktops. Instead, Microsoft has some solutions in place we can use to provide a more modern profile management. We can use these solutions to synchronize more and more of the user profile to the Cloud. If you are interested in modern profile management, I highly recommend a book by Christiaan Brinkhoff and Per Larson named Mastering Microsoft Endpoint Manager.
Enterprise State Roaming
This (Enterprise only) feature only synchronizes corporate data to the Cloud. It does not sync user data to the Cloud. The following settings can be synchronized using Enterprise State Roaming;
- Windows Themes
- Language Settings
- Cached Passwords
- Ease of Access features
- Mouse Properties
- Wi-Fi Profiles (WPA only) (not necessary for Cloud PCs but still good to know.)
Browser Settings – Edge
Microsoft Edge has a long list of settings we can synchronize to the Cloud. Login to Microsoft Edge to enable synchronization or configure Edge login via a Configuration Policy using MEM. For a full list, check the Microsoft article. Here’s a list;
- Favorites
- Passwords
- Addresses
- Collections
- Settings
- Extentions
- Open Tabs (v88 and higher)
- History (v88 and higher)
Microsoft Office Roaming Feature
All of the Office apps can sync the following items;
- Most recently used files
- Most recently used locations
- Most recenly used templates
We can also sync the following items;
- Custom Dictionary
- Outlook Signature
- Office Personalization
- Word’s Resume Reading Feature
- PowerPoint’s Last Viewed Slide feature
- Mounted Services
- OneNote Notebook name
- Visio Device Settings
For me, the big one in this list is the Outlook signature. It finally syncs to the Cloud so it’s available if you have to reset your system. If you want to enable this feature (if it’s not enabled by default), open Outlook, go to the options, general, first checkbox ‘Store my Outlook settings in the cloud’.

Known Folder Move – OneDrive
Known Folder Move allows us to sync profile folders to Onedrive for Business. To configure KFM, use MEM. Create a device configuration profile for Onedrive for Business and enable the settings;
- Silently move Windows known folders to OneDrive
- Silently sign in users to the OneDrive sync app with their Windows credentials
- Use OneDrive Files On-Demand

Known Folder Move synchronizes the following folders;
- Documents
- Pictures
- Desktop
We have to make sure we configure the roaming options for Enterprise State Roaming, Office Roaming, Edge synchronization and Known Folder Move. The user data will sync to the Cloud once these settings have been configured.
On a later date, an admin can perform a cutover migration. At this moment we have to remove the roaming profiles and remove the configuration (GPO’s etc). This also works for FSLogix.
Resources
I used the following resources while writing this blog:
Mastering Microsoft Endpoint Manager
Citrix – Install and Configure
Citrix – Virtual Apps and Desktops Reference Architecture
Azure AD Connect supported topologies
Windows 365 Size Recommendations
Migrate data to Teams or Onedrive with Migration Manager – techlab.blog
Share this:
- Click to share on LinkedIn (Opens in new window) LinkedIn
- Click to share on X (Opens in new window) X
- Click to share on Facebook (Opens in new window) Facebook
- Click to share on WhatsApp (Opens in new window) WhatsApp
- Click to share on Telegram (Opens in new window) Telegram
- Click to print (Opens in new window) Print









Reading this as a Microsoft employee. Really well done!
-Mark