What’s up, everyone!
Recently I learned that Windows Autopilot Device Preparation policies are now supported for Windows 365 Frontline Cloud PCs in shared mode! So it’s high time to check out what Windows Autopilot Device Preparation policies are, how it compares to the ‘regular’ Windows Autopilot experience and what value it brings to Cloud PCs.
Enjoy!
Comparing Windows Autopilot ...
Windows Autopilot has been around for quite a while and it offers a modern way to configure a Windows device with all the company goodness like apps, configuration and compliancy. Windows Autopilot is a more comprehensive solution where Intune admins need to add a hardware hash into the tenant for each device they want to manage. Before the device can be deployed in true company style, IT admins need to create the following:
- A Windows Autopilot deployment profile is used to configure the OOBE (out-of-box-Experience) with settings like the deployment mode, the join type, the privacy settings, account settings, pre-provisioning, language and region settings, keyboard settings and a device naming template.
- To better manage the user experience during deployment, IT admins have the option to create an Enrollment Status Page. It offers settings to show app and profile configuration progress during deployment, the time it takes before an error is displayed and allows a custom message when the deployment fails. Using an ESP, you have the ability to turn on log collection and diagnostics page for end users. You can even block the device until all the required apps are provisioned. In this mode you can allow users to reset the device if an installation error occurs or allow them to keep using the device. Last but not least, you have the option to manually select all of the apps that need to be installed on the device, before users can start to use the device.
I mentioned the join type in the deployment profile. Well that can be either Microsoft Entra joined or Microsoft Entra Hybrid joined. My advice would always be to go Microsoft Entra joined unless there’s a valid business reason to go hybrid. If you do go down the path of a hybrid deployment, then make sure to configure the Intune Connector for Active Directory.
Deploying a Windows device with Windows Autopilot starts with acquiring the hardware hash. You can either grab it manually with a Powershell onliner and upload it directly to your tenant or manually create a CSV and upload it to Microsoft Intune, but that’s not something you want to do with a large order of devices. Luckily you can ask the vendors to import the hashes for you.
For this demo I will run the PowerShell command on the virtual machine:
[Net.ServicePointManager]::SecurityProtocol = [Net.SecurityProtocolType]::Tls12
 Set-ExecutionPolicy -Scope Process -ExecutionPolicy RemoteSigned
 Install-Script -Name Get-WindowsAutopilotInfo -Force
 Get-WindowsAutopilotInfo -Online
Make sure to authenticate and wait until the hardware hash is successfully uploaded. You should end up with something like this:

We are now ready to deploy this device using Windows Autopilot. Just follow along with the OOBE steps and sign in with the user account. You will then see the the Enrollment Status Page (ESP). Remember that it behaves according to the settings that you have selected before:

It will run though the three stages:
- Device preparation
- Device setup
- Account setup
It will update while going through the configuration:
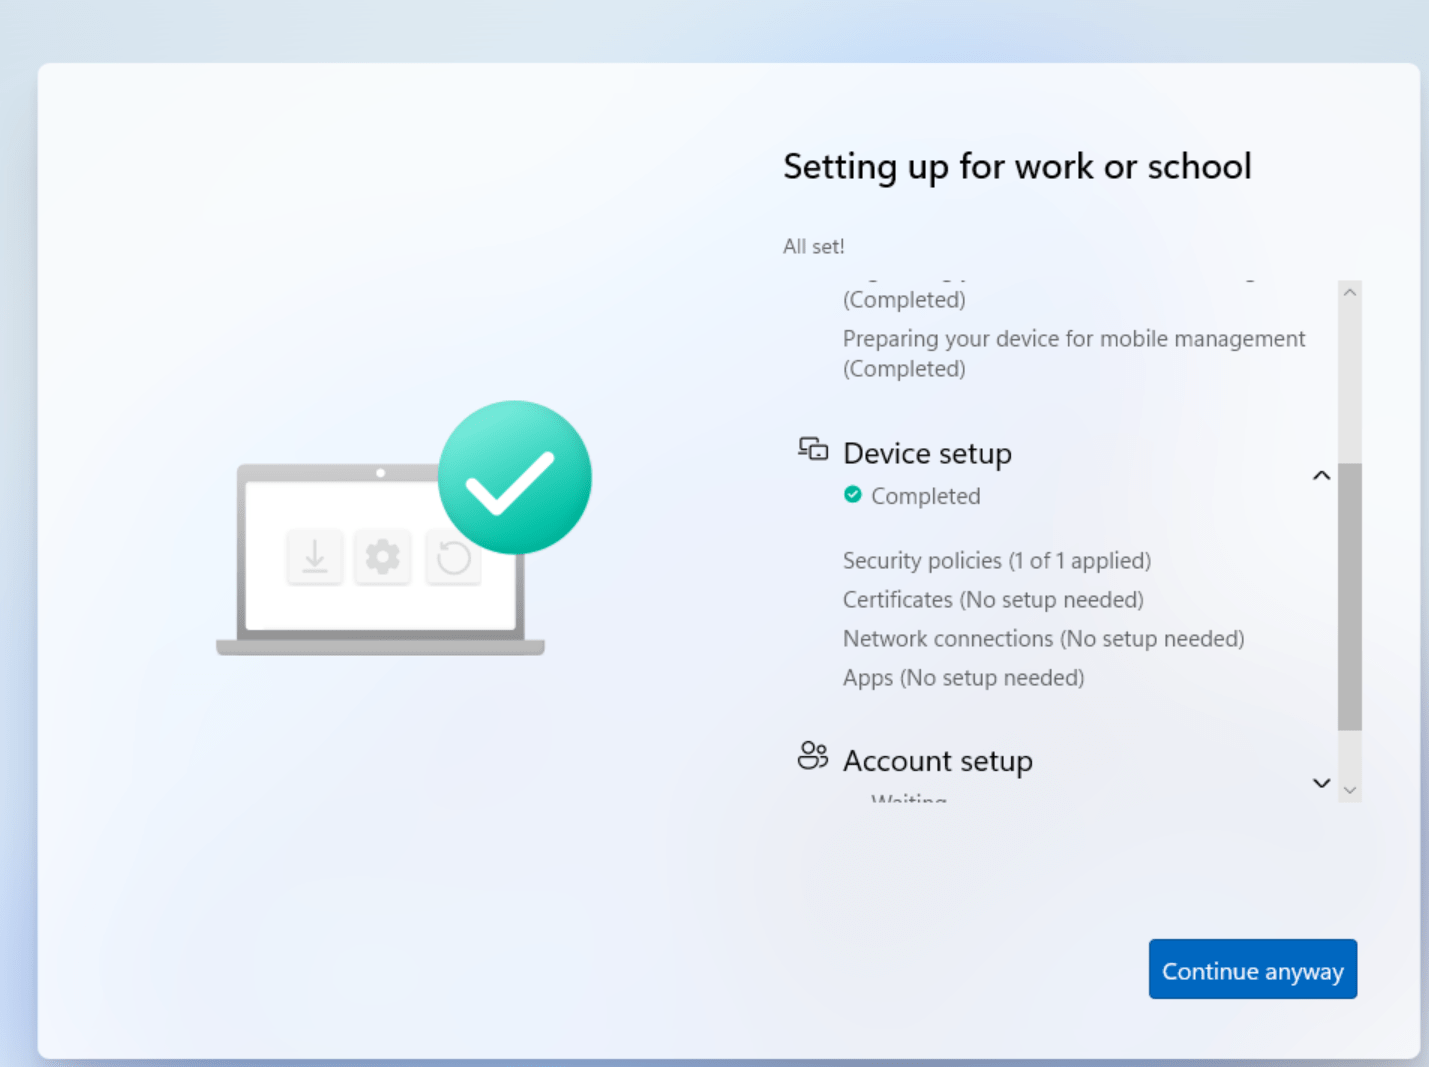
The user will be able to sign into the device once the final stage has completed:

Of course there is more to Windows Autopilot, like troubleshooting etc. But I will finish up here and continue with comparing Windows Autopilot …
... with Windows Autopilot Device Preparation policies
Just like Windows Autopilot, Intune admins have the ability to deploy Windows devices with Windows Autopilot Device Preparation policies. It supports a smaller feature set for scenarios where you do not want to use the full Windows Autopilot experience and it has a real smooth user experience.
In terms of features, Windows Autopilot Device Preparation policies offer the following features:
- At the time of writing you can choose between two policies: user-driven and Automatic (Preview).
- In deployment settings you will find the deployment mode that you selected along with the join type and the user account type (Standard user / Administrator).
- In Out-of-Box experience settings you can configure the number of minutes before an installation error is shown along with a custom message. You can enable/disable the Allow users to skip setup after multiple attempts setting and the Show link to diagnostics setting.
- In Apps you can select up to 10 apps you want to be installed before the user can sign into the device. Yes, 10 is a limit.
- You can select up to 10 Scripts that should be executed on the device before the user can sign in.
- Note that you can only join device to Microsoft Entra, it does not support hybrid join.
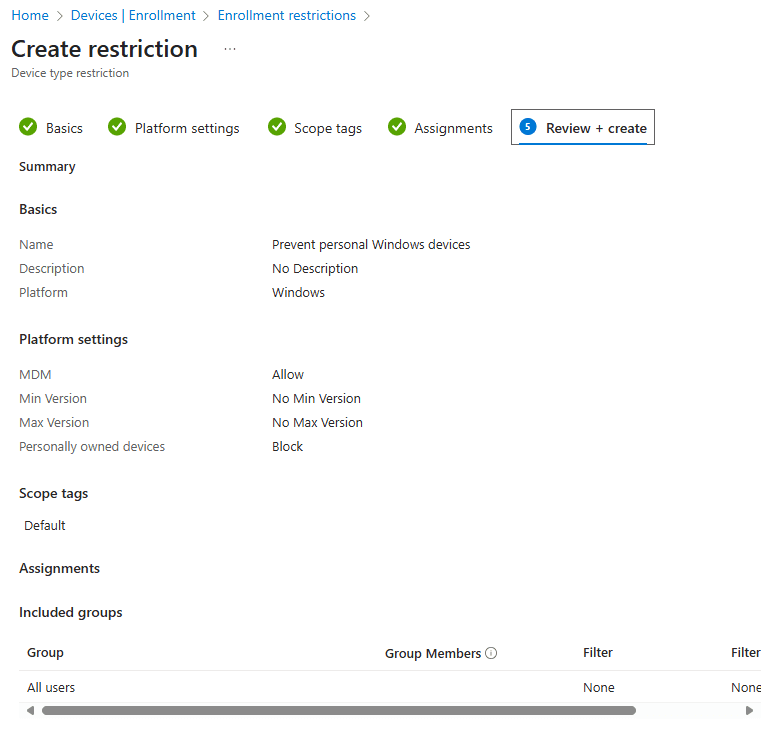
Windows Autopilot Device Configuration policies do not use hardware hashes to work. Once a policy is created, it works for all Windows devices (corporate and personal). That is something you might not like! Here is how to prevent personally owned devices.
From the Microsoft Intune admin center, Devices, Device onboarding, Enrollment, select Device platform restriction. The default tab, Windows restrictions, is where you want to be. Select the + Create restriction button in the ribbon. Give the restriction a name and Block the Personally owned devices setting. Finish up like you normally would and make sure to take a moment to admire your awesome work:
Now you could ask yourself the question; how does Microsoft Intune know the difference between corporate owned devices and personally owned devices? The answer is: we just tell it! And we will use Corporate device identifiers to do so!
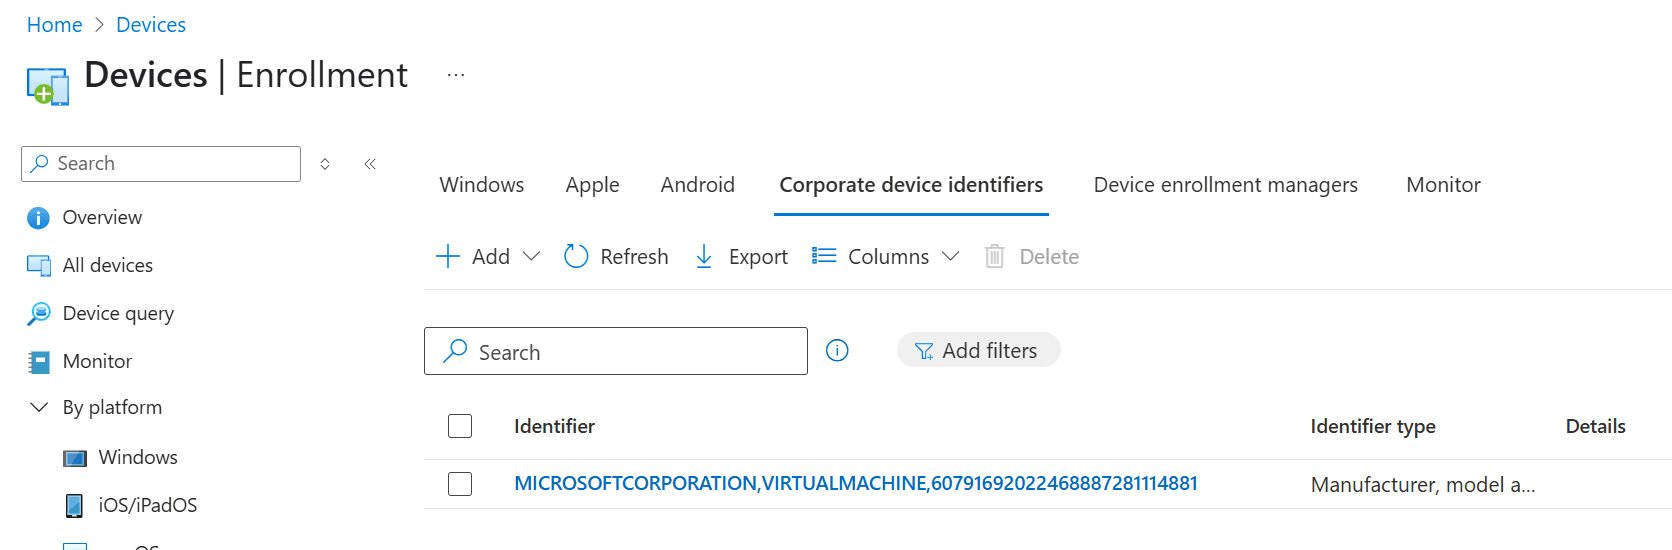
Head back to the Enrollment blade and select fourth tab named Corporate device identifiers:

Click the + Add button in the ribbon to either manually add corporate device identifiers using Upload CSV file and select Manufacturer, model and serial numer (Windows only). Please note that the CSV file does not include headers.

Then upload it to Microsoft Intune:

There are already a couple of great ways published by MVPs; but here is an example on how to get this information:
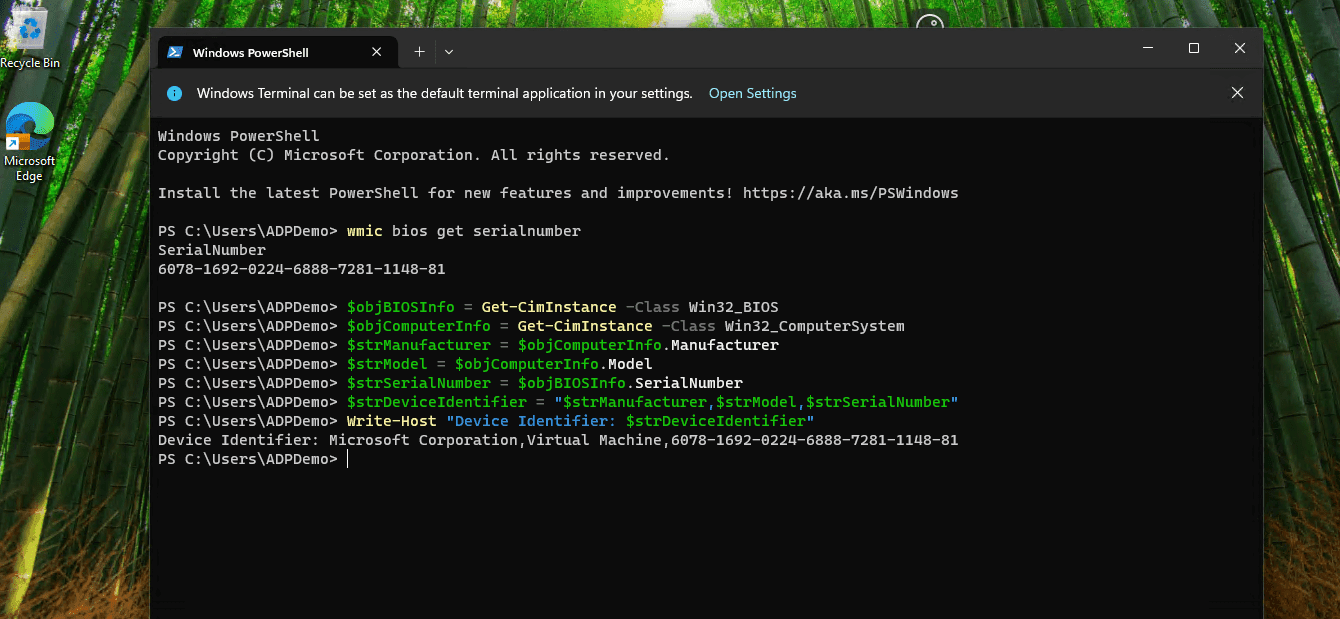
Once the upload is complete, you will see the information:
Now we still need to take care of two steps:
- Prepare our groups
- Create our first Windows Autopilot Device Preparation policy
Step 1: Preparing the required Entra groups
- A security group which will have the devices automatically added to it by Microsoft Intune.
- A security group with the users who will be able to deploy the devices using the Windows Autopilot Device Preparation policy.
There are no devices to add when creating the security group for devices, but it’s required to add an owner with the AppID of f1346770-5b25-470b-88bd-d5744ab7952c. The name could either be:
- Intune Provisioning Client
- Intune Autopilot ConfidentialClient
In my tenant it was listed as Intune Autopilot ConfidentialClient.

Let’s create an Autopilot Device Preparation policy! Navigate to Devices, Enrollment, Device preparation policies.

Click the + Create button and select User-driven.

You will be greeted with a nice overview of what an Windows Autopilot Device Preparation policy is, then continue to the Basics tab.

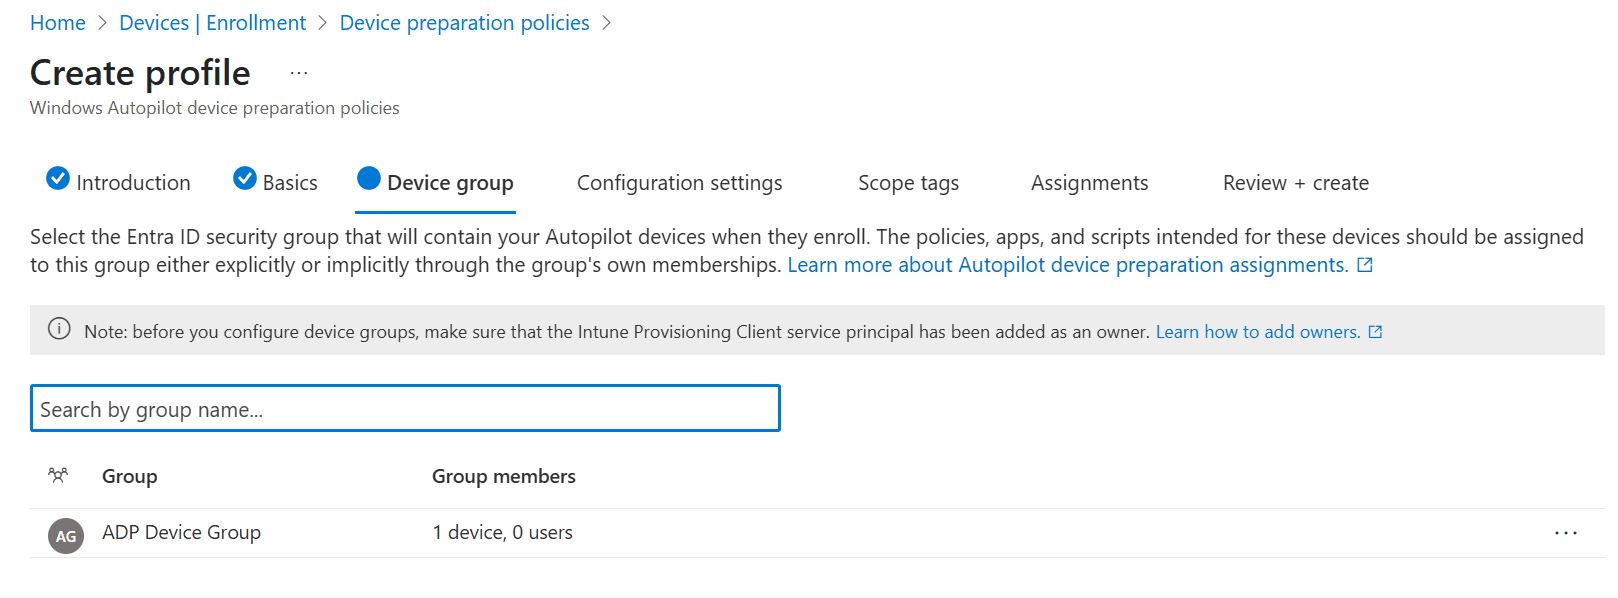
Select the device group that you created earlier and you are ready to continue to the next step.
My group already contains one member because of testing purposes. So it’s perfectly OK if your group is empty.
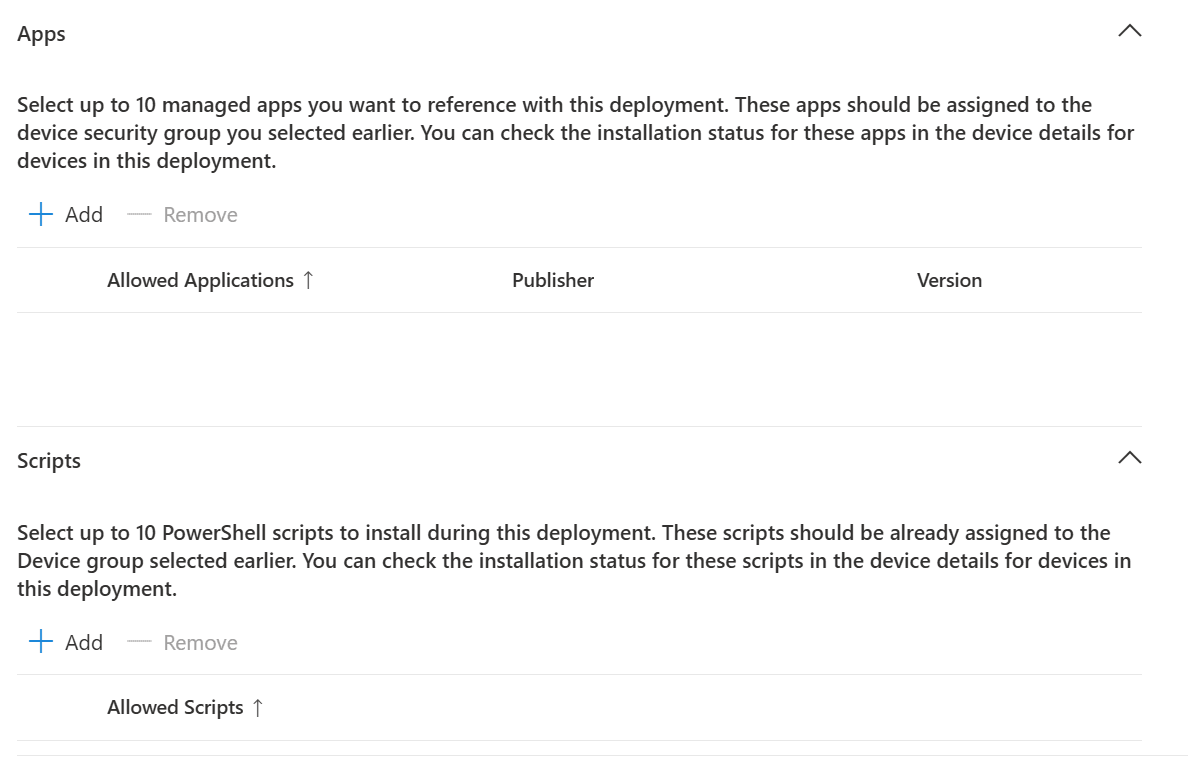
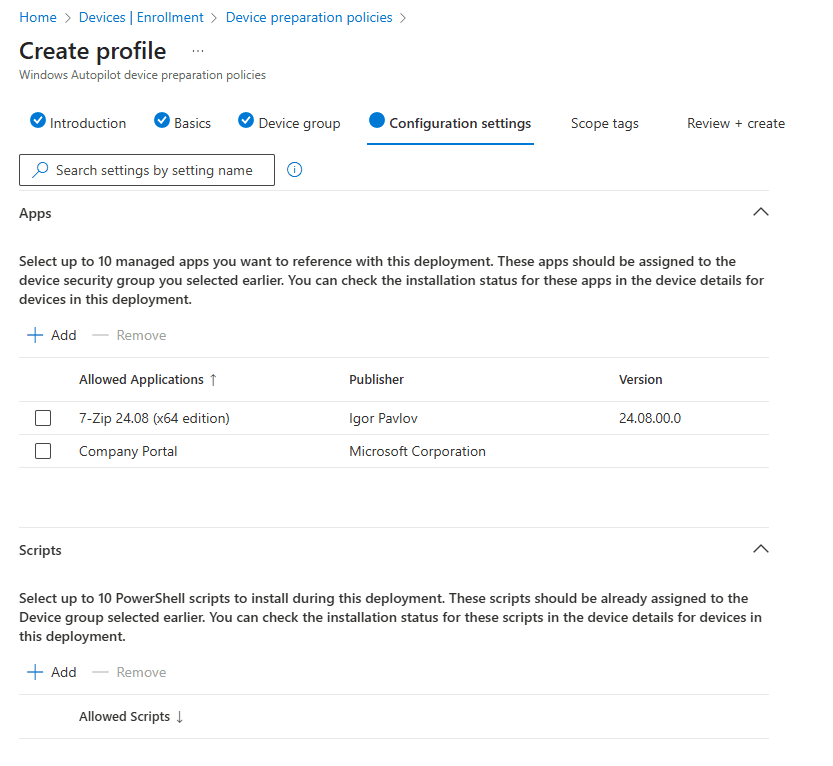
Next up is the Configuration settings step. This allows you to configure the deployment settings, Out-of-Box Experience, Apps and Scripts. Remember that there are limits in place (10).
In the apps I like to add the Company Portal app and the Microsoft 365 Apps. Other apps can easily be added using the Company Portal app once the deployment is complete.

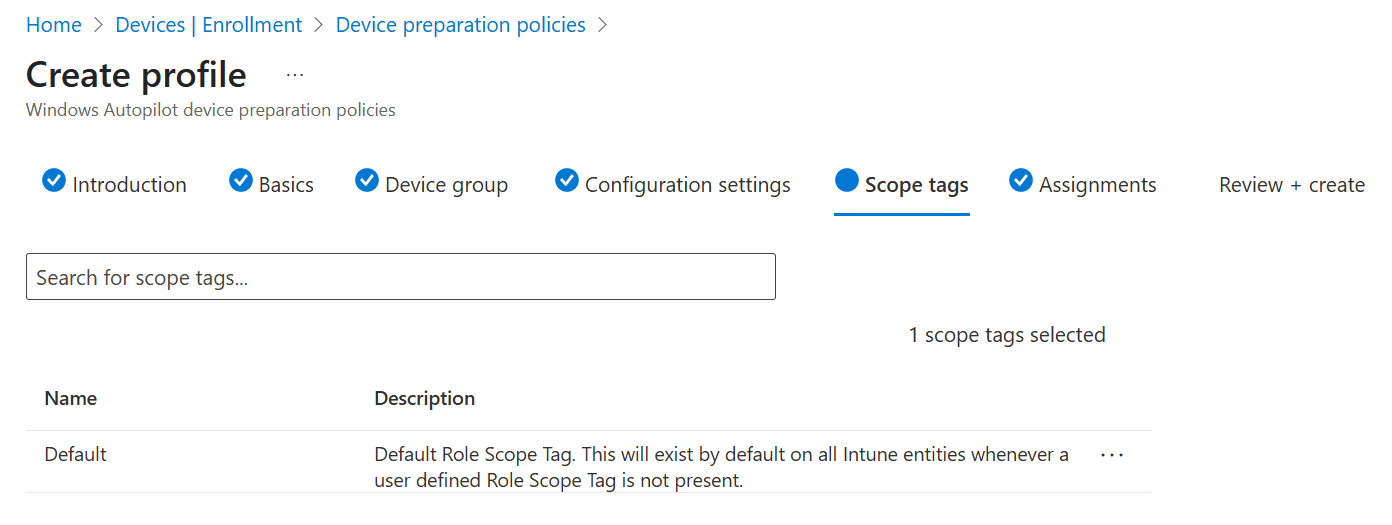
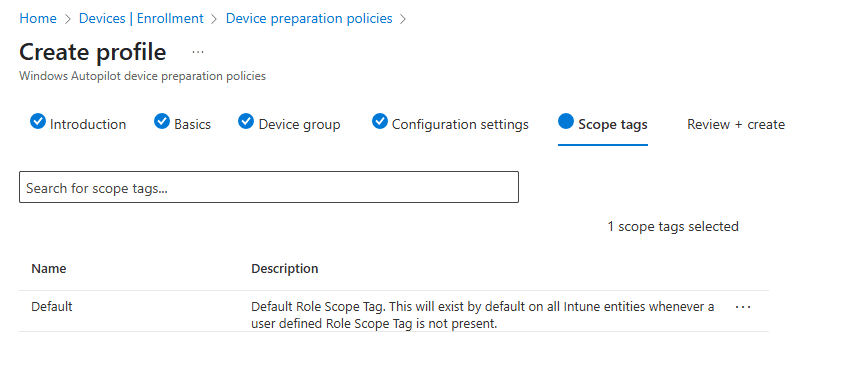
Add Scope tags if applicable:
Make sure to assign the group to the user group that was prepared earlier. This group should have users assigned to it.

Make sure to review your awesome work and save the policy when you are happy with it.
And that is all there is to it! Let’s see what the user experience looks like!
The first part of the process is the same as we have seen before, from the language up to signing in to the device. Instead of loading the ESP, we now have a smooth deployment overview:
- Installing the Intune Management Extension
- Installing apps and policies
- Walk you through the OOBE questions
- Check for updates
- Finalizing the deployment
- Configure Windows Hello for Business (if applicable)
- Present the user with a desktop
As you can see, the Company Portal app and M365 Apps have been installed:


I do want to include a couple of additional tips:
Q: What happens if the hardware hash of a device is imported?
In that case, the hardware hash wins from the Windows Autopilot Device Preparation policy and the user will receive the Windows Autopilot experience.
Q: Is the device locked to the customer tenant once it is imported as a corporate device identifier?
No, it is not. That is the case if you import the hardware hash.
Using Windows Autopilot Device Preparation Policies on Frontline Cloud PCs
Recently I learned that Microsoft now supports Windows 365 Frontline Cloud PCs in shared mode with Windows Autopilot Device Preparation policies where the deployment runs automatically once the Cloud PCs have been provisioned. Let’s find out how to setup this scenario.
Click the + Create button in the Microsoft Intune admin center, Devices, Enrollment, Device preparation policies and select Automatic (Preview).

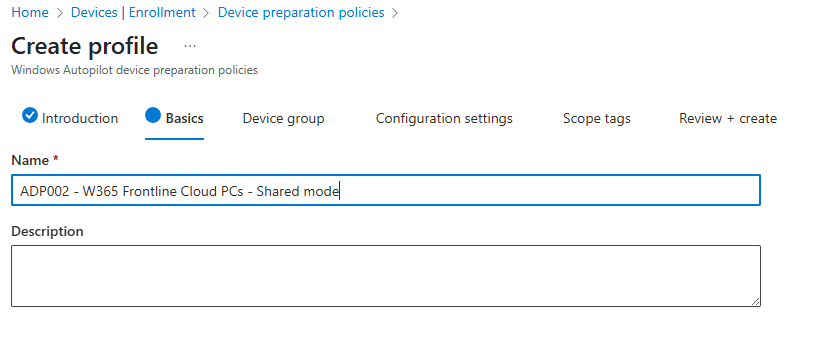
We are greeted with an introduction, let’s continue to the Basics step.

Enter a name for the device preparation policy and optionally a description.
Just like the user-drive mode we need to provide a device group which has the Intune Provisioning Client service as the owner. I named the group ADP – Frontline Cloud PCs and added the group in this step.

Add the essentials apps and scripts in the configuration settings step. Chances are that you are using the W11 + M365 Apps gallery image, so it’s not necessary to add the M365 as apps here. This also saves time since it does not need to be installed.
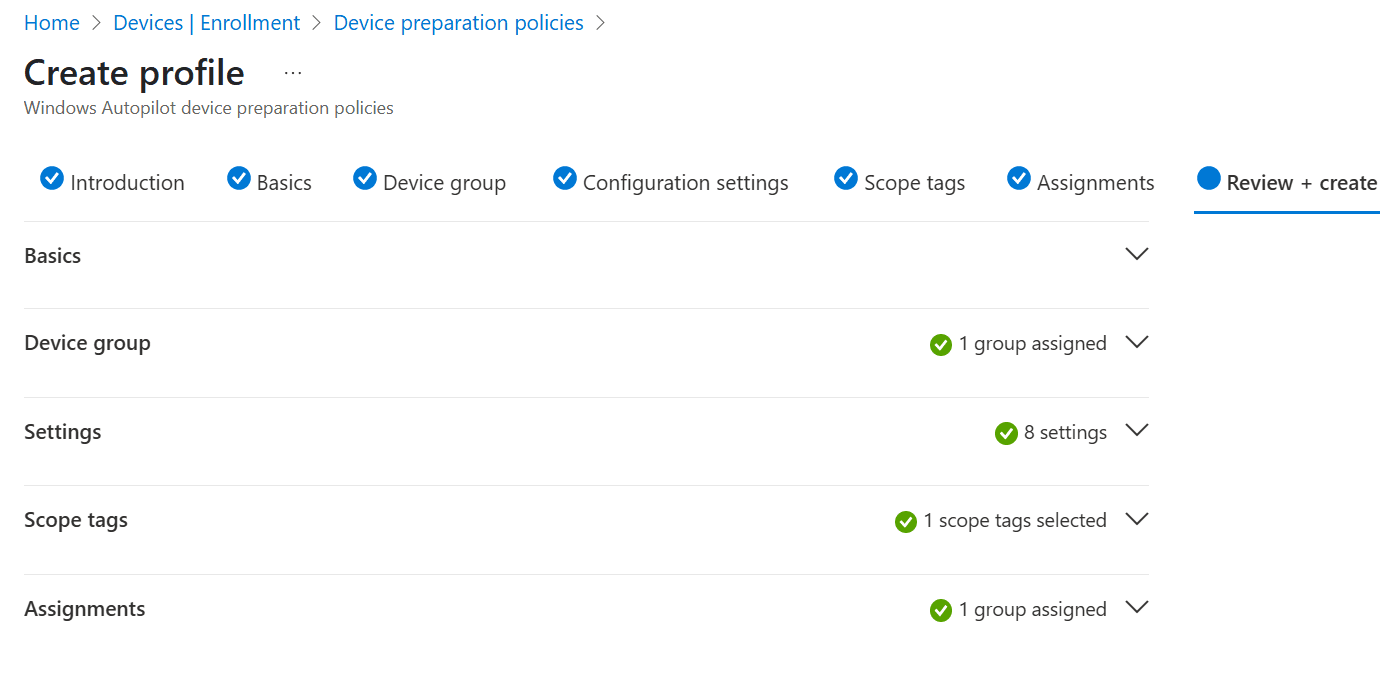
Add scope tags if applicable and go to the review + create step.
Take a moment to admire your awesome work and save the policy if you are happy with it. I ended up with the following:
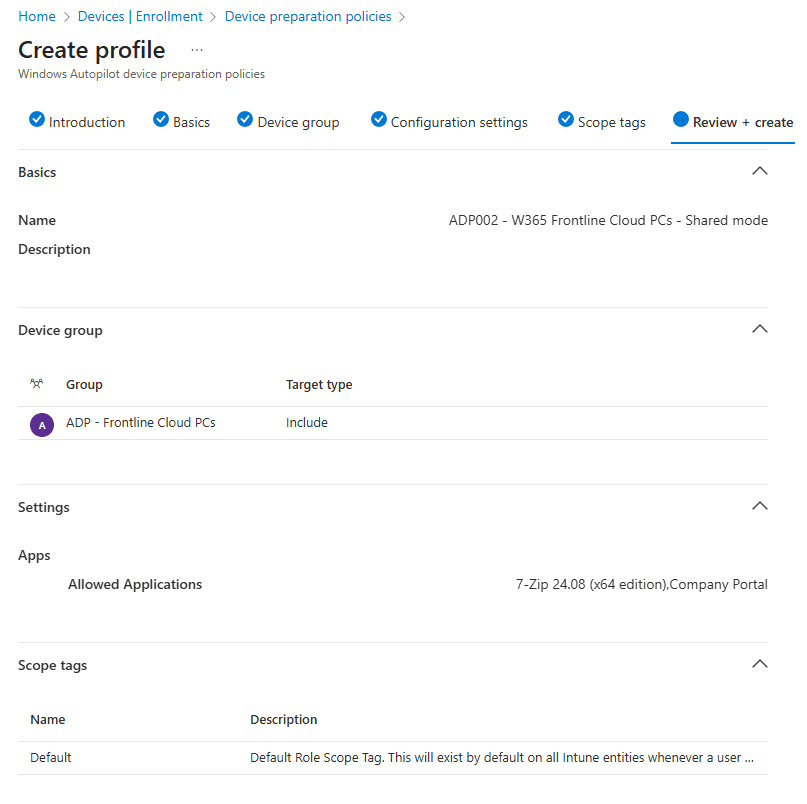
Did you notice that there is no user assignment taking place? There is actually no need to do so because we selected the automatic (preview) policy type which targets Windows 365 Cloud PCs in shared mode automatically.

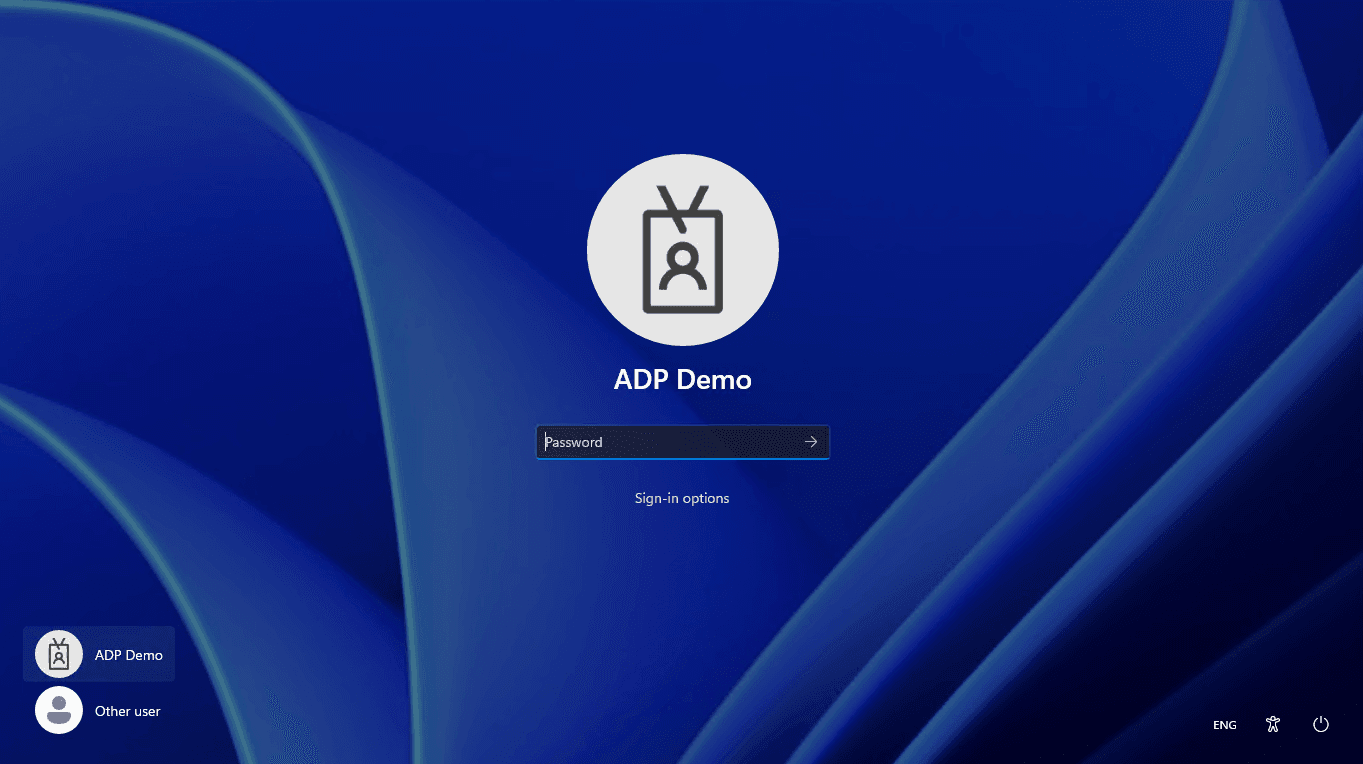
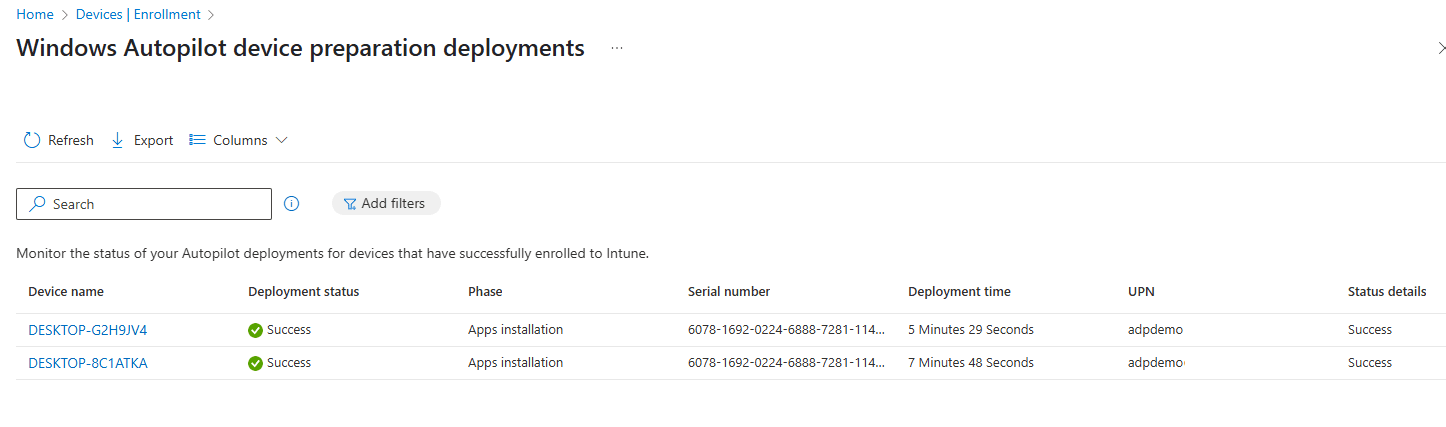
The customizable status page looks like this:
That wraps up the Windows Autopilot vs Windows Autopilot Device Preparation Policy comparison. I really like how device preparation policies work but on a small sidenote I would have liked it if just a bit more customization was possible (like preventing the OOBE questions and naming the device).
Happy deploying!
Resources
Share this:
- Click to share on LinkedIn (Opens in new window) LinkedIn
- Click to share on X (Opens in new window) X
- Click to share on Facebook (Opens in new window) Facebook
- Click to share on WhatsApp (Opens in new window) WhatsApp
- Click to share on Telegram (Opens in new window) Telegram
- Click to print (Opens in new window) Print