What’s up, everyone!
In the upcoming mini-series I’d like to take you back to a presentation I delivered with Niklas Tinner at the Workplace Ninja Summit. In this session we compared Windows 365 Link with a Windows 365 Boot device. We finished up with an interactive session with the attendees and one of questions we prepared was: Which solution would you use?
One attendee replied: a thin client!
Windows 365 Link and Boot are great Microsoft options, but you can use a lot of other devices if you want to. So let’s do another comparison between Windows 365 Link, Windows 365 Boot and 10ZiG zero clients.
Mini-series overview
- Using 10ZiG Manager to manage zero and thin clients
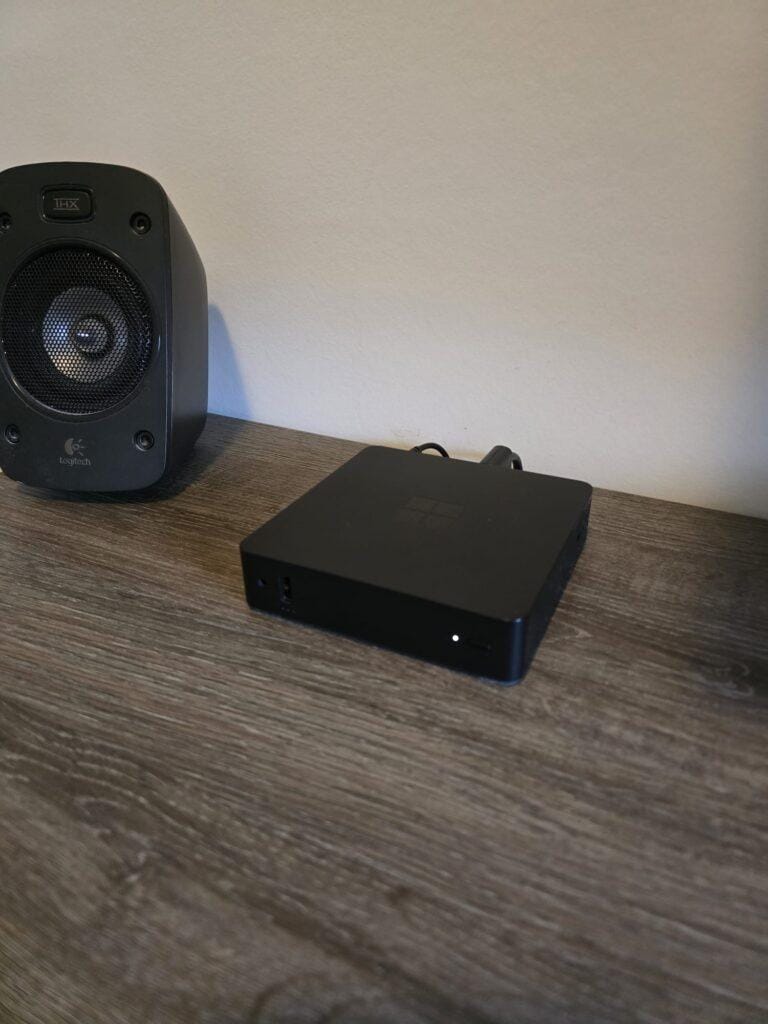
I want to thank my friends at 10ZiG for sending me a thin and zero client to work with on this post!
Prerequisites
The following are prerequisites if you want to follow along:
- 10ZiG Manager is a free to use solution to manage 10ZiG devices. I will use the upcoming v6 and run it in a Hyper-V VM. Would you like to try the new v6 as well? Reach out to 10ZiG and they can get you access to an OVA file which you can convert to VHDX if you prefer Hyper-V.
- A 10ZiG zero client running the NOS operating system.
- A 10ZiG thin client running the PeakOS operating system.
I will use a 10ZiG 7048qm zero client for this demo and I will update it to the latest firmware so I can show the updated GUI!
10ZiG Manager: one console to rule them all!
Thin and zero clients can be managed locally which is fine for local support actions. 10ZiG helps you out with the 10ZiG Manager which is a free tool that you can download on their website.
At the time of writing you can download version 5.4.2.0 as an executable that you can install on Windows Server operating systems. Please note that you cannot and should not install apps like this on Domain Controllers.
Once installed you can use your favorite browser to connect to the web app and you will setup your first account. This account will be part of the Administrator role and will have full control. You have the option to add additional custom roles or use the other built-in roles to implement RBAC into the environment.
As mentioned in the introduction text, 10ZiG has been kind enough to give me access to the upcoming version 6 of 10ZiG Manager. So here is a special sneak peak on the new v6 GUI of 10ZiG Manager:
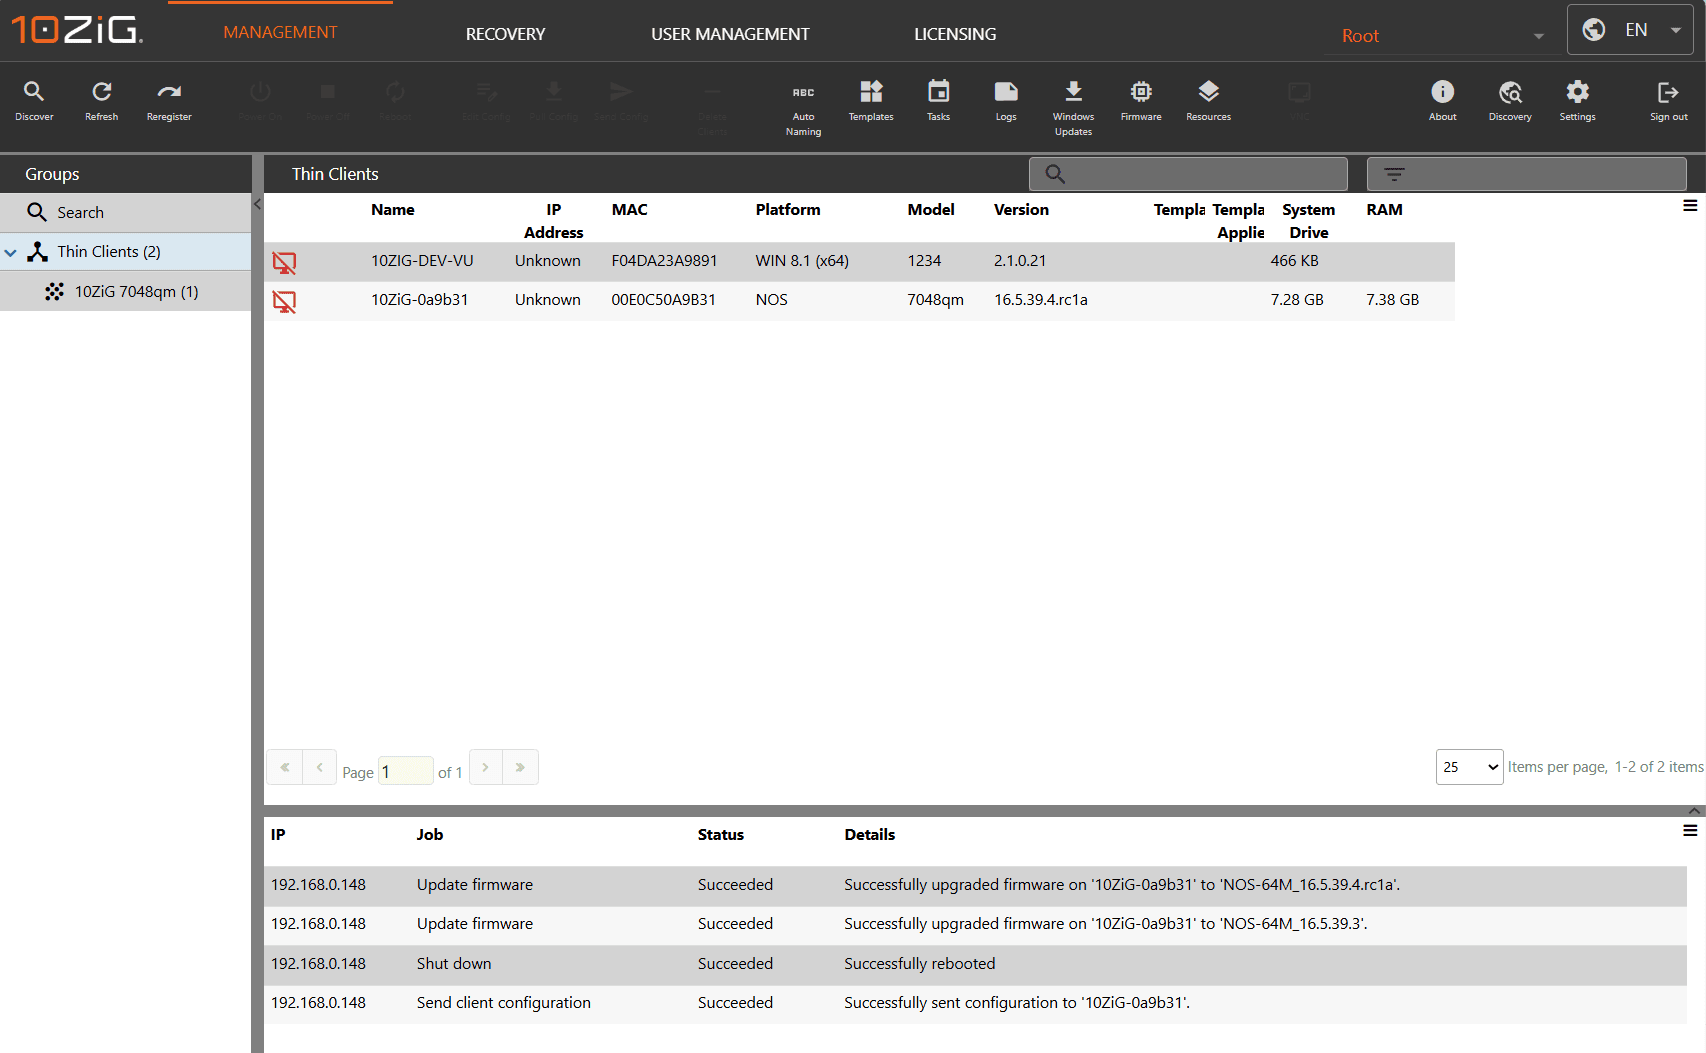
The top bar allows you to switch between management options:
- Management gives an overview of all the available devices in the network and all of the configuration options.
- Recovery is used to send power on / power off commands to your devices and you can enable or disable PXE.
- User management allows you to manage exiting and create custom roles and add or remove new users. Do you want to integrate with Entra ID? 10ZiG has got your back. Just click the Configure Entra ID button in the ribbon.
- Licensing gives an overview of your licenses if you have any.
Let’s continue with updating the 7048qm zero client to the newest firmware that contains the new Windows app gui using 10ZiG Manager.
Updating to the latest firmware
The 7048qm zero client runs NOS as the operating system. It’s more a firmware based solution then a full operating system.
There are a couple of ways to update the device:
- From the 10ZiG Manager, select the device and update the device individually.
- From the 10ZiG Manager, create a scheduled task and update the firmware for multiple devices in bulk.
- From the 10ZiG Manager, create a group with auto-population filters. Set and apply the firmware to the group configuration to automatically update the firmware of members devices.
- Update the device from a local USB stick. Just copy the .tar file to the USB stick, on the local device, go to settings, allow local update from USB stick. Plug your USB stick in and watch the magic happen.
In this demo I will update the device using the 10ZiG Manager.
The new firmware has a new and improved user interface. So let’s take a quick look on what the ‘old’ firmware and user experience look like:

Updating a single device
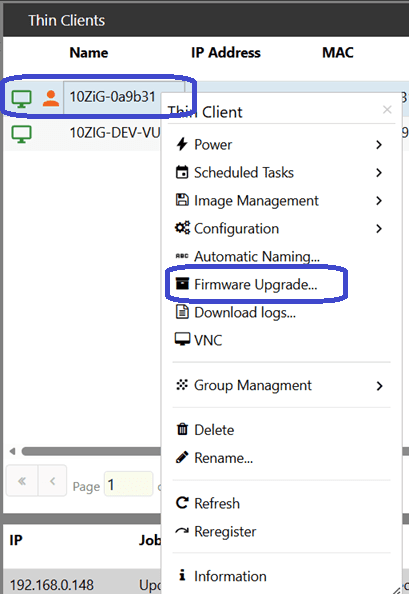
Let’s find out how to update a single device at a time. From the 10ZiG Manager console, select the device you want to update and select Firmware Upgrade… in the context menu.
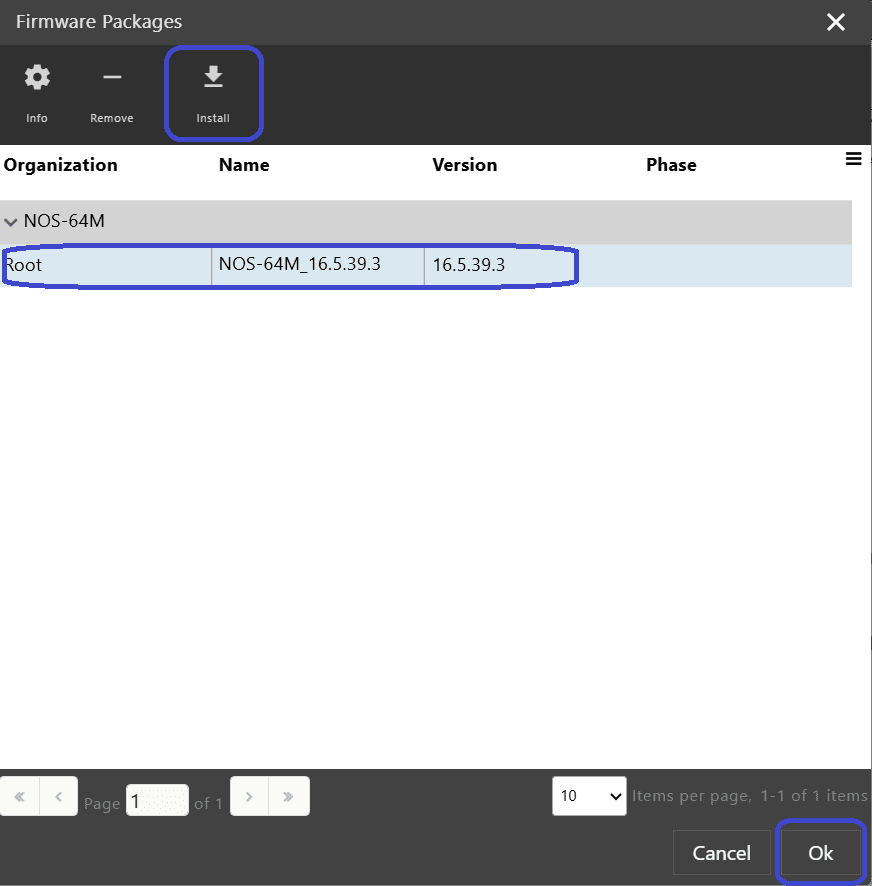
This will bring up the firmware packages window. If you just installed 10ZiG Manager, you will not see any firmware available. Instead you need to download the firmware from the 10ZiG website and click the install button.
Click the Choose File button and navigate to the folder where the firmware is saved. Upload that firmware and wait until the upload completes.
You will see the firmware in the overview once the upload completes. Now select that firmware and notice that the OK button in the lower right corner becomes available. Click OK.
The task pane will keep you informed of the status of the upgrade. In my case it took a bit of time before the upgrade completed successfully:

Updating devices using a scheduled task
Alternatively you can create a scheduled task to upgrade multiple devices in bulk. Select the desired devices, from the contextmenu select Scheduled Tasks, Add…
Give the scheduled task a name and select the desired action:

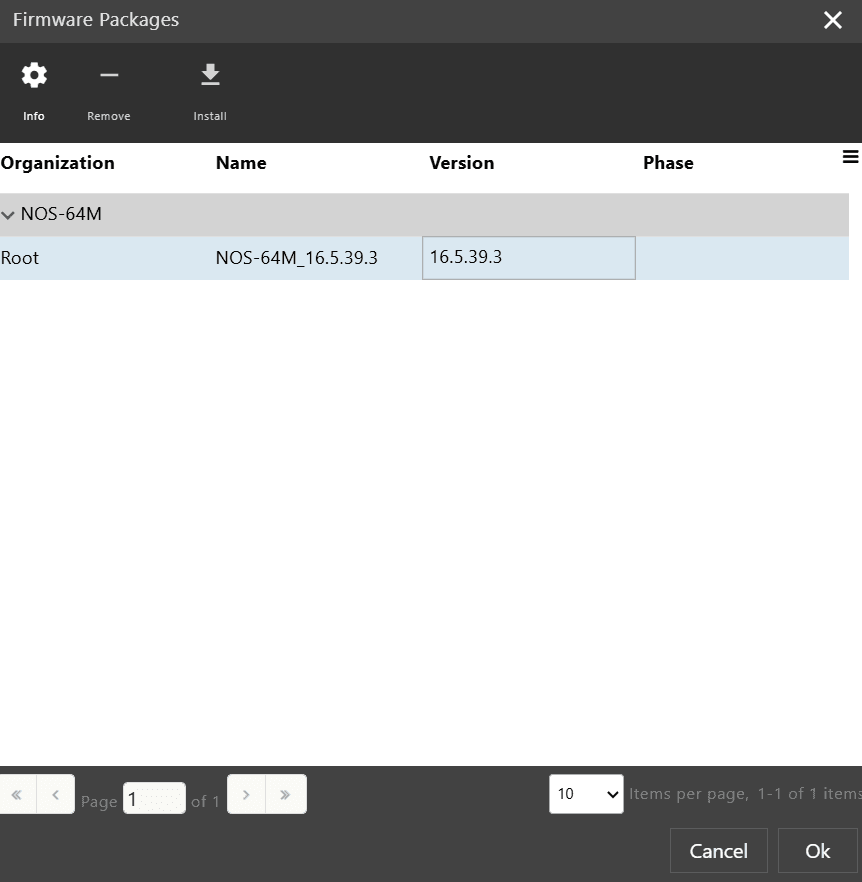
Then it’s time to select the firmware and click the OK button in the lower right corner.
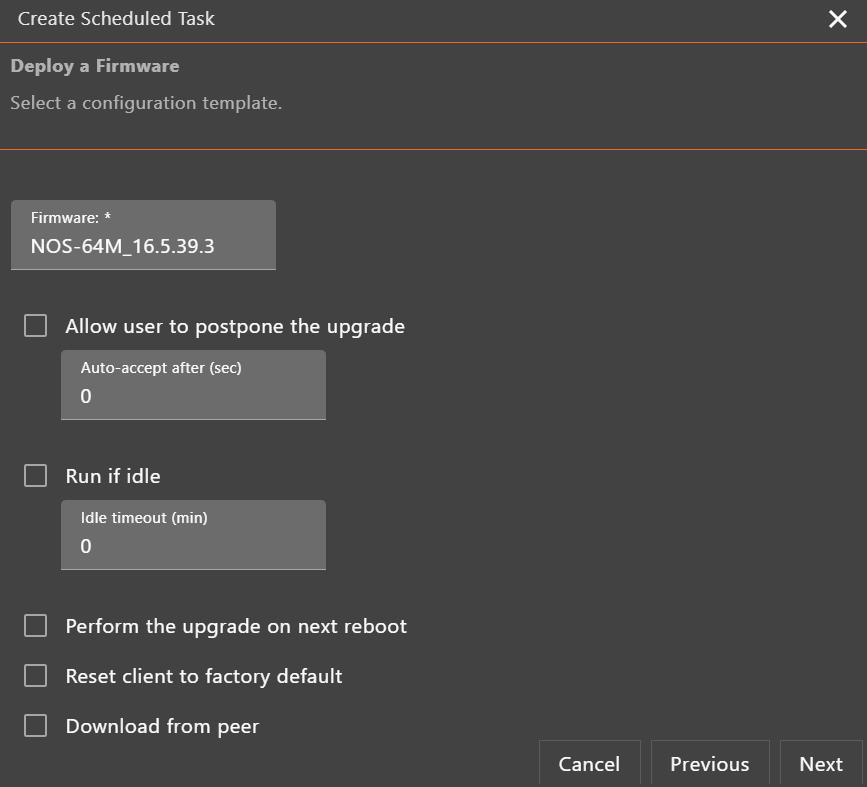
The next step has some specific options related to the deploy a firmware template:
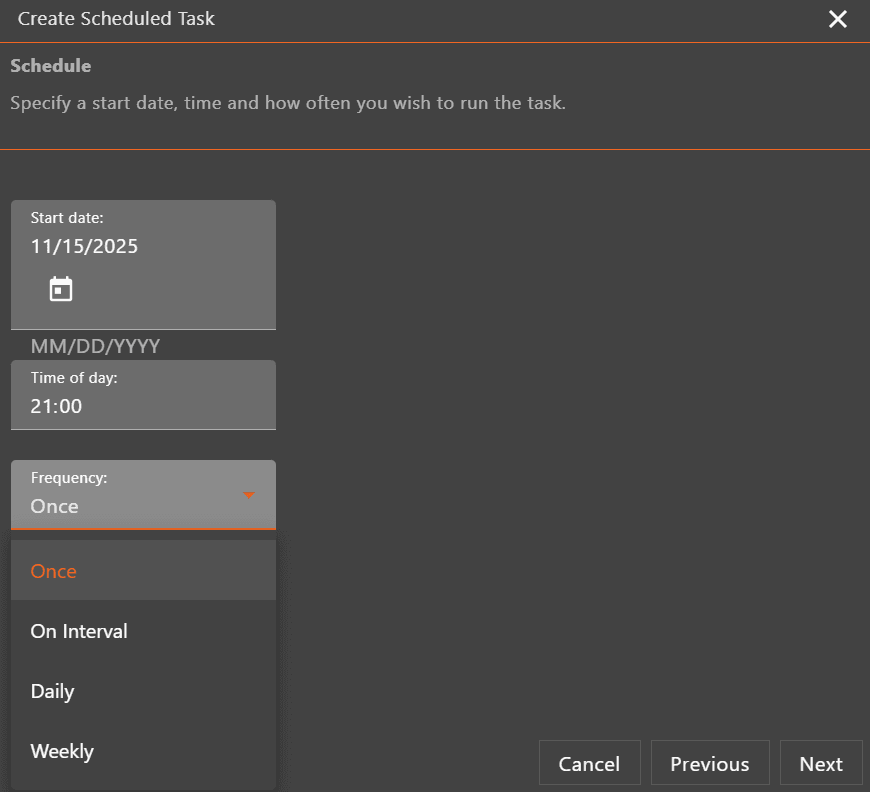
Select the time and date you want the scheduled task to run:
Now it’s time to admire your awesome work and click the Finish button.

The job is now created and will run at the specified date and time. You can monitor the status of the task and even change the settings if you click on the Tasks tile in the ribbon.

Automatically update devices using a dynamic group
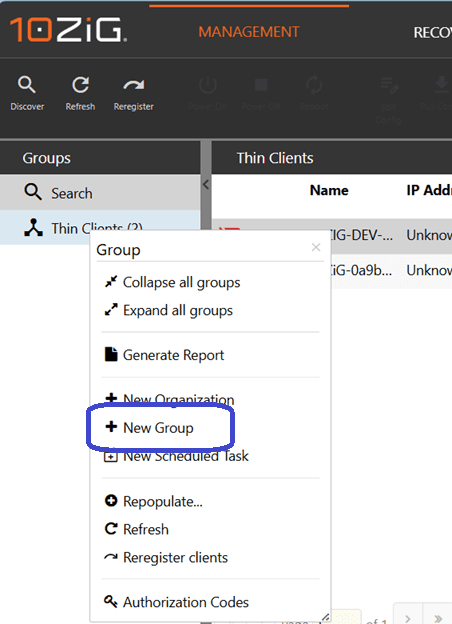
You can make your life even more easy by creating a group in the 10ZiG Manager and apply client configuration settings to automatically update the firmware for new devices. Rightclick in the group window and select + New group.
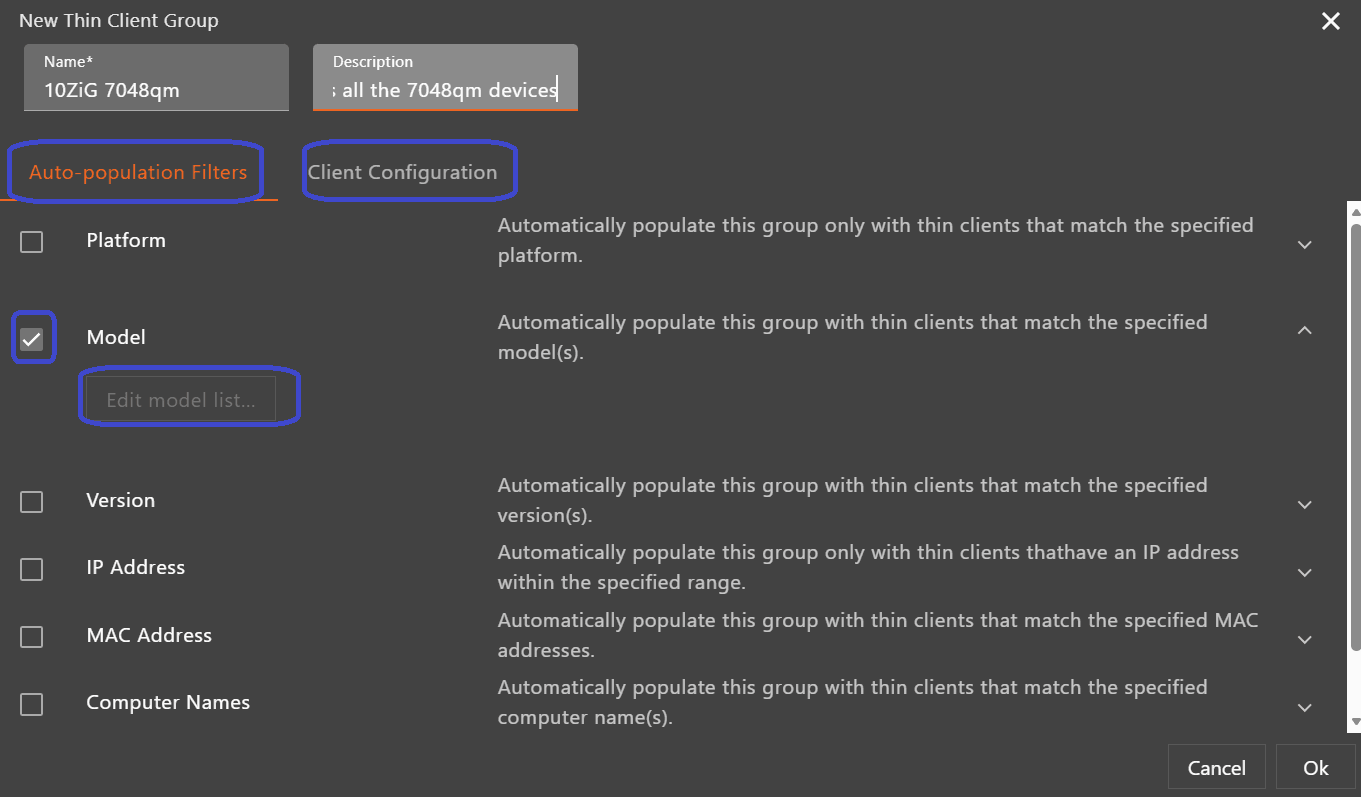
There are a couple of things to look for in the upcoming screenshot.
- Give the new group a name and description
- Notice there are two tabs:
- Auto-population filters are used to group devices based on properties, like the model. Just check the box and enter the model.
- Client configuration gives the option to send client configuration to the devices, auto-name clients and automatically update the firmware.
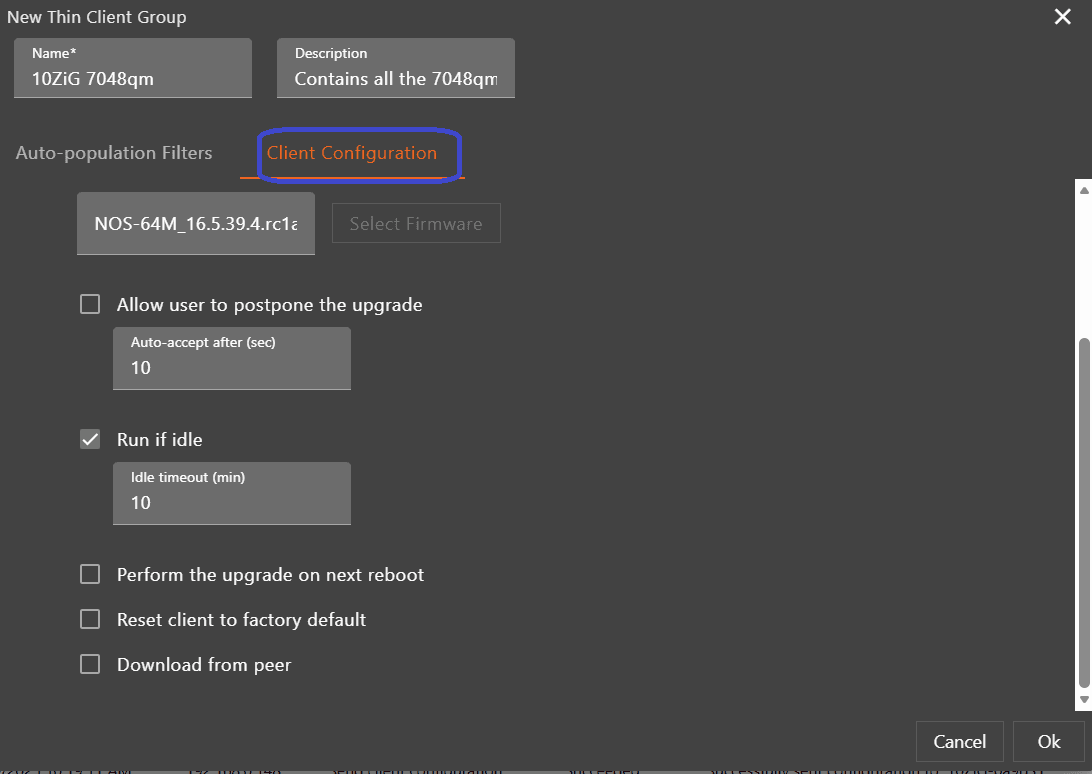
Next up is the client configuration. Select the auto-update firmware option, select the desired firmware for the devices and optionally select the user experience:
- Allow the user to postpone the update
- Run if the device is idle
- Perform the update automatically at next reboot
- Reset the client to factory defaults
- Download the firmware from a peer
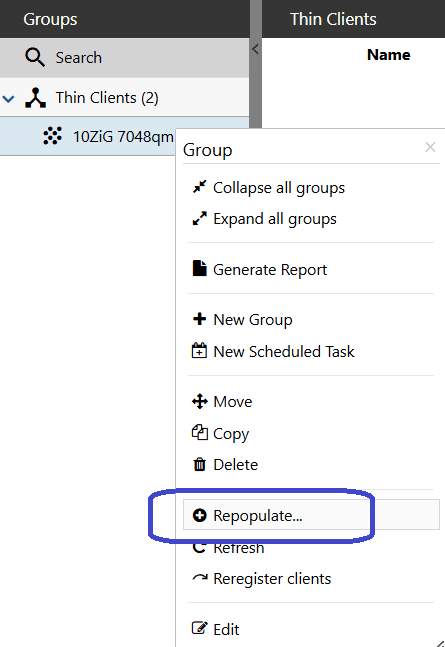
Admire your awesome work and click the OK button to create the group. The new group will appear in the Groups window but chances are that no devices are listed in the group yet. If so, rightclick the newly created group and select + Repopulate…
You should now see the devices in the group and they will update their firmware automatically according to the settings you selected earlier:
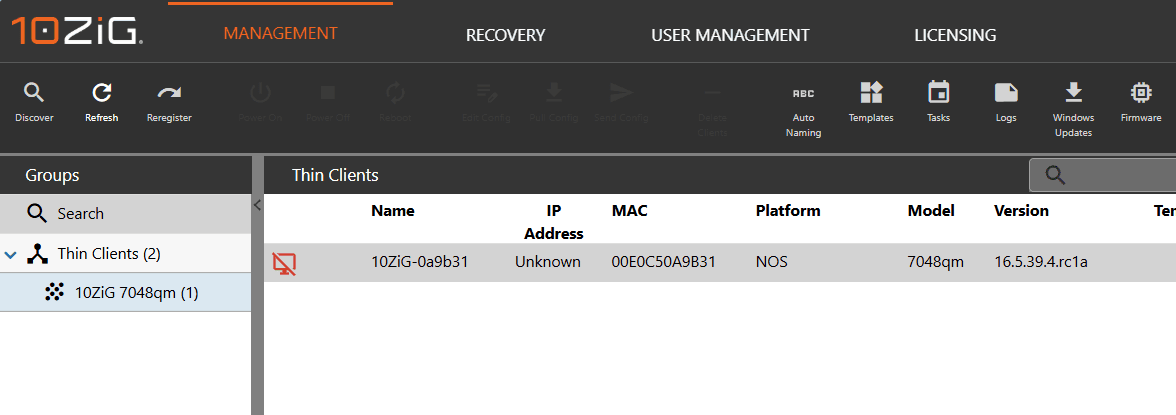
If you can’t see the devices after the Repopulate action, then I would advise to doublecheck the group settings (rightclick and select edit).
We have successfully upgraded the firmware of our zero client. Let’s see the new GUI in action!
The new and improved user experience
Microsoft raised the bar as far as user experience goes with the Windows app. It allows you to connect to your cloud based desktops in Windows 365 and Azure Virtual Desktop and you can connect to your corporate apps using Cloud Apps and RemoteApp. All of that including self service options and device options like restart and point-in-time restore.
The ‘old’ GUI works but simply does not come close to the user experience of the Windows app.
Let’s find out what the new GUI looks like after updating to the new firmware:
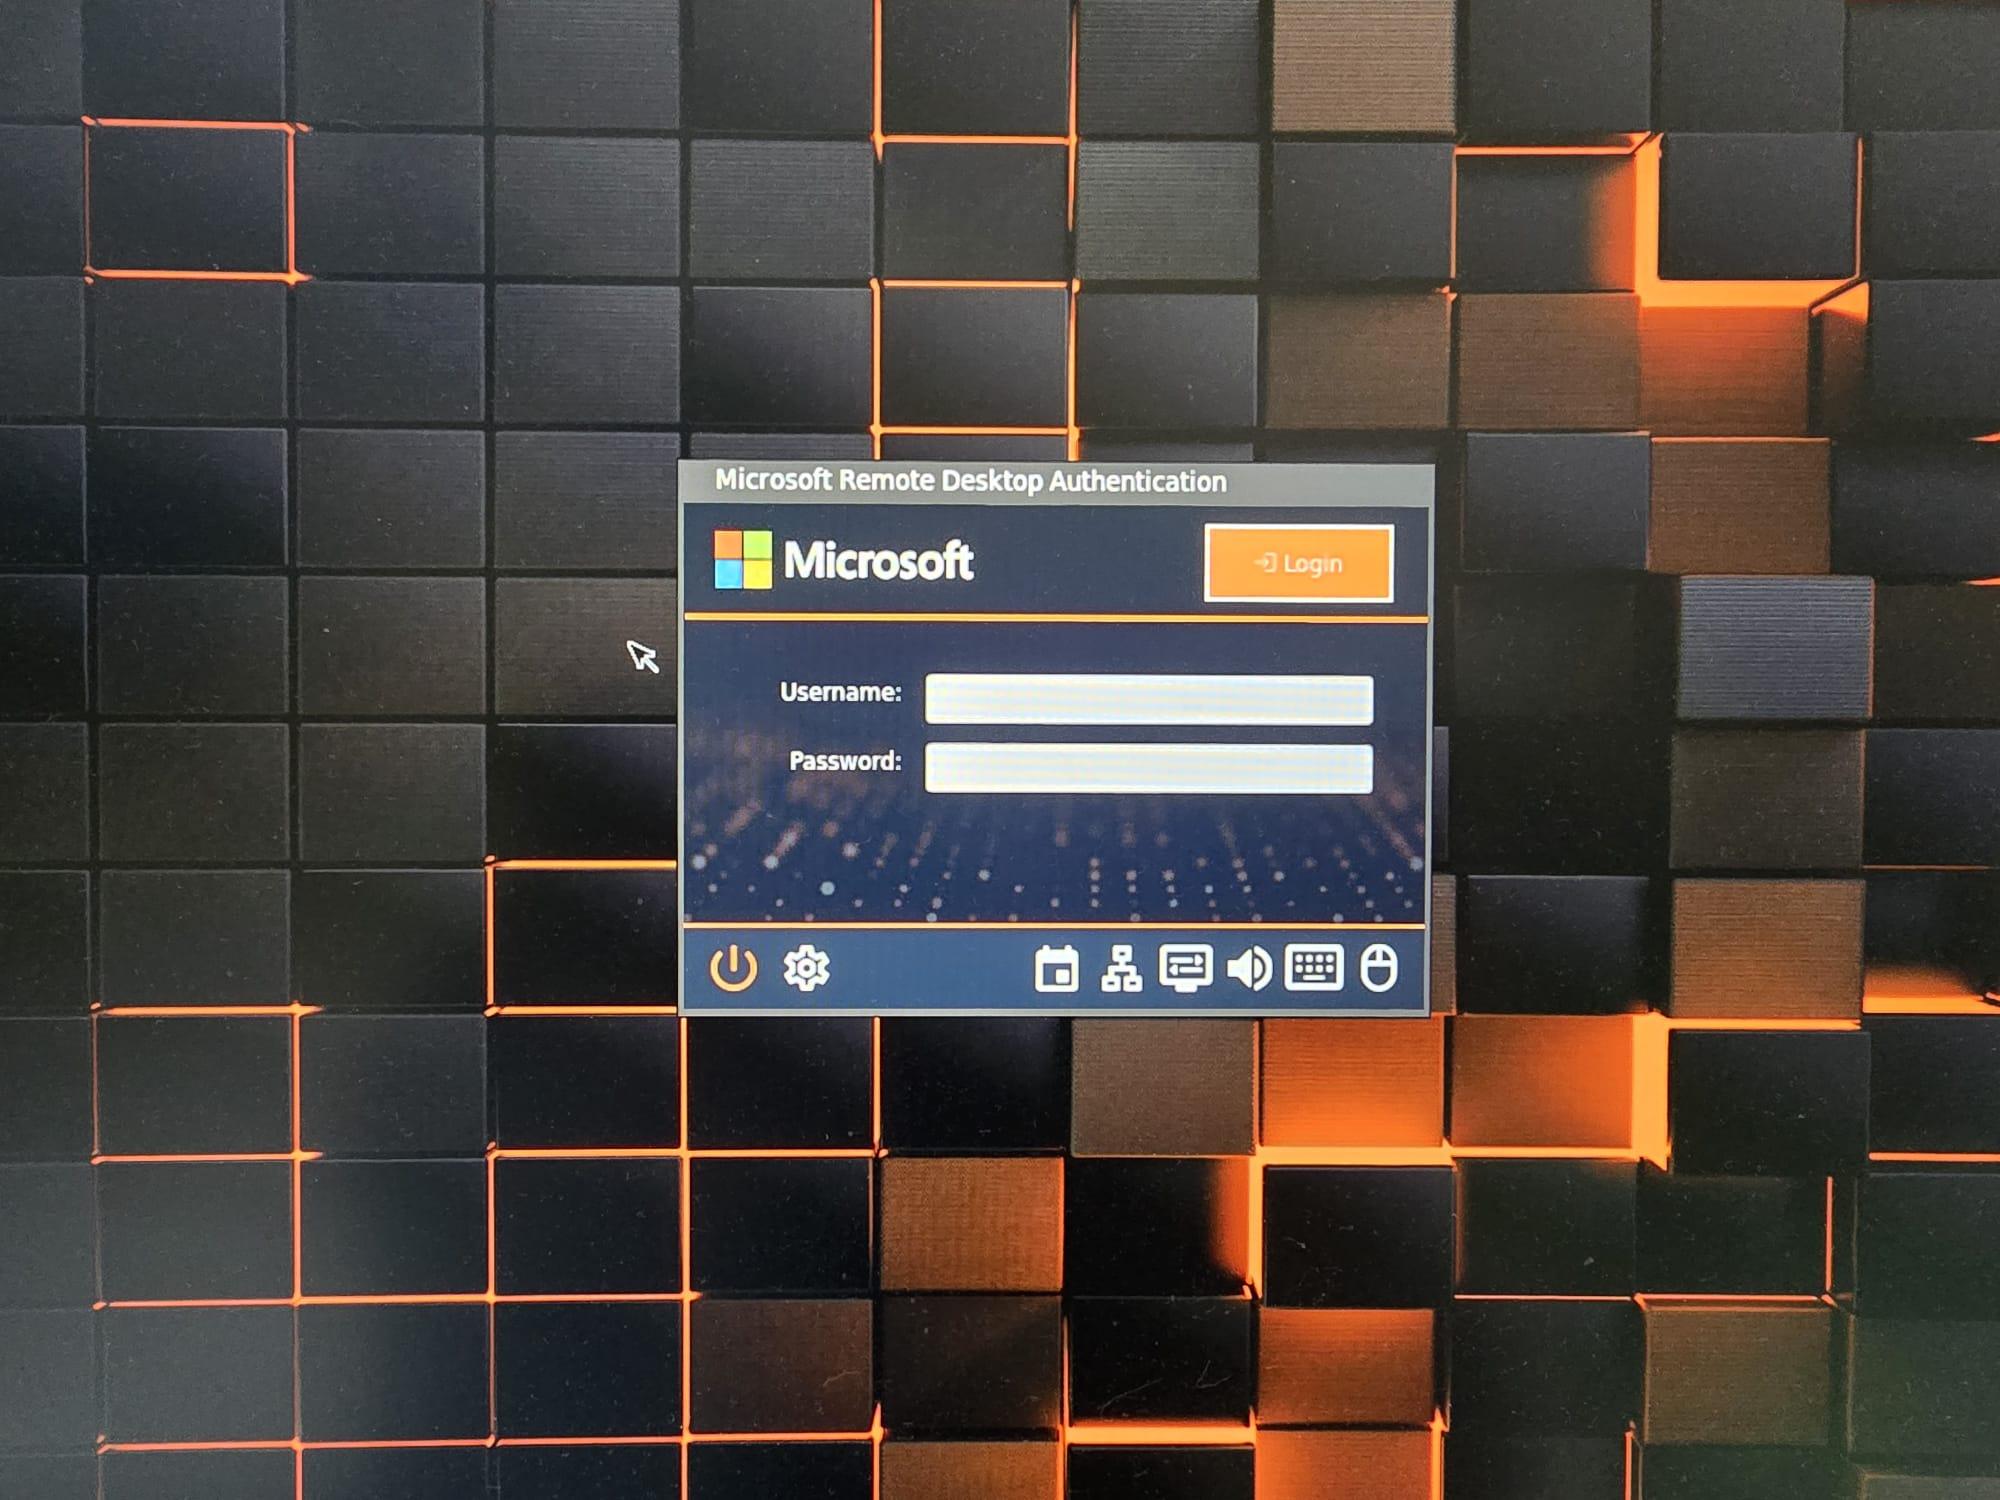
We can see that the wallpaper is updated but so far not a lot of difference… or is there?
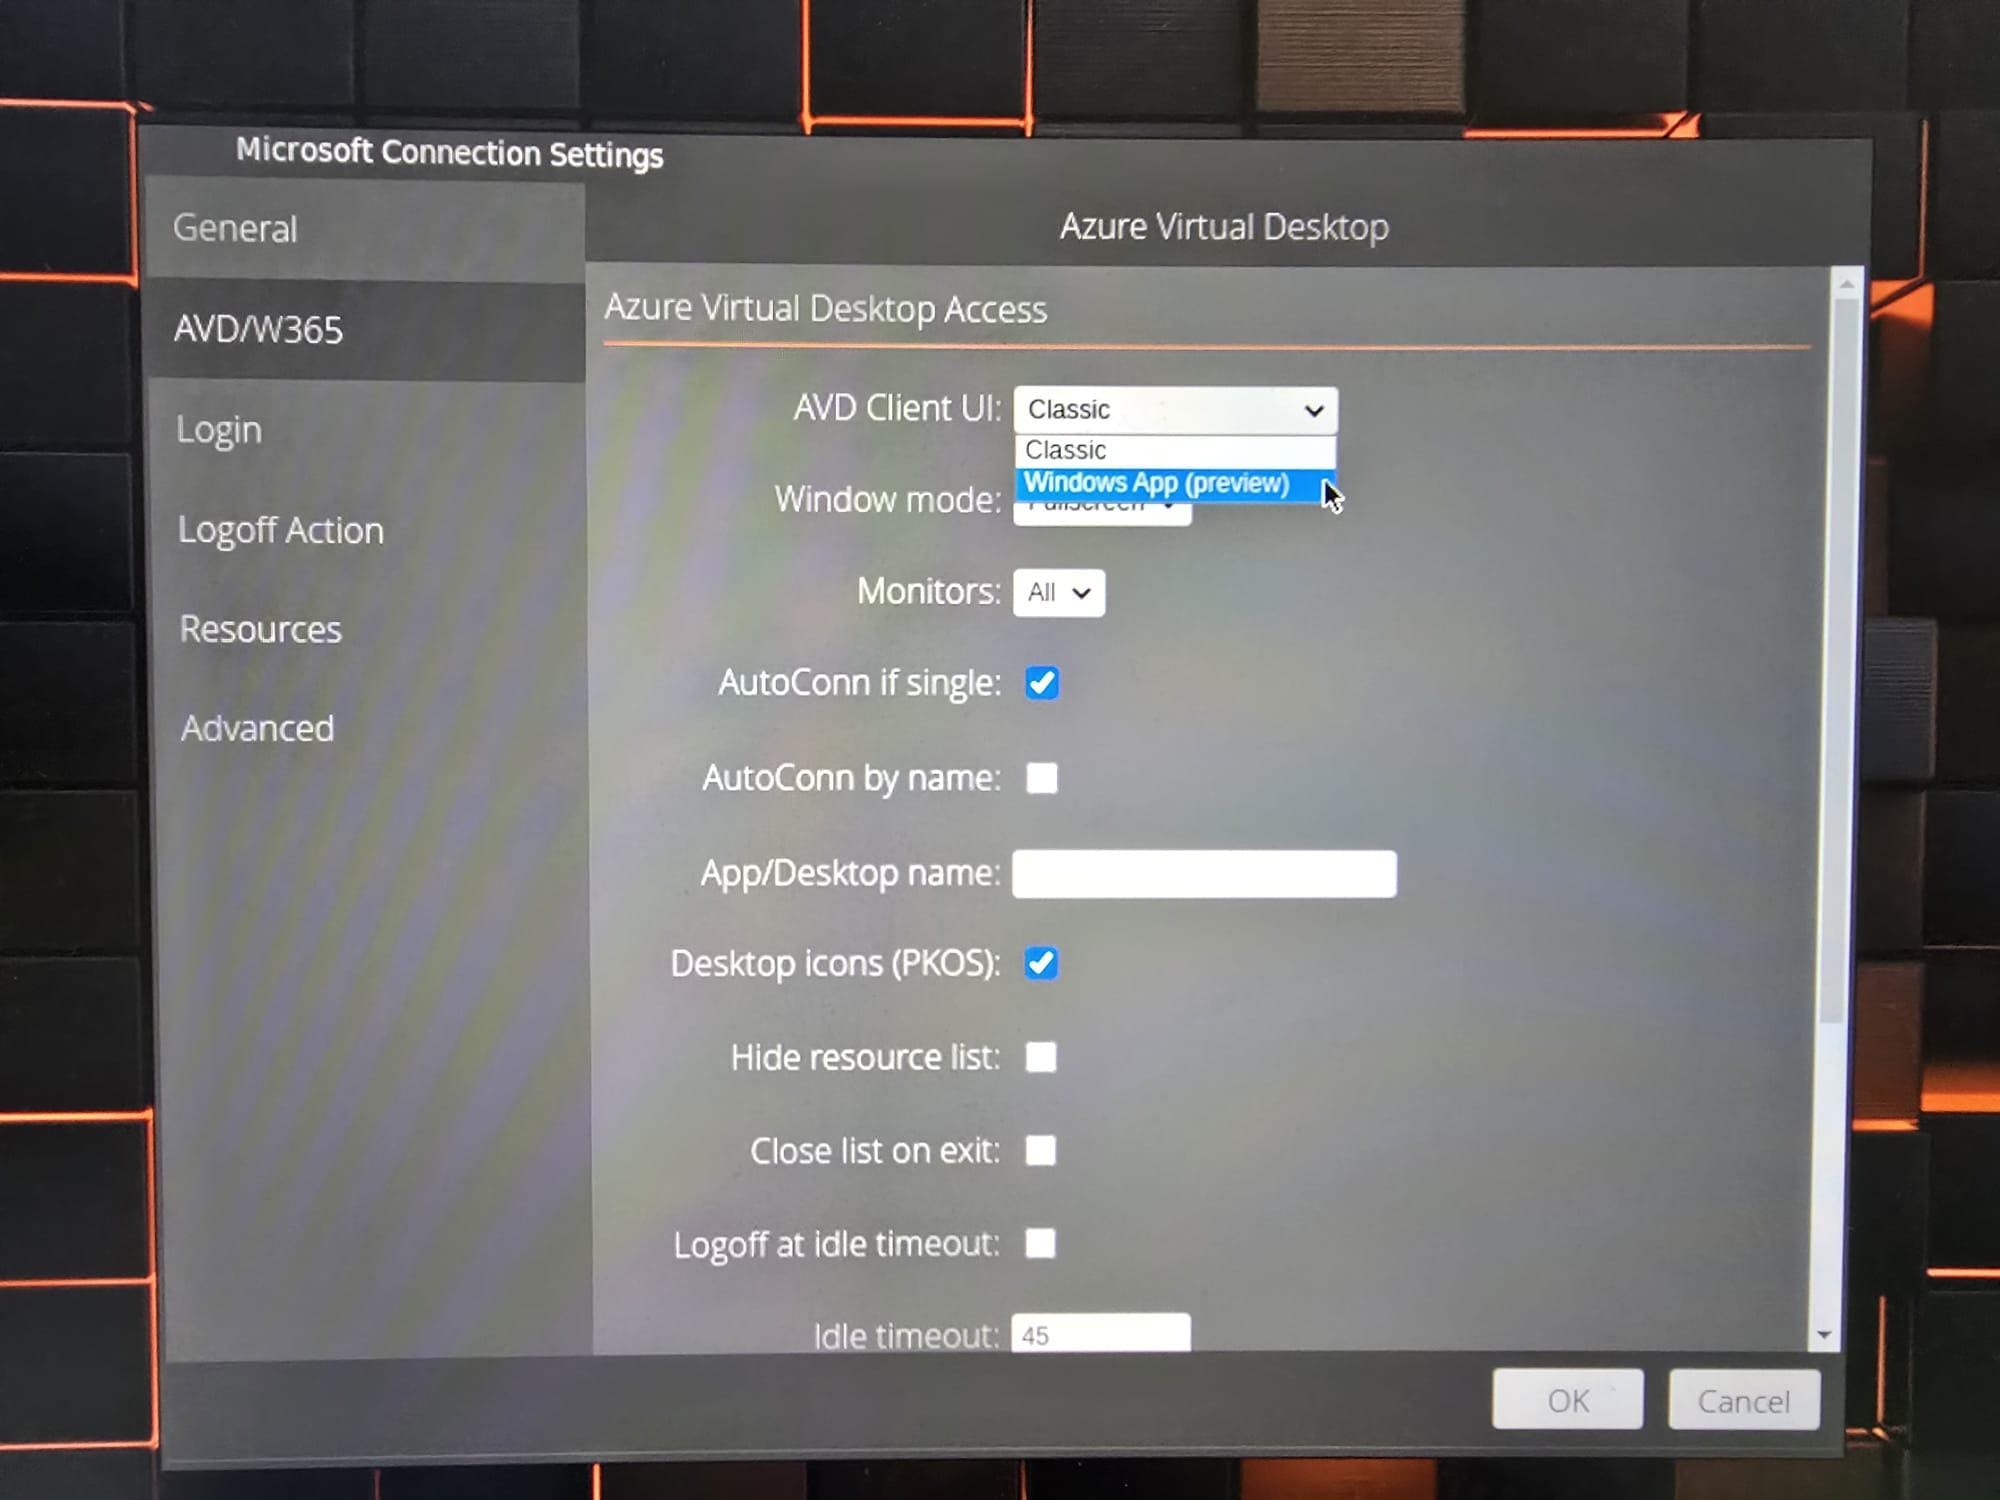
Actually there is but we still need to turn that experience on. Find the gear icon in the bar below which will open up the Control Panel.

Click on Microsoft Remote Desktop. We can now define the connection settings and user experience.
- First go to AVD/W365 and select Windows App (preview) as the AVD Client UI.
- If you are testing with Windows 365 Cloud PCs I would recommend to disable Autocon if single. This way the client signs into the workspace and retrieves all assigned desktops. Since you are running Cloud PCs, you will now have access to self service options!
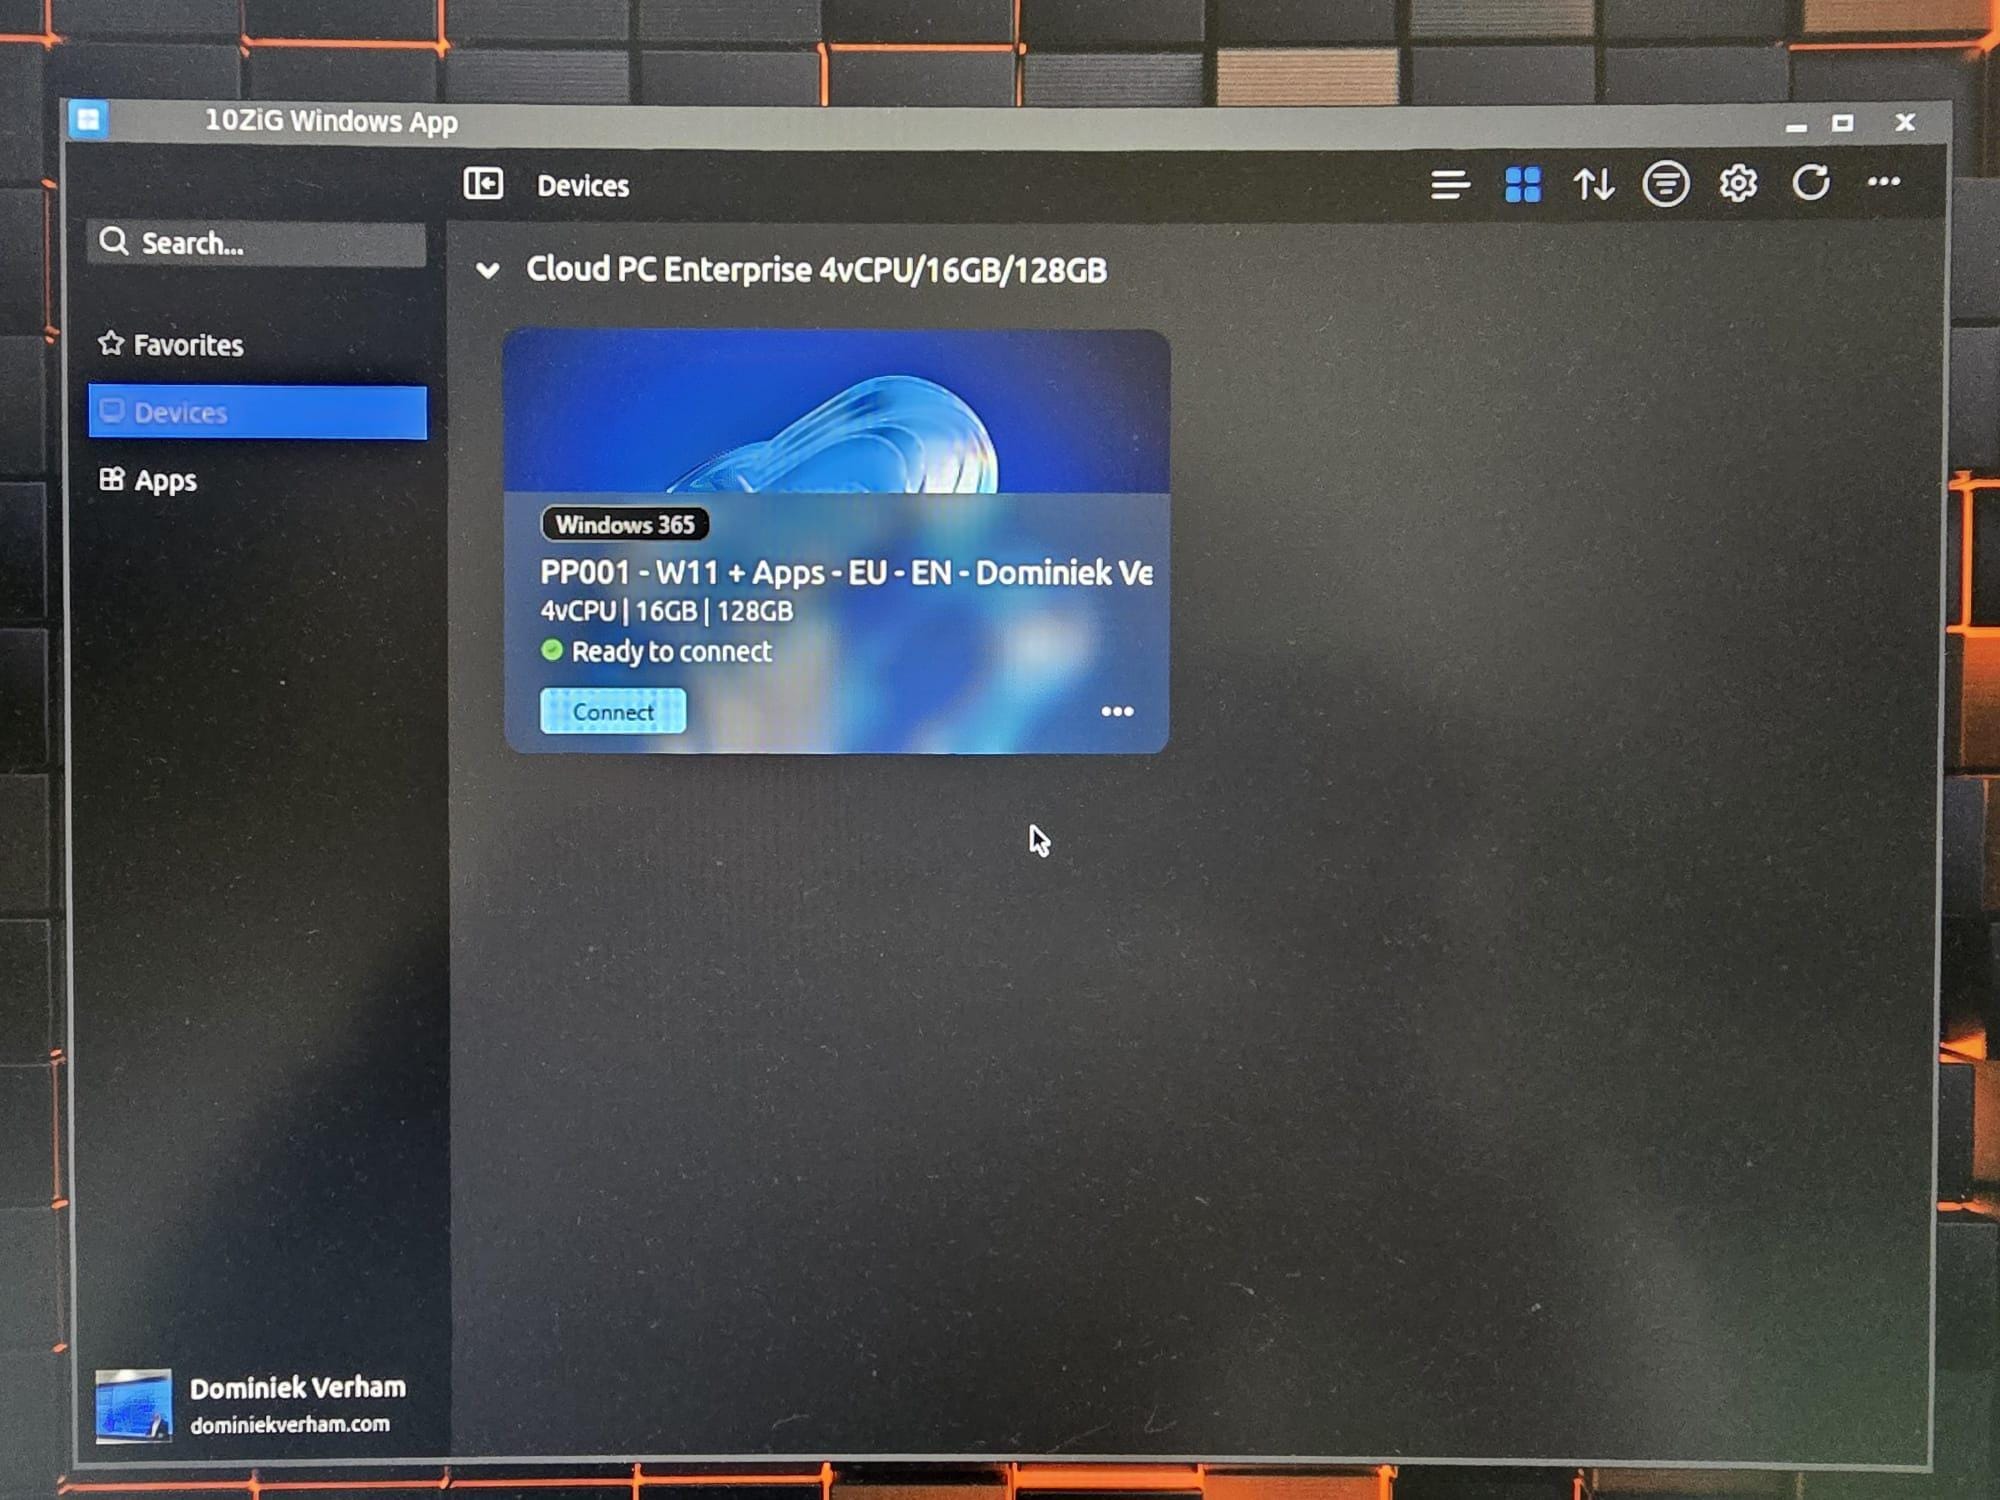
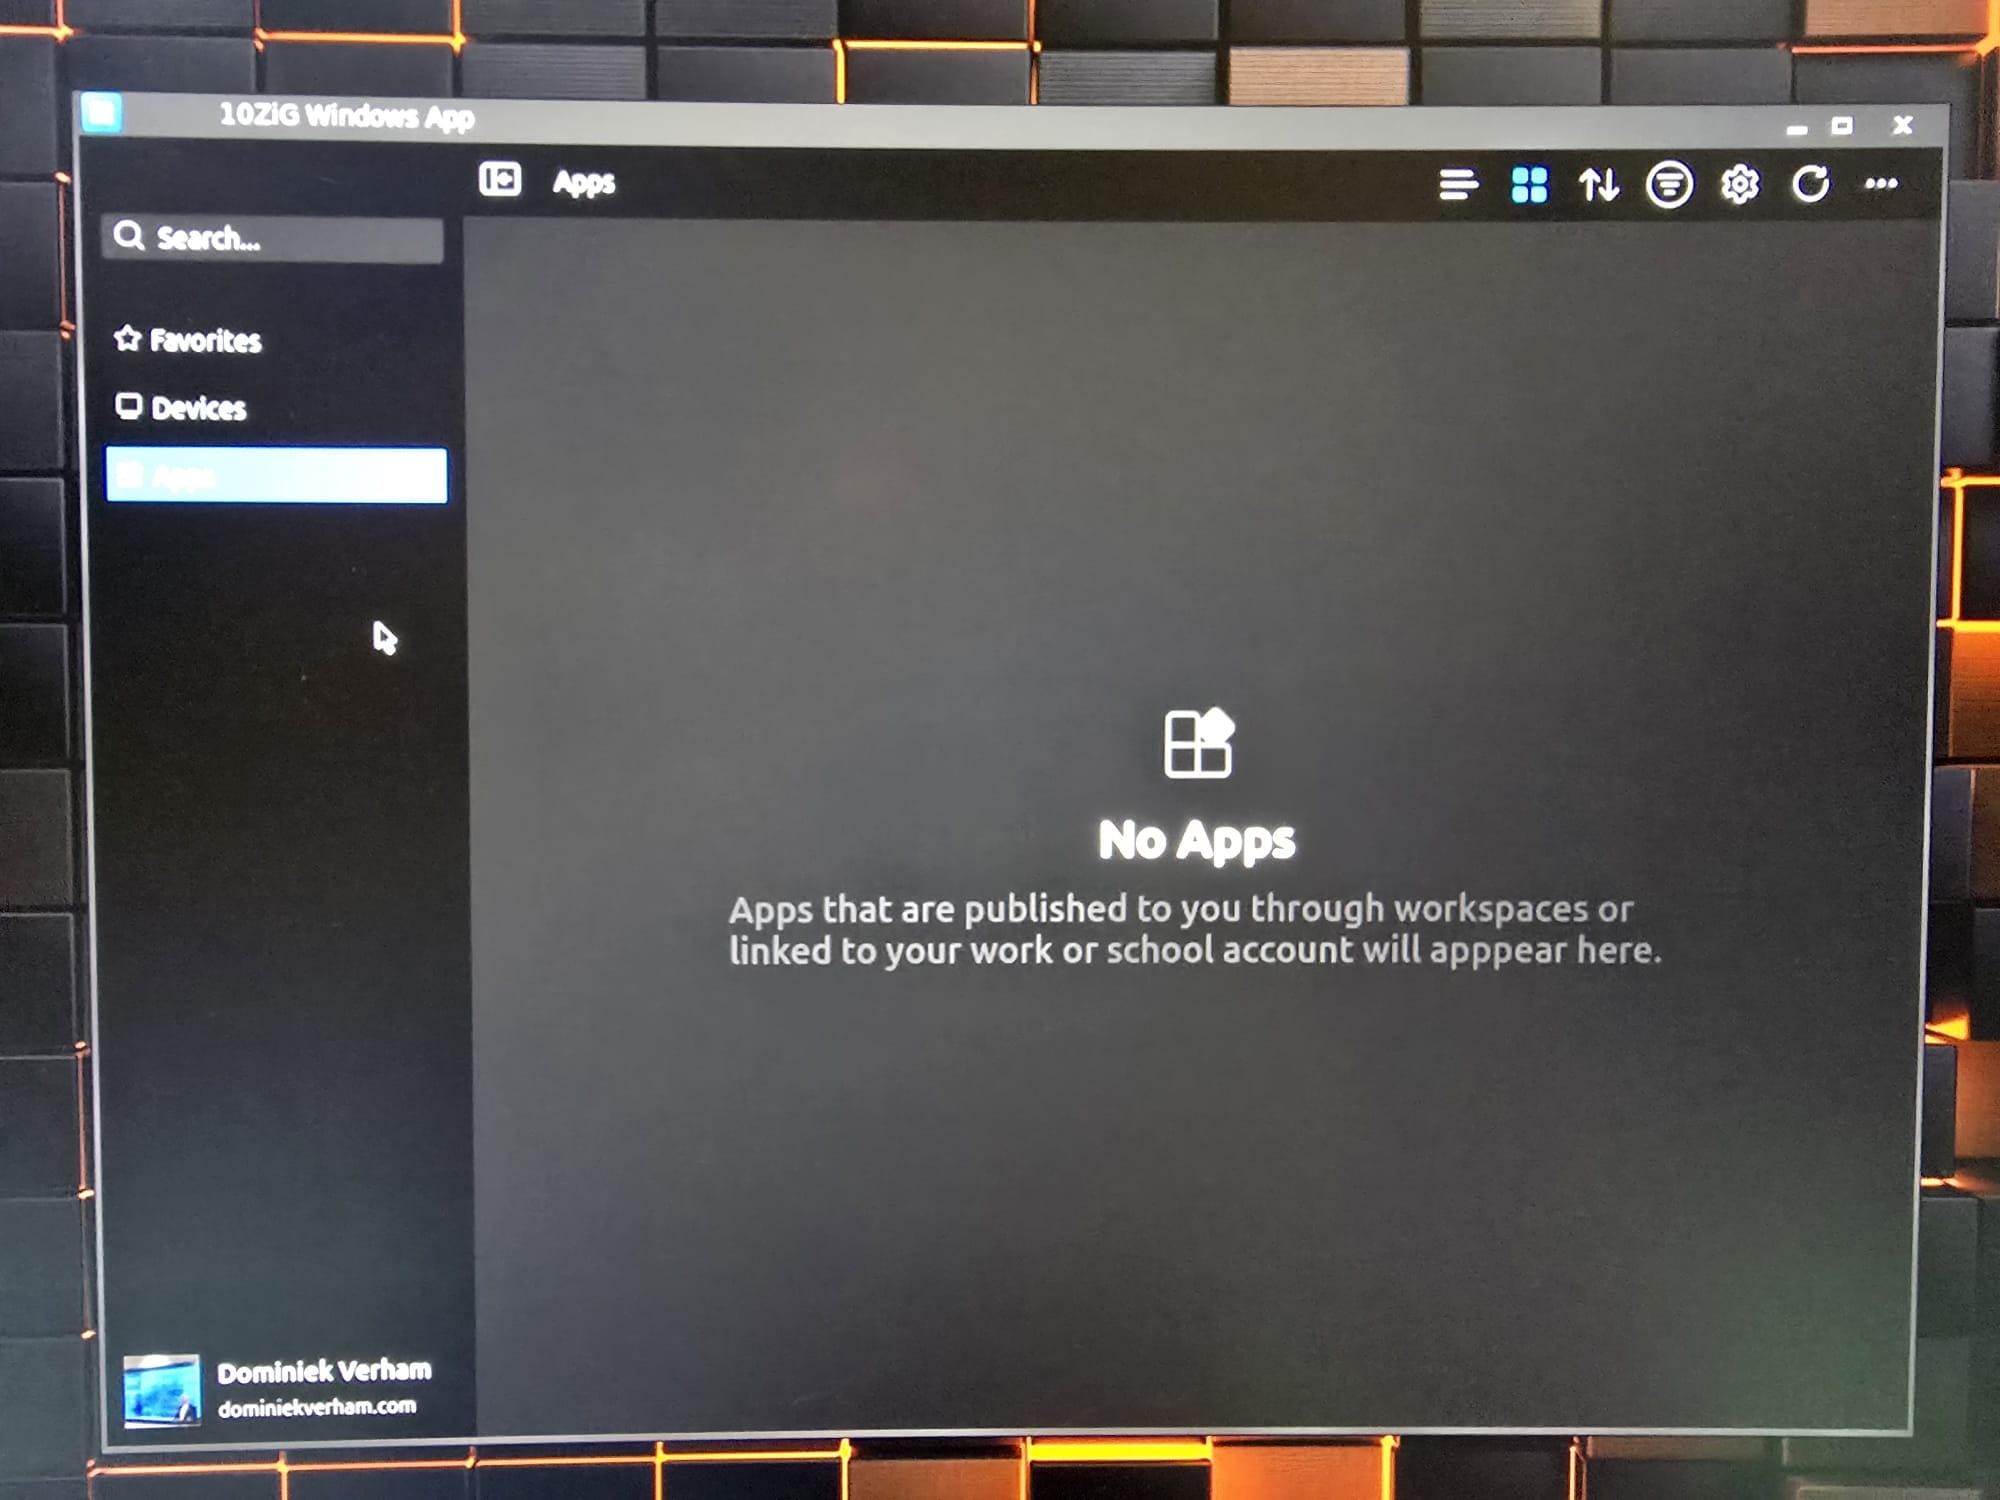
Speaking about the new Windows App experience, this is looking very familiar already!
We now have access to our favorites, devices and apps. And my Cloud PC is of course under devices.
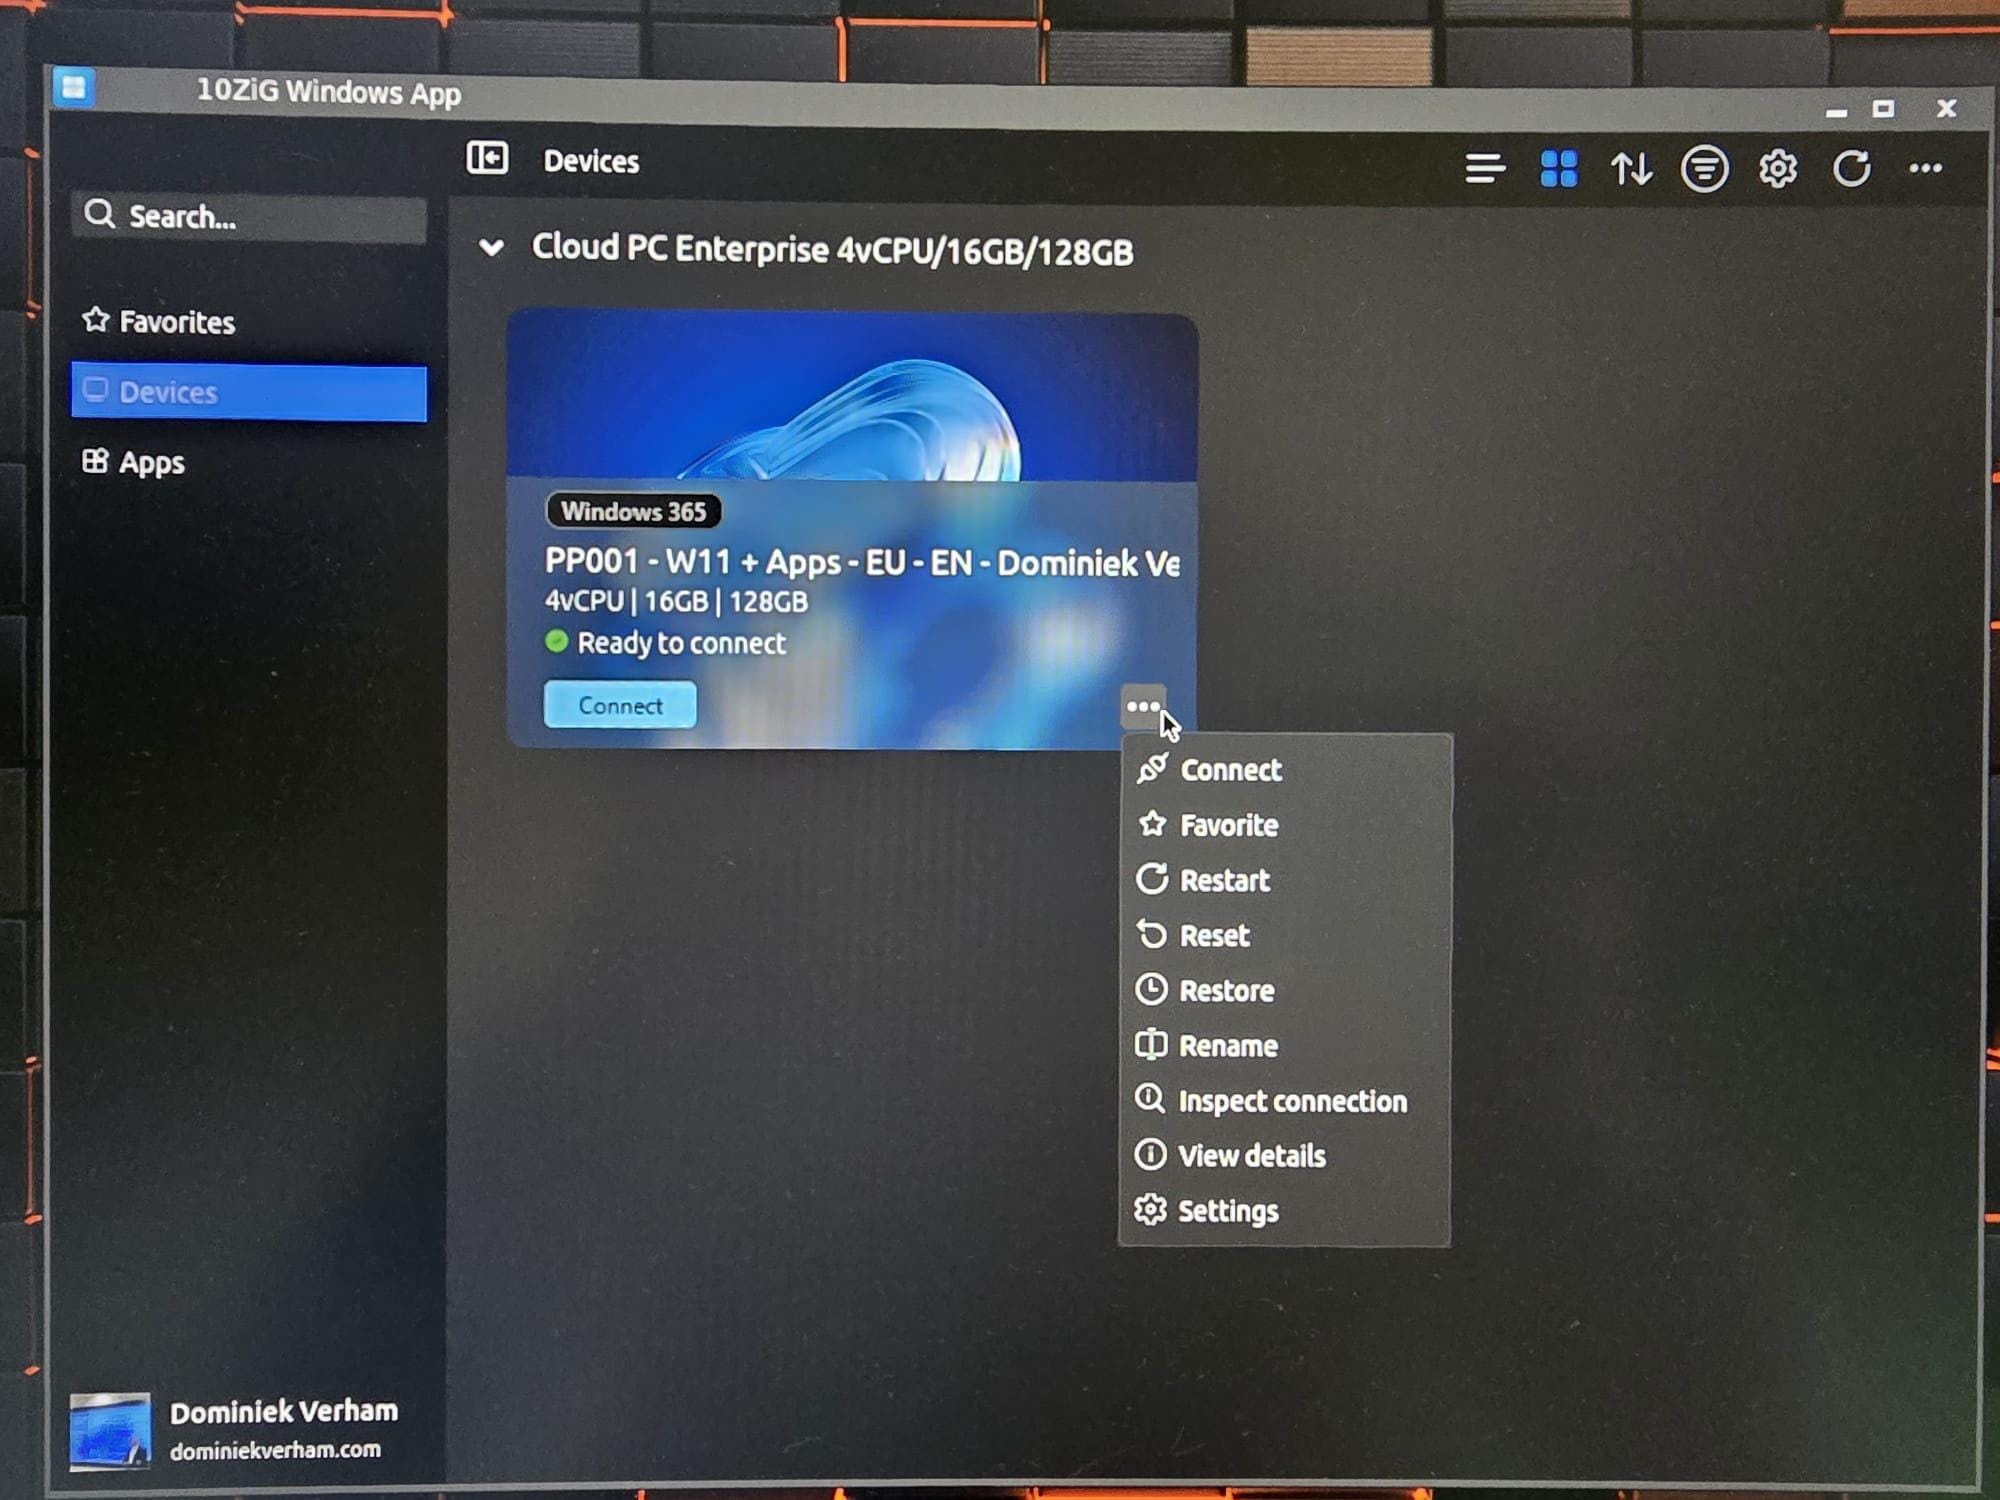
Clicking the three dots will give you access to most of the self service options that Windows 365 has to offer. You now have the ability to restart your Cloud PC or use point-in-time restore to restore your Cloud PC to an earlier time!
The Apps section will show you all the apps that are assigned to you.
That got me curious! I have been testing with Cloud Apps. Does this new experience also support Cloud Apps? Let’s find out!
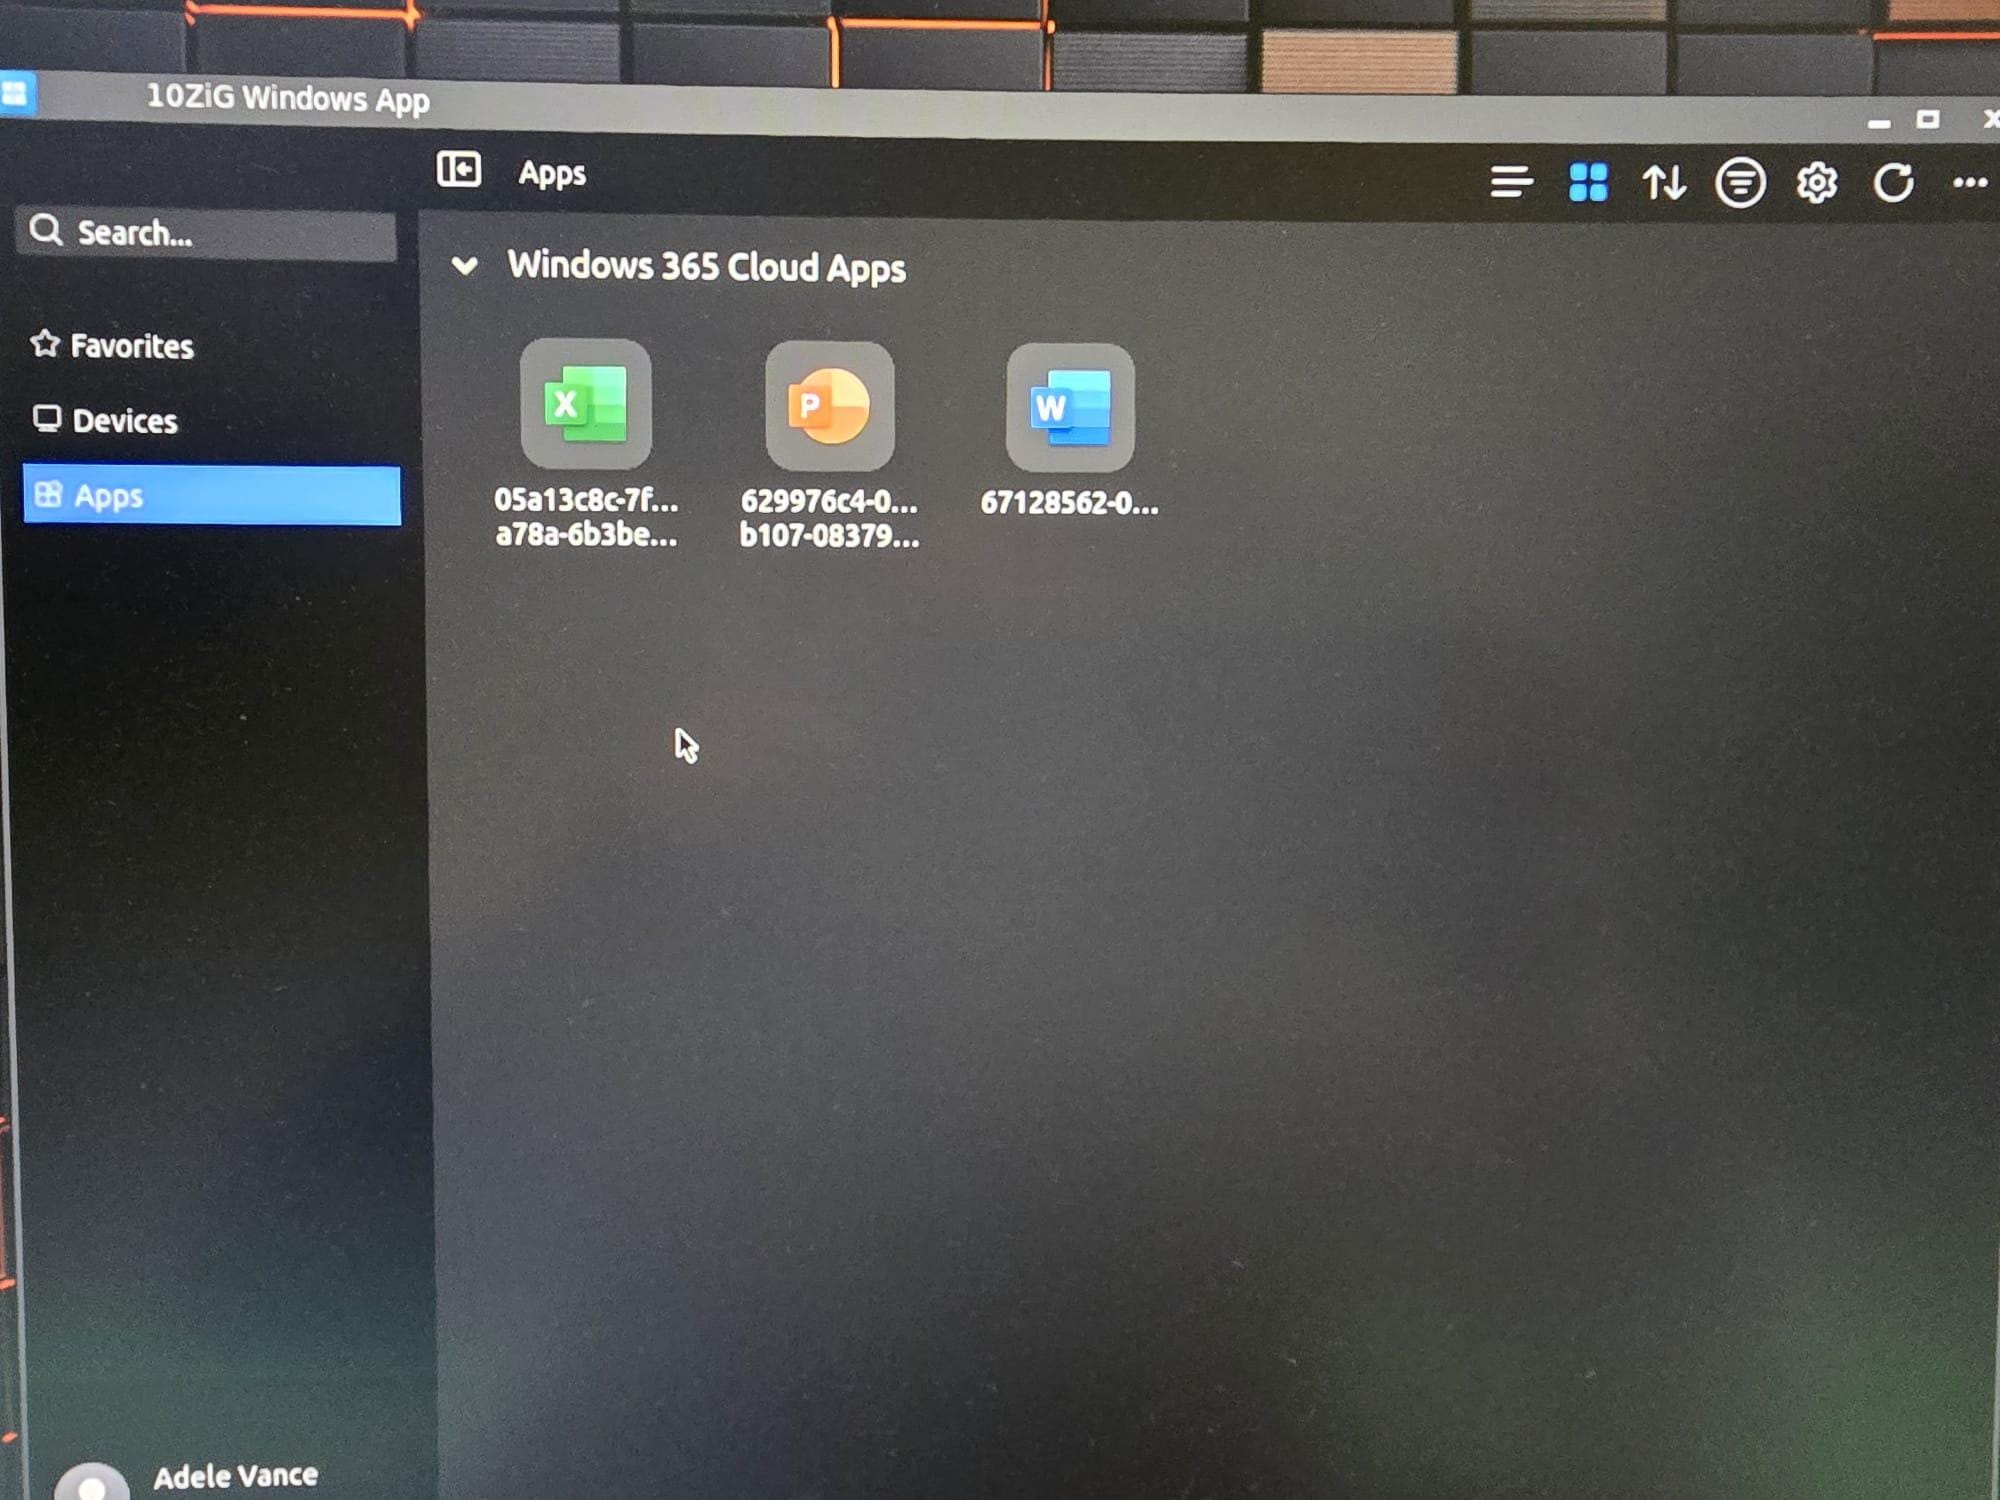
Even Cloud Apps are picked up and showed in the new UI. Just the name doesn’t show correctly at this point. That is something 10ZiG is actively working on!
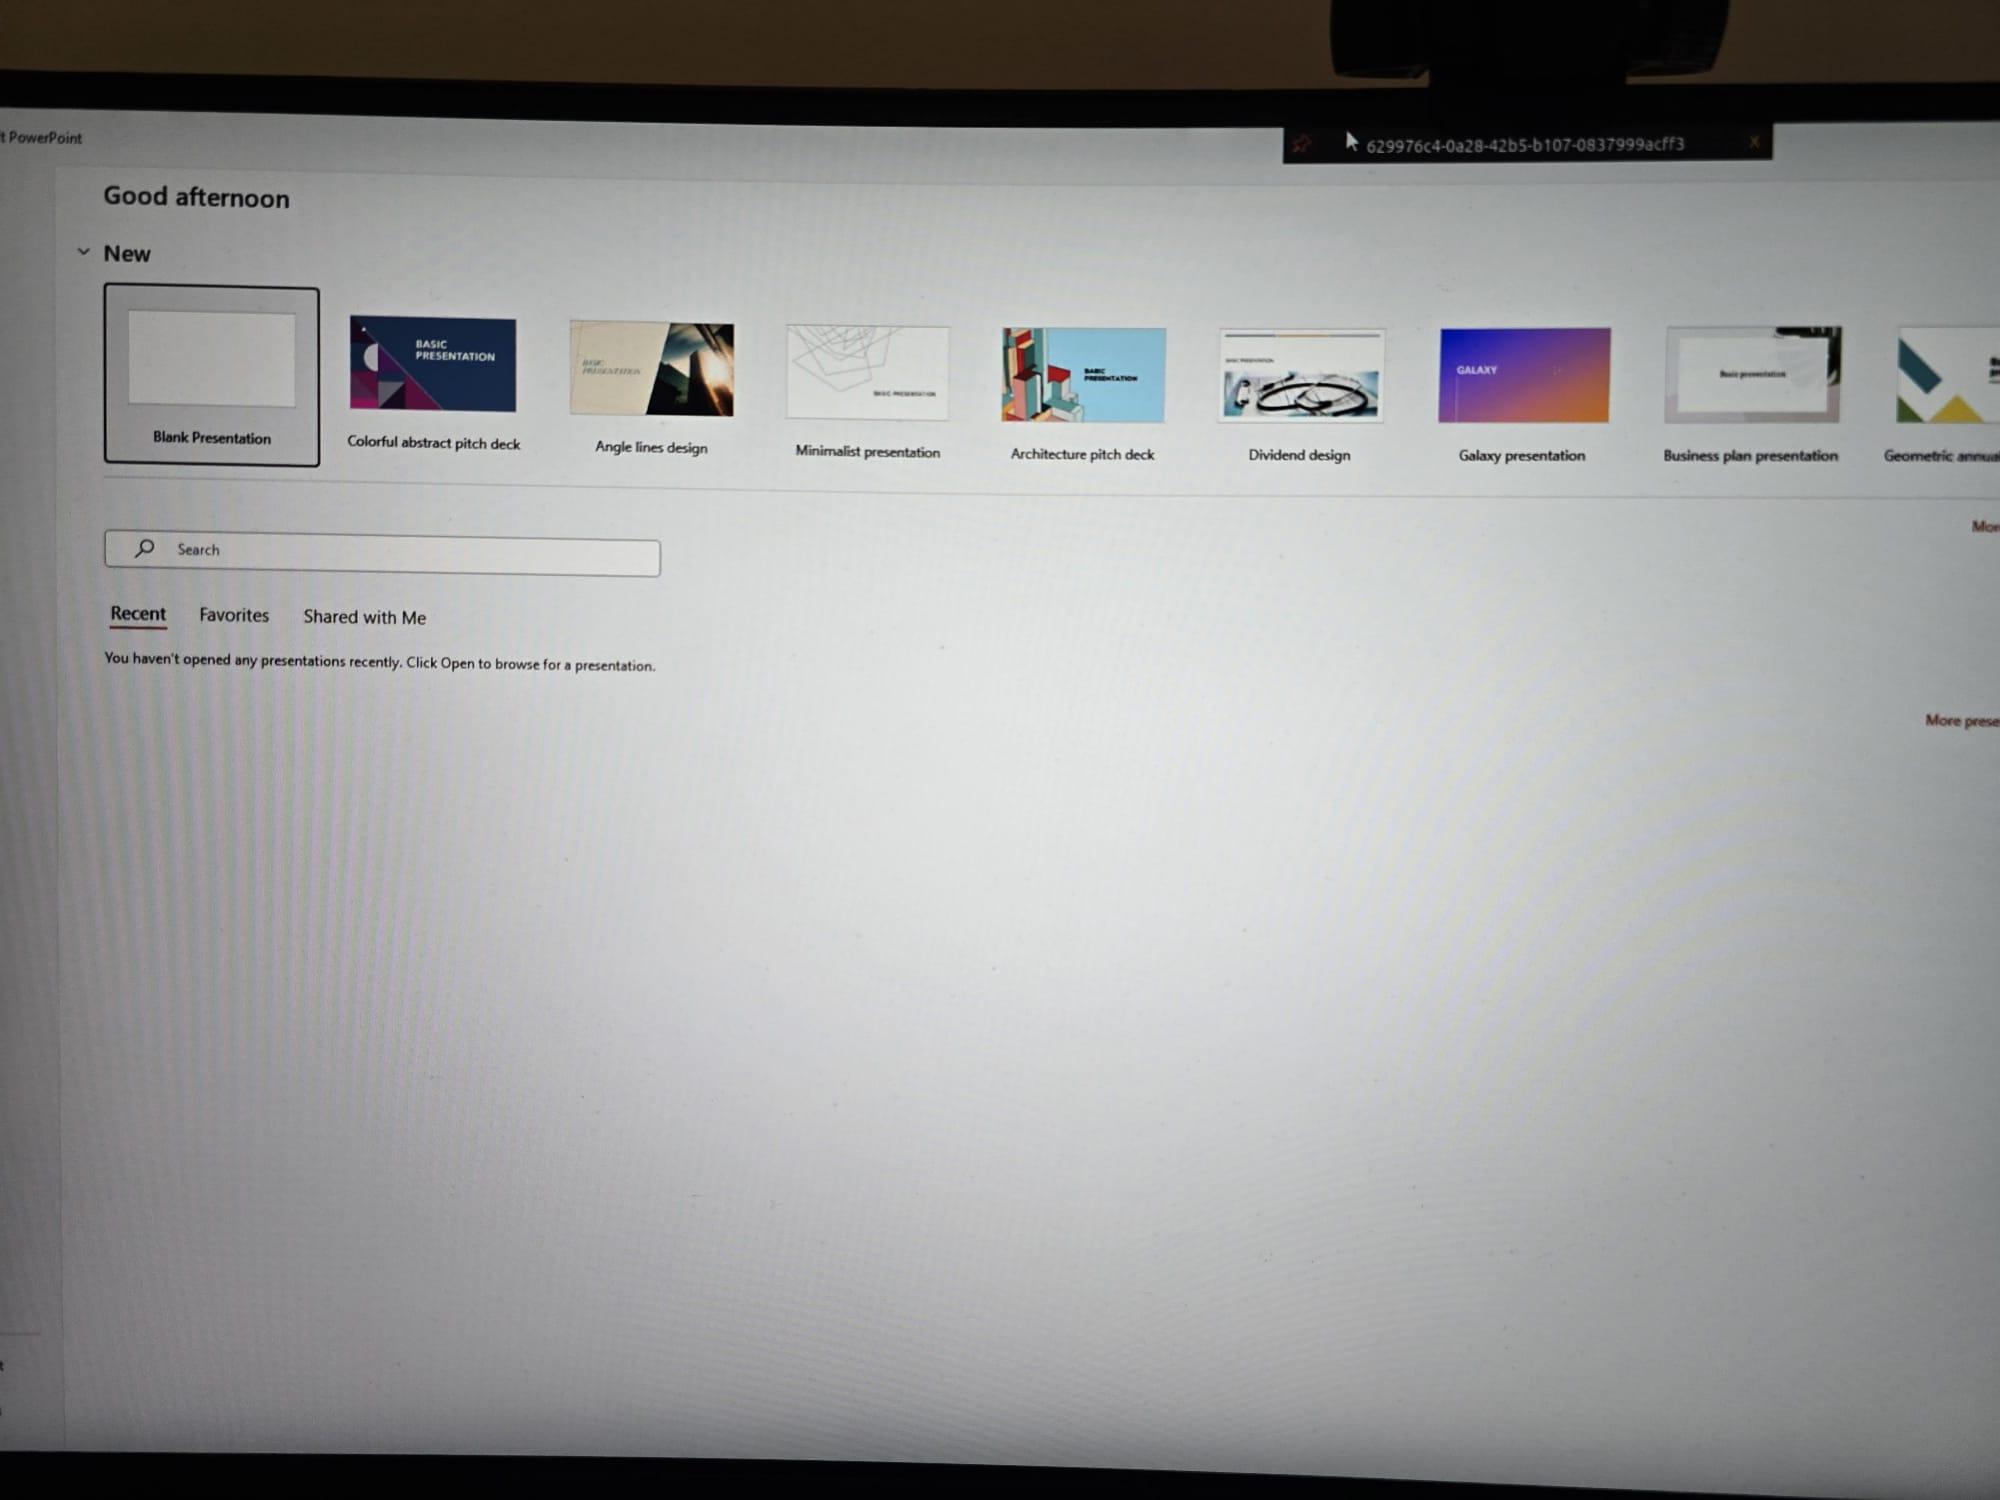
I’ve started PowerPoint and that works like a charm. The connection bar however still shows the incorrect name.
What about working with External Identities?
Signing in is just the same as signing in with the Windows app. You do get all the same bells and whistles which means you can also use this updated zero client for scenarios where companies use External Identities (more info on this blog). The Sign in to an organization option is also available from the zero client.
Resources
I used the following resources for this post:
Zero Client – 10ZiG 7048q Endpoint with Free Central Management
Share this:
- Click to share on LinkedIn (Opens in new window) LinkedIn
- Click to share on X (Opens in new window) X
- Click to share on Facebook (Opens in new window) Facebook
- Click to share on WhatsApp (Opens in new window) WhatsApp
- Click to share on Telegram (Opens in new window) Telegram
- Click to print (Opens in new window) Print