What’s up, everyone!
This post is part of a series I’ve been wanting to do for a long time now. It is about Azure Virtual Desktop / Windows 365 in combination with Nerdio Manager for Enterprise. It is a great third party tool that enables us to create, manage and optimize our Azure Virtual Desktop environment. This is not a sponsored series.
Now that we have some Session Hosts up and running, we can look at the different ways to login to AVD. In this demo I will show how to connect using the Windows Desktop Client (It’s not the same as MSTSC), the Web Client and the Microsoft Store Client. We will also check FSLogix to see if the profile is saved.
Series – AVD and Windows 365 with Nerdio Manager for Enterprise
- Part 1: Setup Nerdio Manager for Enterprise
- Part 2: Configure Azure Files and Azure AD DS Authentication
- Part 3: Setup a host pool, app group and workspace
- Part 4: Ways to login to AVD
- Part 5: NME and MSIX
- Part 6: Custom Image for AVD
Disclaimer: The way I setup and configured Nerdio Manager for Enterprise might not be the quickest way and it cannot be considered as best-practices by Nerdio. This is not a sponsored series.
Prerequisites
This demo will assume part 1 to 3 have been succesfully completed.
Ways To Login To Azure Virtual Desktop
Microsoft gives us a couple of ways to login to Azure Virtual Desktop. As of this moment, the following methods are supported;
Windows Desktop Client
This client can be installed on Windows 7, Windows 10 IoT Enterprise, Windows 10 and Windows 11. Windows 8 or Windows 8.1 are not supported.
Download and install the Windows Desktop Client for your system. The installation is a pretty straightforward next-next-finish process.
Once completed, a Remote Desktop app will be available to you.

Click the Subscribe button and login using your credentials. The client will check for resources that are assigned to your account and present them to you.
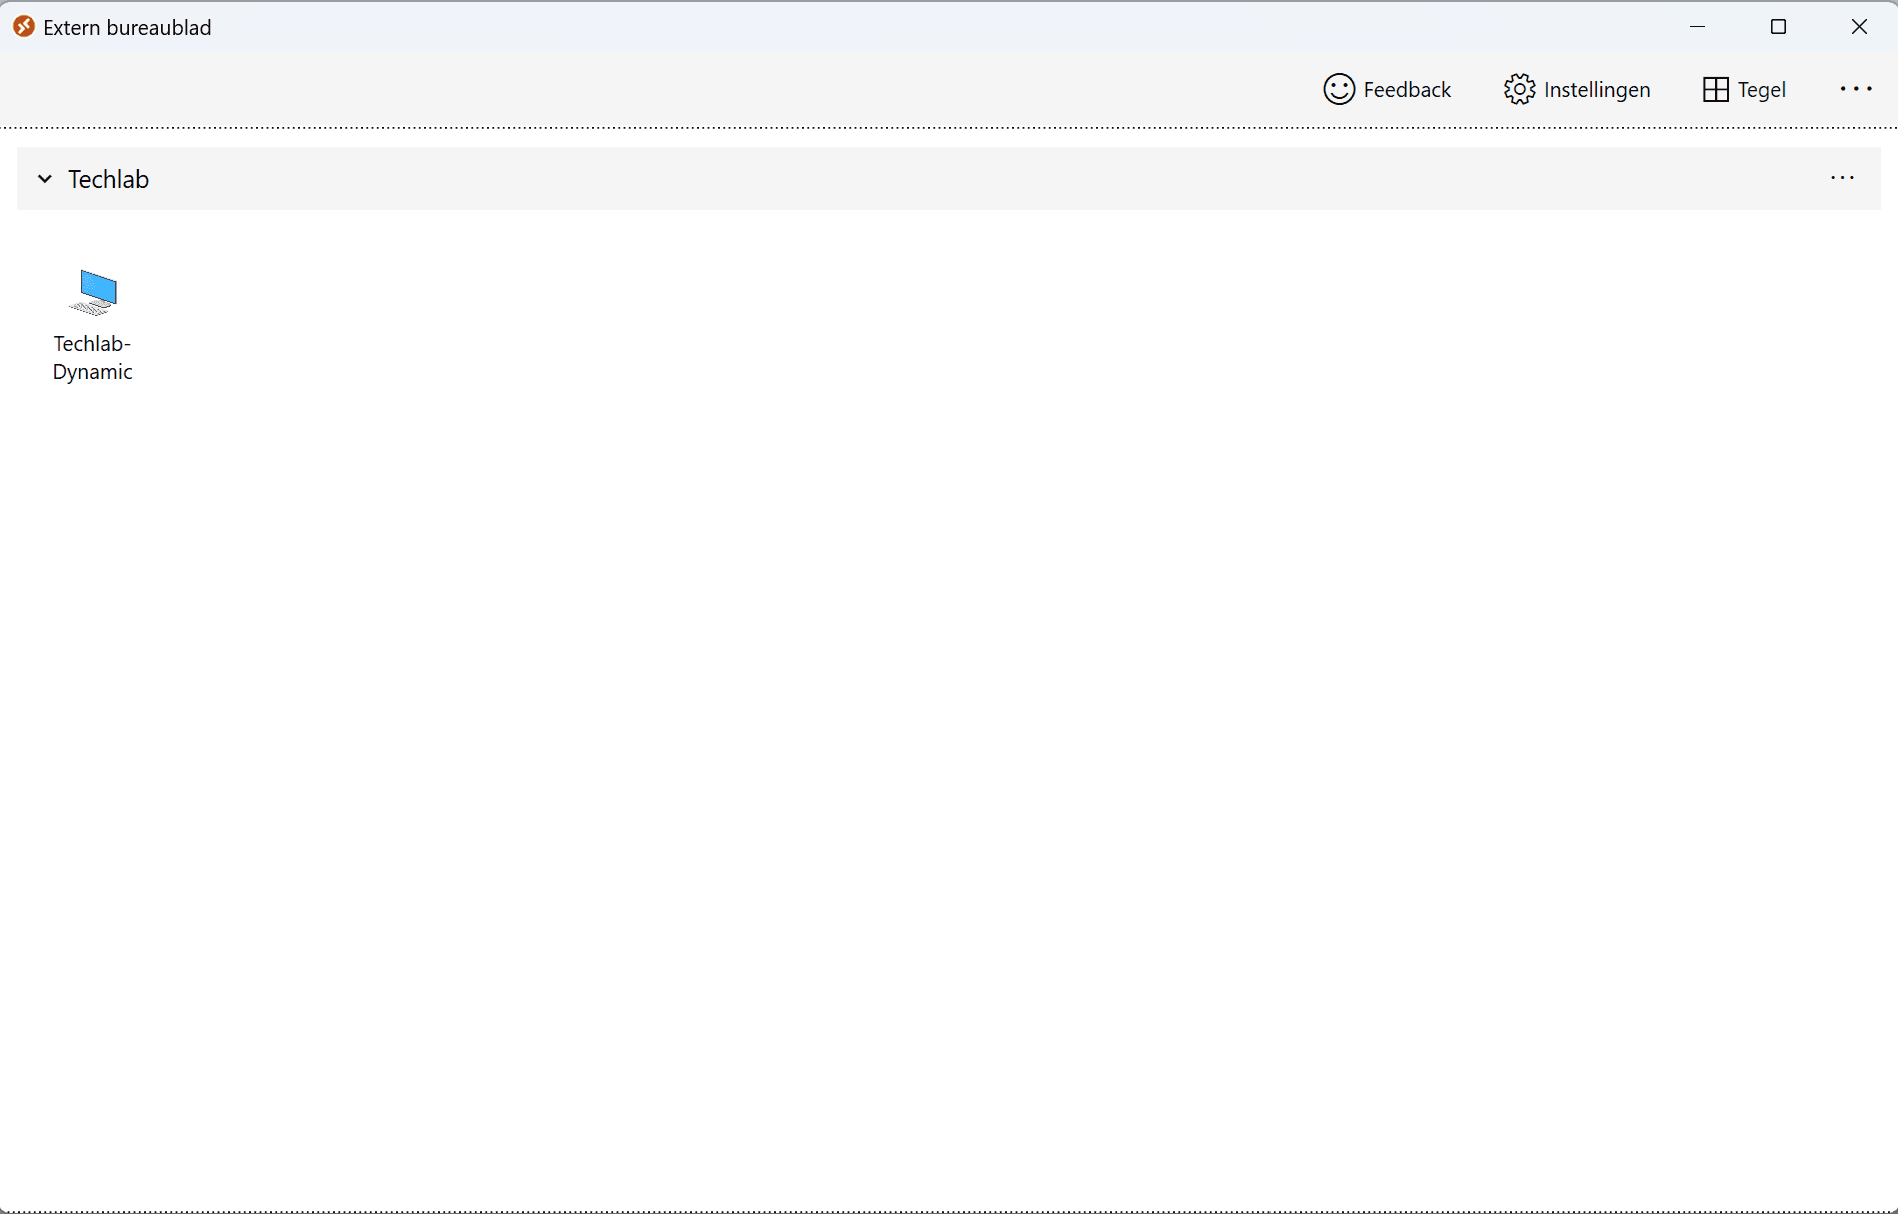
In this series we only created one Dynamic Host Pool and assigned it to our user account so we see the assigned resource in our client. Double-click to connect to Azure Virtual Desktop.
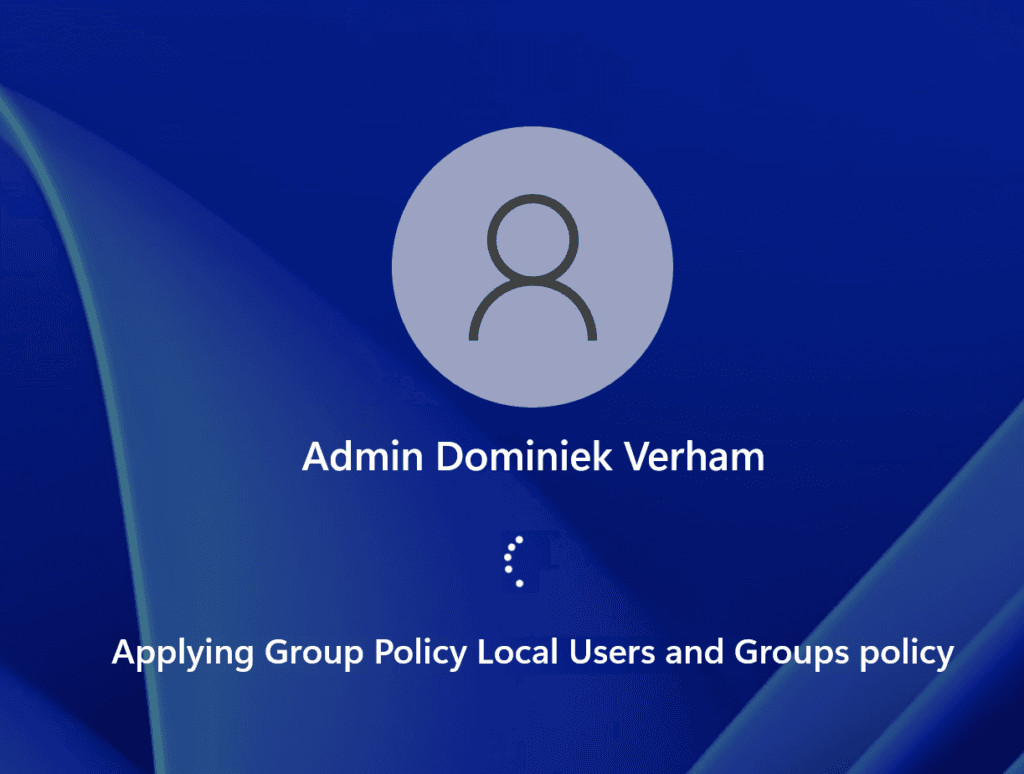
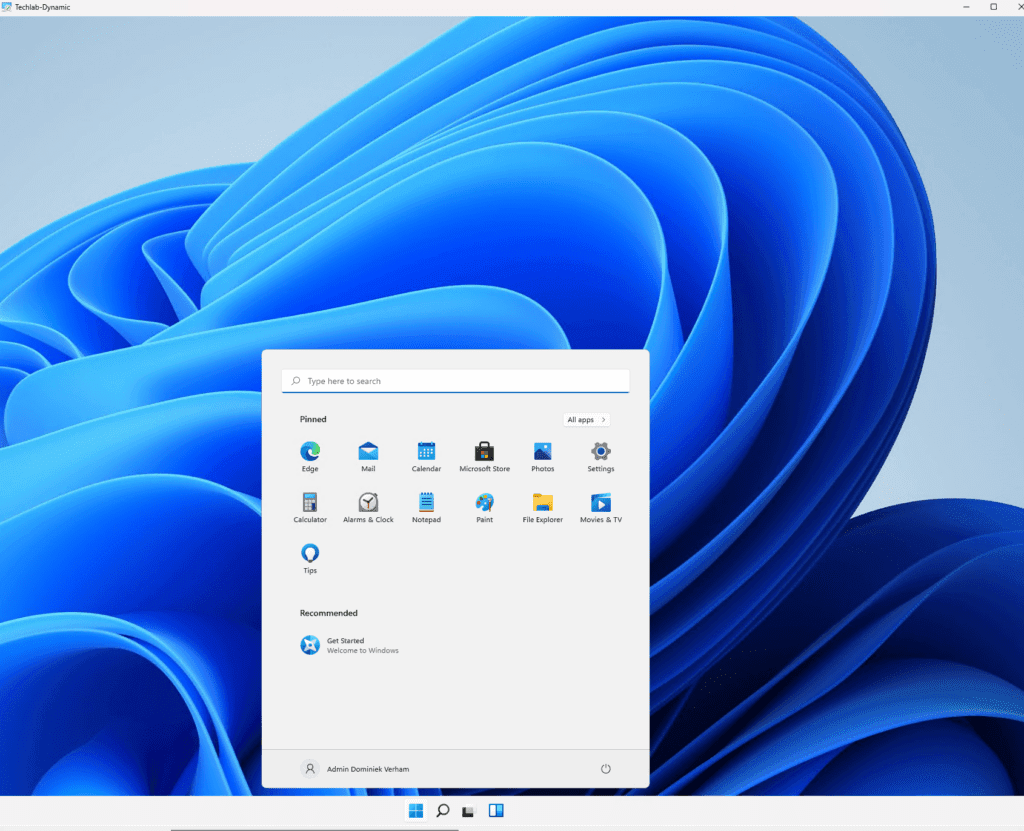
We can start using the desktop when the login procedure completes.
Check FSLogix
Now is a good time to check if our profile is saved by FSLogix. A good way to check FSLogix is by checking Disk Management and check if there’s a profile disk connected.
We should see a disk named ‘Profile_username’ if it works. In my demo we can see it works.
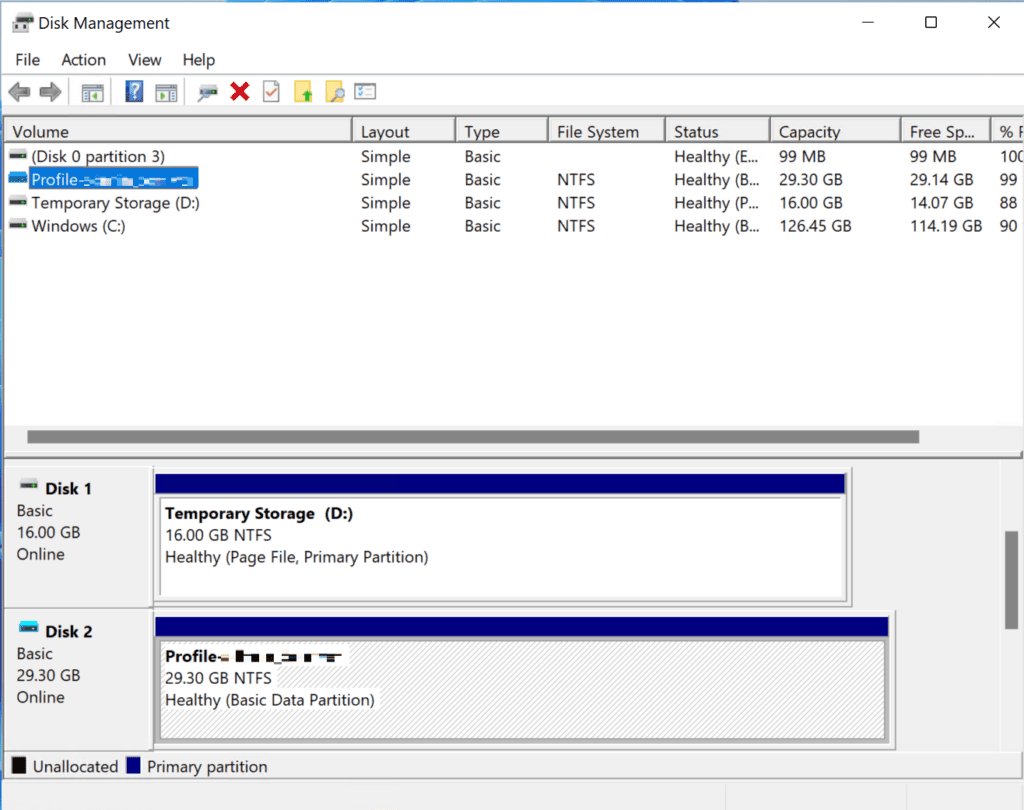
We can also check the Windows Eventlog to check if FSLogix is working. Open the Eventviewer and go to Applications and Services Logs, Microsoft, FSLogix, Apps, Operational. We should see log entries when a user logs on or off.
This log will also help us in case something goes wrong with the profile disk.

Web Client
Another way to connect to your Azure Virtual Desktop environment is by using the Web Client. If you plan to use the web client, make sure you use a supported web browser.
At this moment Microsoft is moving away from older URL’s and is advising customers to use the following URL:
https://client.wvd.microsoft.com/arm/webclient/index.html
I am using Microsoft Edge and I am already logged in, so this means I get to see the assigned resource immediately.
If you haven’t logged in yet, the web client will simply ask you to login.
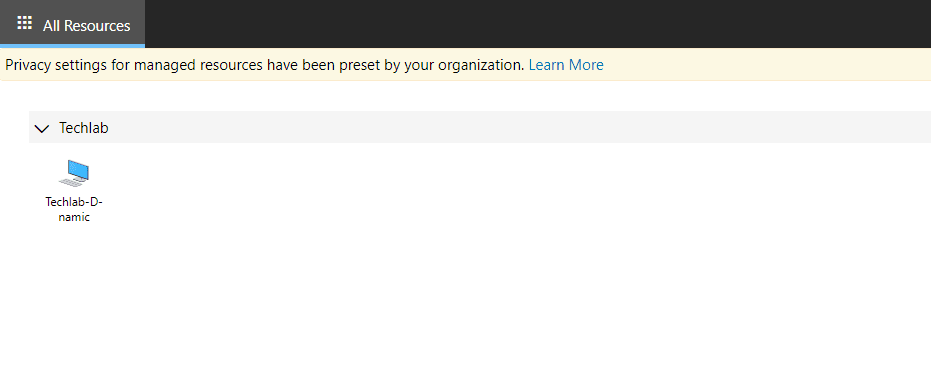
Click once on the resource to connect. You will be asked which local resource can be accessed by the web client.
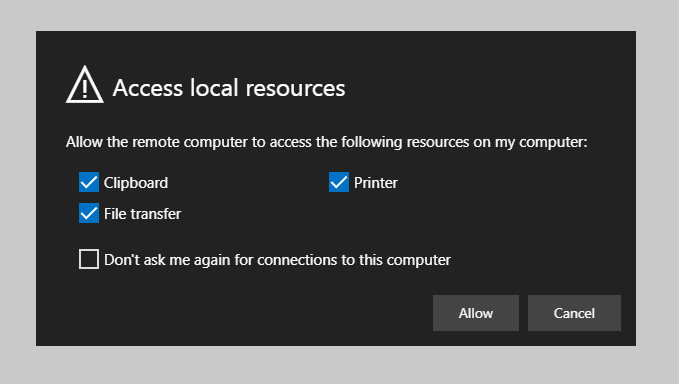
Choose your options and click on Allow to continue.
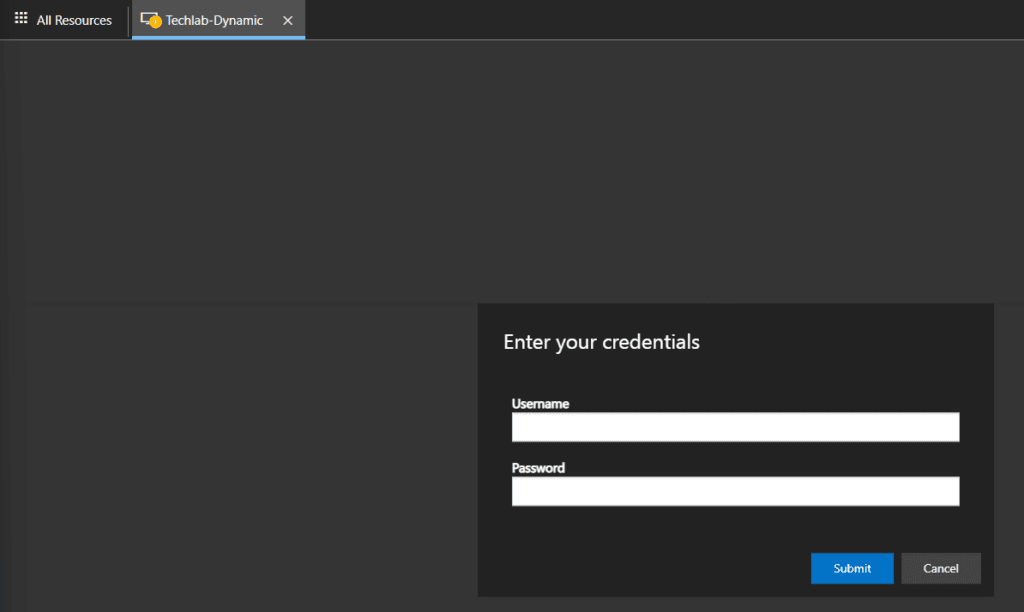
Enter your credentials and click on Submit.
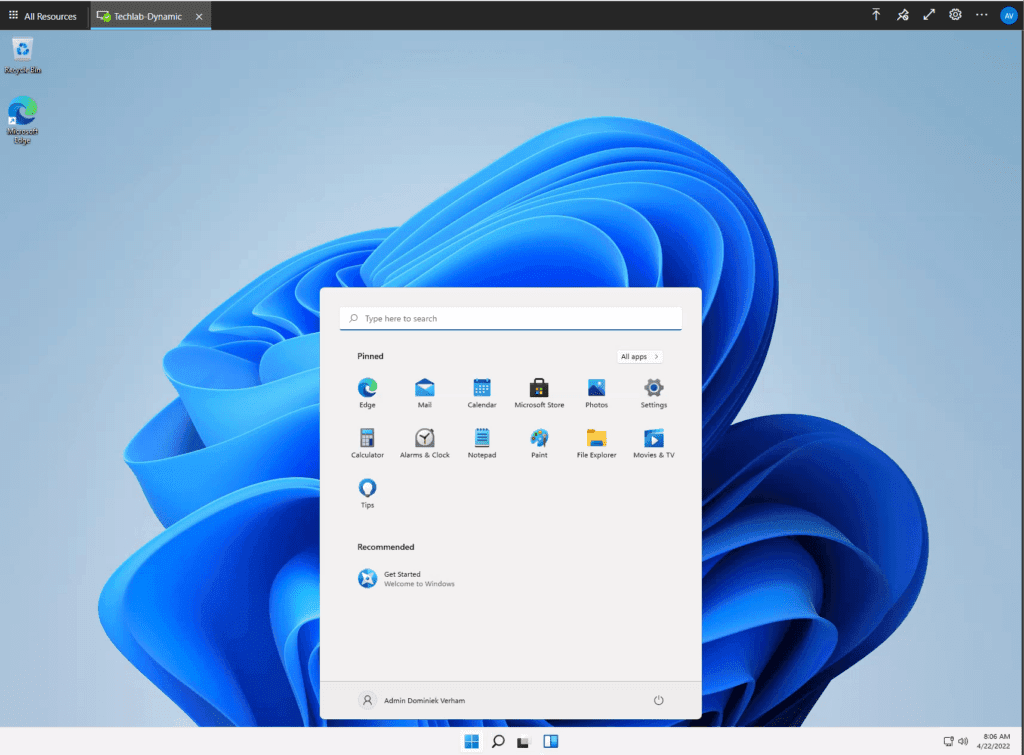
That’s all if you are using your web client.
Microsoft Store Client
The Remote Desktop Client can also be installed via the Microsoft Store.
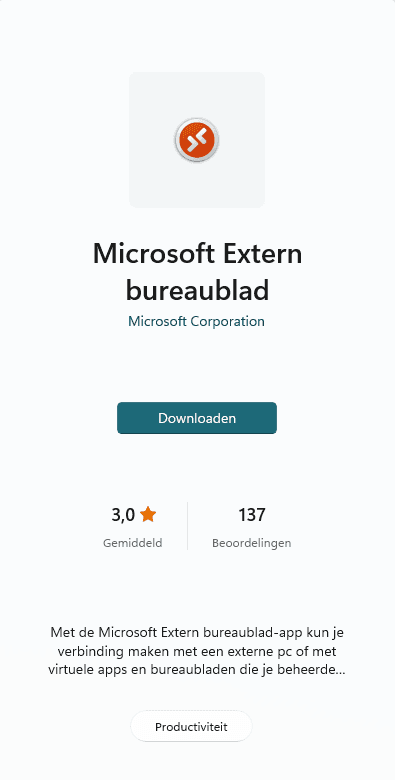
Open up the Microsoft Store and search for Remote Desktop Client and install the app.
The app looks pretty similar as the Windows Desktop Client. The buttons do work different. We can now choose between;
- Add PC
- Add Workspace
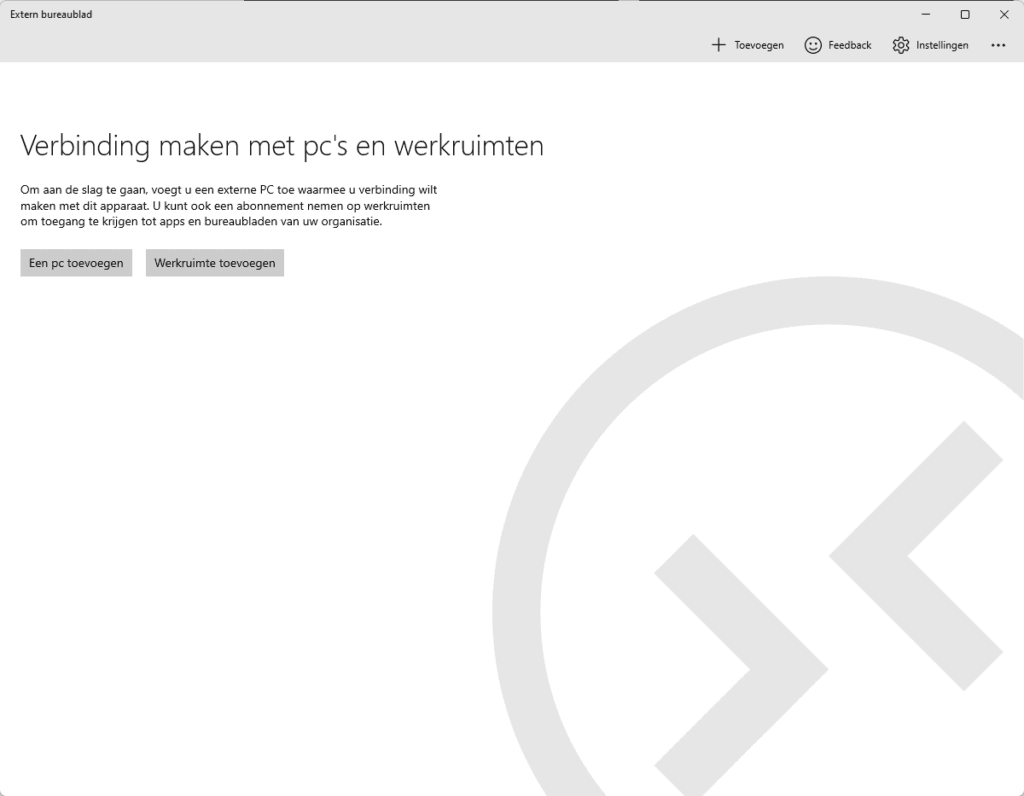
Click Add Workspace. We have to use the following URL:
https://rdweb.wvd.microsoft.com/arm/webclient/index.html
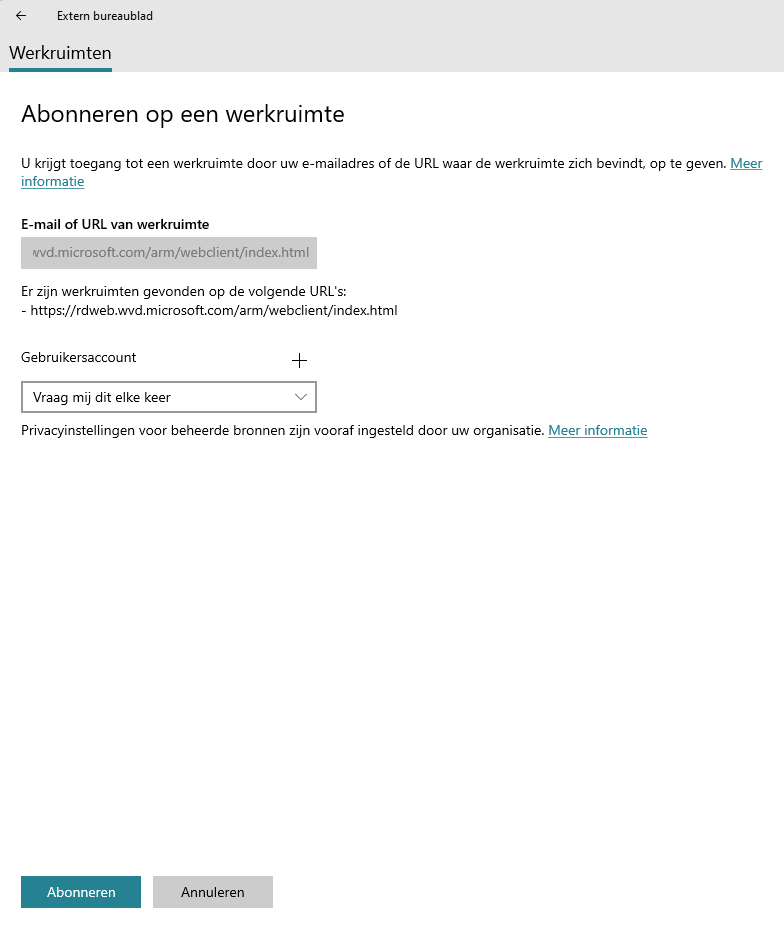
Add a useraccount by clicking on the + icon.
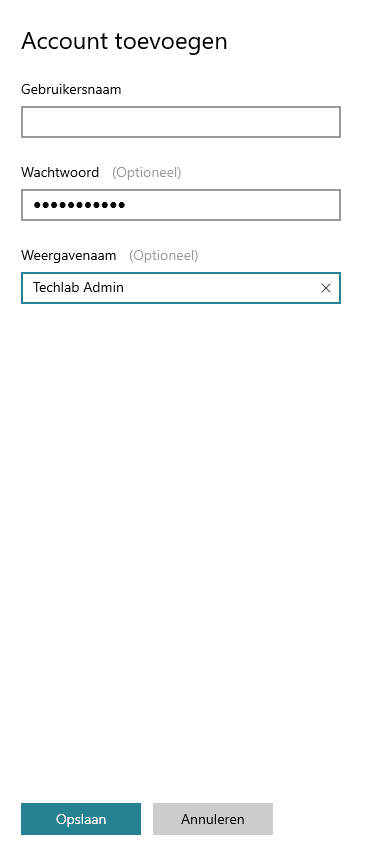
The configuration should look something like this:
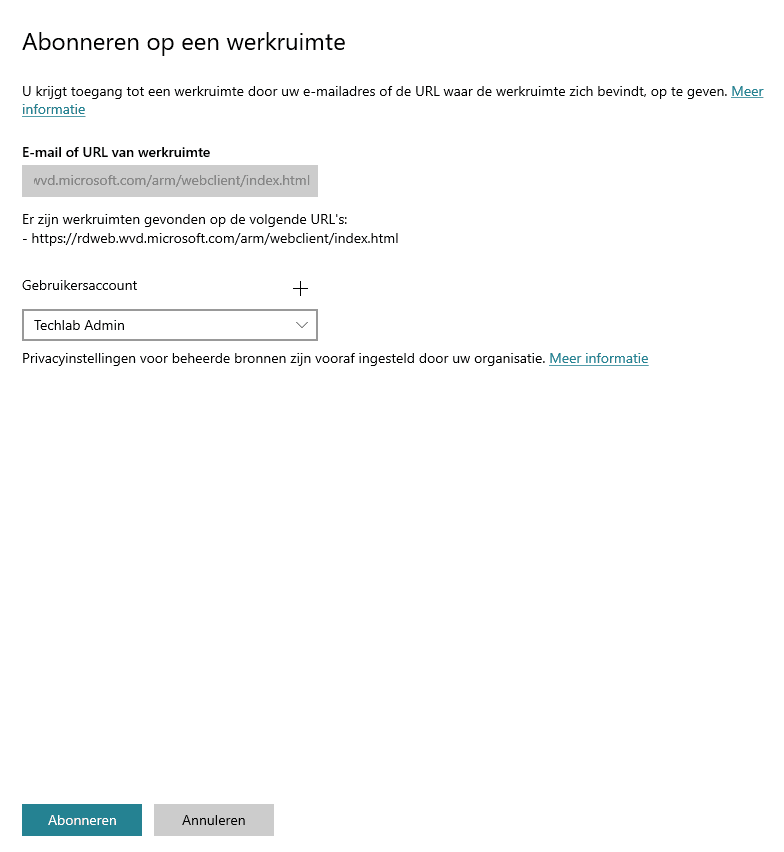
Click on the Subscribe button to add the Workspace.
How To Automatically Install Via Endpoint Manager
So there are a couple of ways on how to install one of the clients automatically via the Microsoft Endpoint Manager.
To install the Windows Desktop Client, simply install the .MSI via a Line-of-Business app or install the .MSI file as a Win32 app and use msiexec.exe /I filename /qn as the install command. To uninstall via GUID use the command msiexec.exe /x “{4F1C5D10-F012-4039-89CF-2F4830A991AA}” /qn
We can install the Microsoft Store Client by using the Microsoft Store for Business. Make sure the Microsoft Store for Business is setup and add the app.
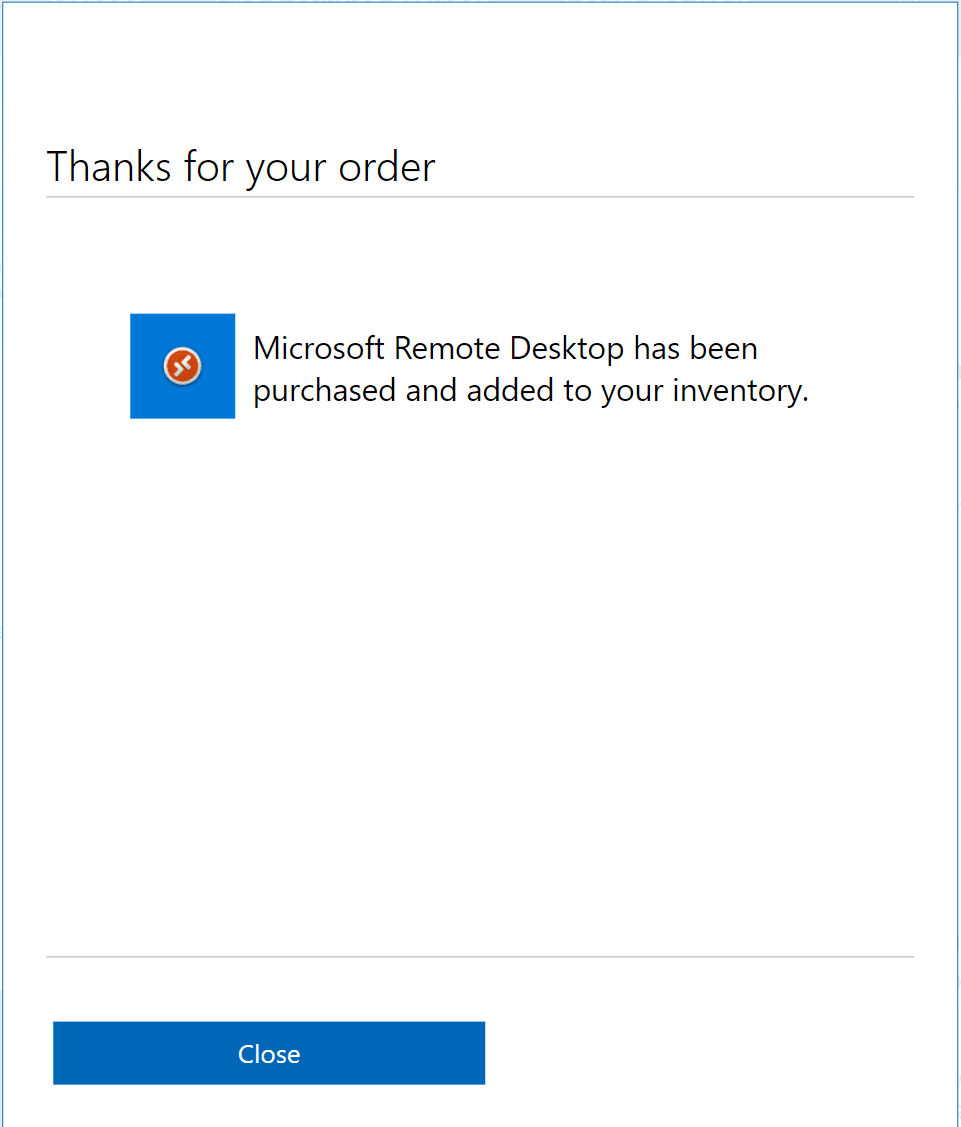
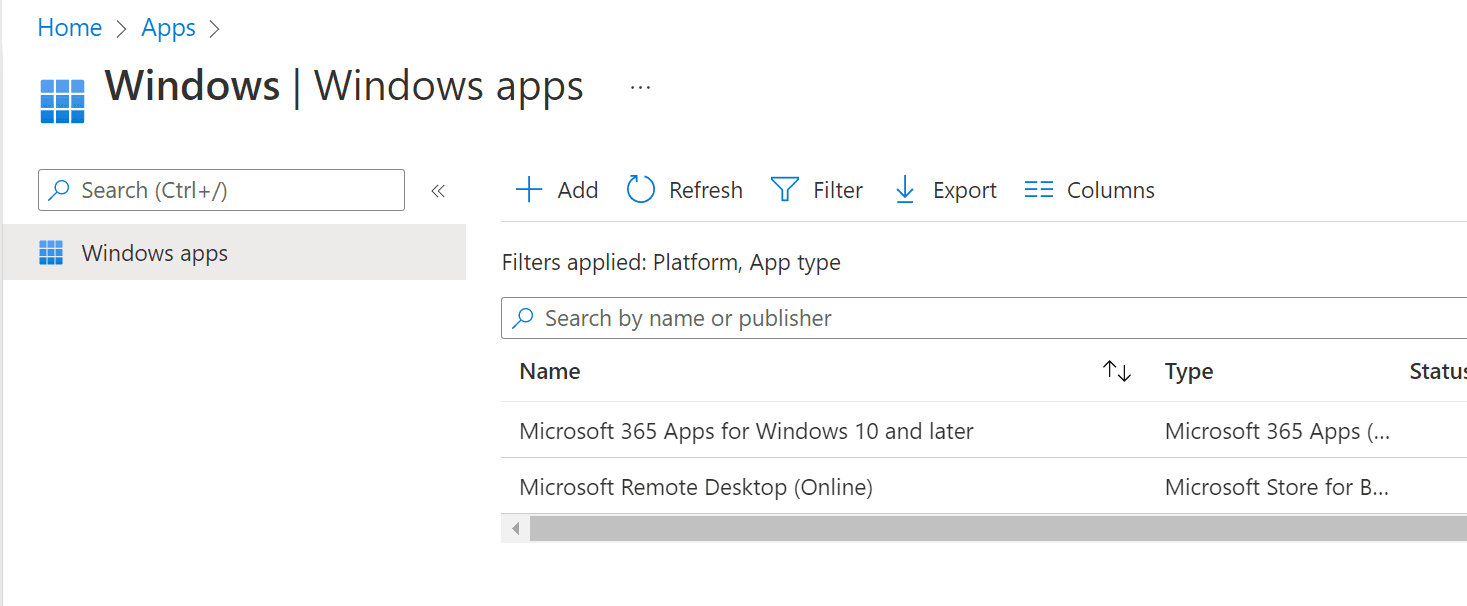
Remember there’s also a possibility to setup Kiosk mode and configure Microsoft Edge to use the web client. It’s also possible to use the Windows Desktop Client from the Kiosk mode.
Check my post on Kiosk mode if you want to know more on how to setup the Kiosk mode.


