What’s up, everyone!
This month I had the privilege of delivering a couple of sessions on Windows 365 at the first edition of Workplace Ninja US in Dallas. During these sessions I covered various use cases for Windows 365 and one of them was business continuity and disaster recovery (BCDR). If you prepared your environment for Windows 365, you made your life a lot easier in case there is an incident and you can’t use or trust your local devices. All you need to do is spin up Cloud PCs and have your users work on the newly deployed Cloud PC. I gave an honorable mention to Windows 365 Reserve, but what is Windows 365 Reserve and what is it not? And when should you use it? So let’s take a look at Windows 365 and find out.
Enjoy!
What is Windows 365 Reserve?
Windows 365 Reserve is Microsoft’s answer to the following question: what if my end users cannot access their physical device? The reason could be anything from a cyber incident, and update to an agent that prevents the physical device from booting or even something like a fire in a corporate building to simply dropping/breaking the device.
You as an endpoint admin are now tasked with getting those impacted devices replaced so the users can continue their work. So there is some work to the IT department, but even worse, the user is unable to work during that time.
With Windows 365 Reserve you have the ability to spin up a temporary Cloud PC for these users, effectively giving the IT department time to replace the physical device.
There are a couple of things you need to know:
- You can access the Windows 365 Reserve Cloud PC from your Windows 365 Link or Boot device.
- Single Sign-On (SSO) is supported.
- Gallery images are supported.
- Make sure you are in a supported region.
Now that you know what Windows 365 is, you also should know what it is not…
What Windows 365 Reserve isn't...
Windows 365 Reserve is not a full replacement for your virtual or physical corporate desktop. It comes with it’s own set of rules which you need to take into consideration:
- Windows 365 Reserve deploys a Cloud PC which means you have the same license requirements compared to Enterprise or Frontline, which is Windows 10/11, Microsoft Intune and Microsoft Entra P1.
- Reserve Cloud PCs have to be Entra Joined only, hybrid joined is not supported.
- Reserve Cloud PCs will live on the Microsoft Hosted Network (MHN). You cannot configure an Azure Network Connection to connect to on-premises resources. However you can use a point-to-site VPN solution like Global Secure Access to achieve that goal.
- You cannot change the specifications of the Cloud PC. By default a 4 vCPU/16GB RAM/128 GB storage is used.
- It does not support device actions like restart or point-in-time restore.
- Windows Autopilot Device Preparation policies are coming soon.
- Custom images are not supported.
- Additional features like Cloud Apps, Disaster Recovery add-ons or GPU capabilities are not supported.
- End users can work up to 10 days per year on a Windows Reserve Cloud PC, but that’s it. Stacking or sharing licenses is currently not allowed, but possibly in the future. The counter starts running at the moment the Reserve Cloud PC is provisioned and is paused when the Reserve Cloud PC is deprovisioned.
- There is a 7 day waiting period the first time users are assigned to the Windows 365 Reserve Cloud PC provisioning policy.
As you can see, the Windows 365 Reserve Cloud PC offering is meant for short term usage and not as a full desktop replacement.
So how do we configure and provision the Windows 365 Reserve Cloud PCs?
How to provision Windows 365 Reserve Cloud PCs
First you need to add the Windows 365 Reserve licenses to your Microsoft tenant.
Then create an Entra group for your users that are eligible for a Windows 365 Reserve Cloud PC in case of an incident. In this demo I created a group named Windows 365 Reserve Demo.
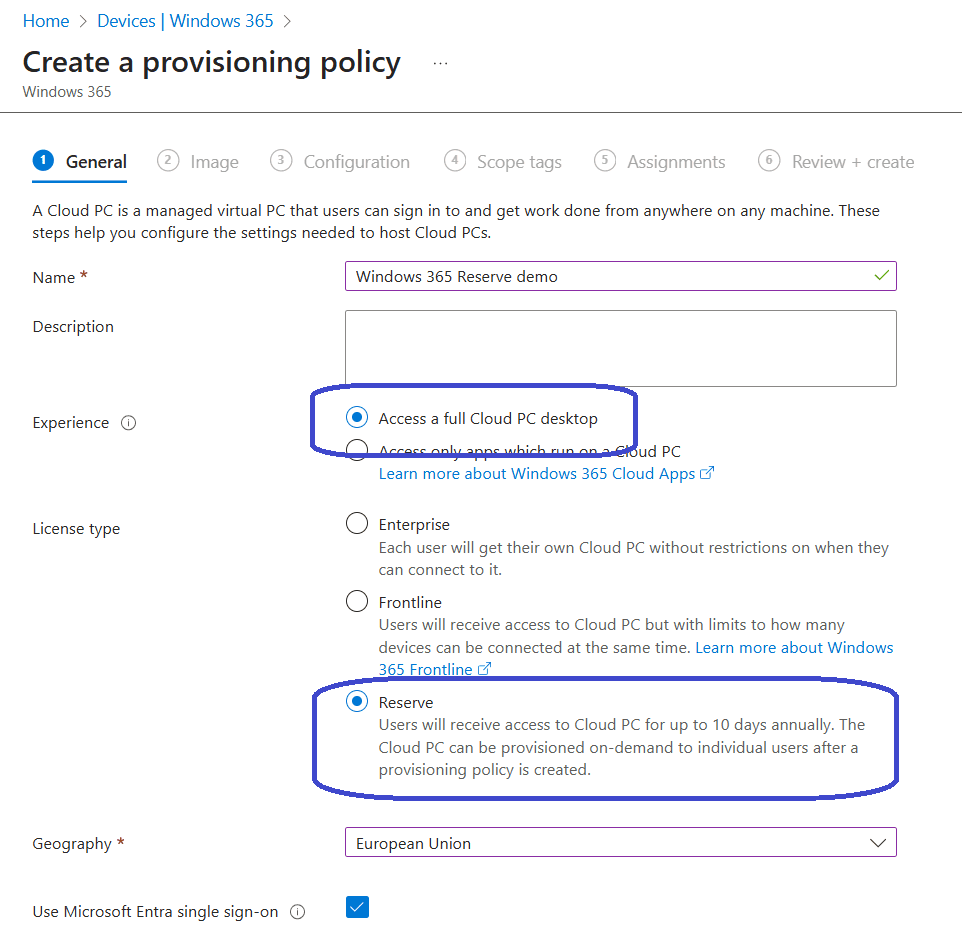
Now it’s time to create a provisioning policy. Navigate to Devices, Windows 365 and select the Provisioning policies tab and create a new provisioning policy.
Make sure to select:
- Access a full desktop as the experience.
- Reserve as the license type.
- Select the desired Geography and enable SSO.
As mentioned before, Windows 365 Reserve only supports gallery images. It does not support custom images.
The latest three Windows 11 versions are available. You can choose between Windows 11 only or Windows 11 including the Microsoft 365 Apps.

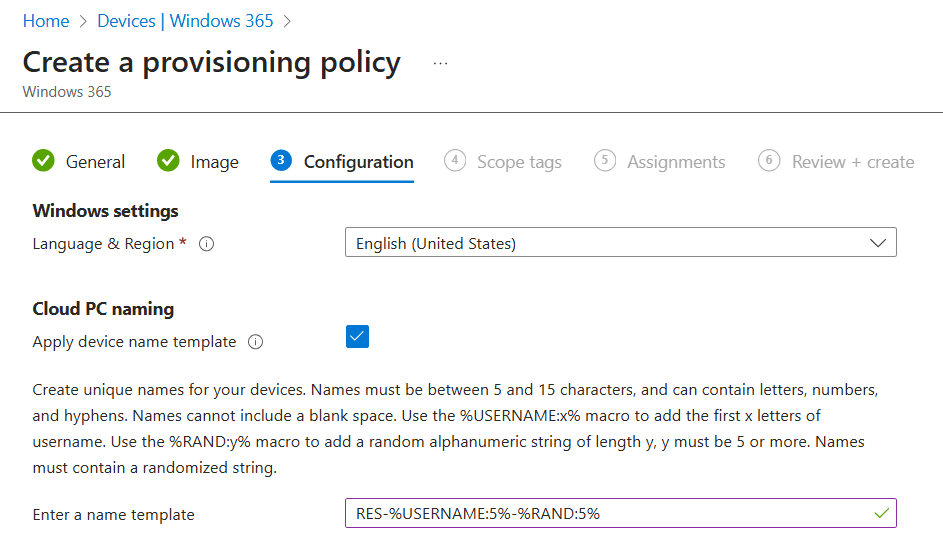
In the Configuration step we can:
- select the desired language and region.
- enter a name template.
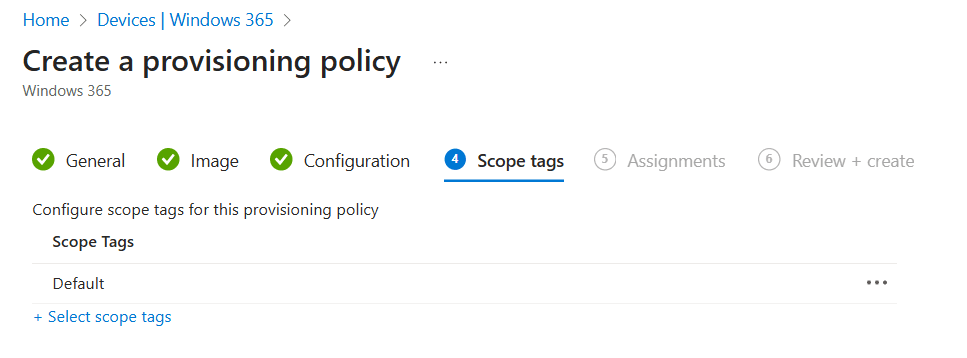
Optionally add scope tags if applicable:
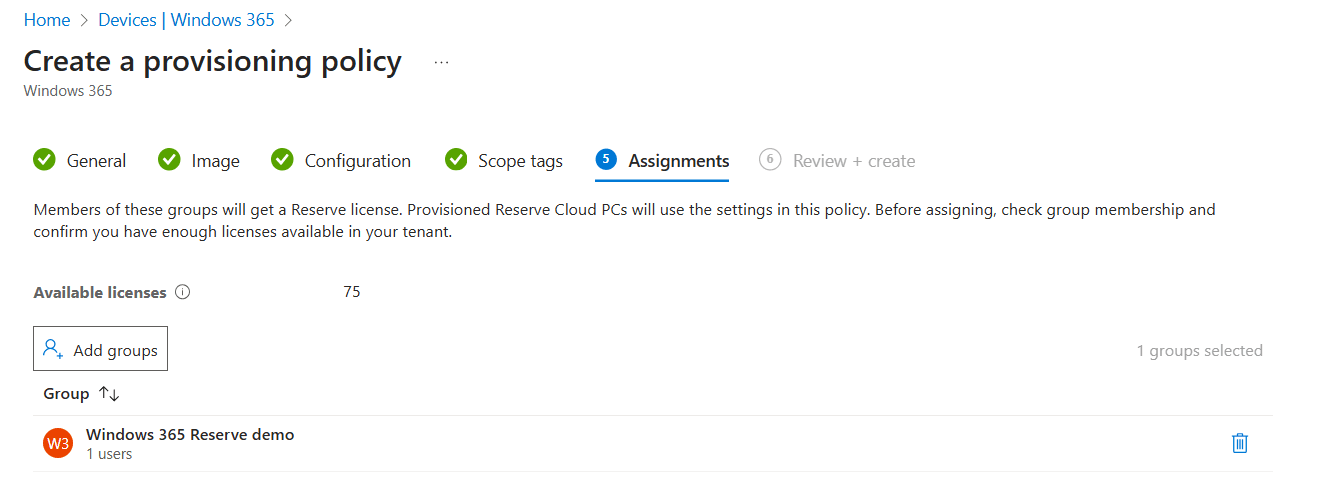
Now it’s time to assign the provisioning policy to the Entra group we have prepared earlier. I like how this overview immediately shows the amount of available licenses and the number of users that are a member of the Entra group.
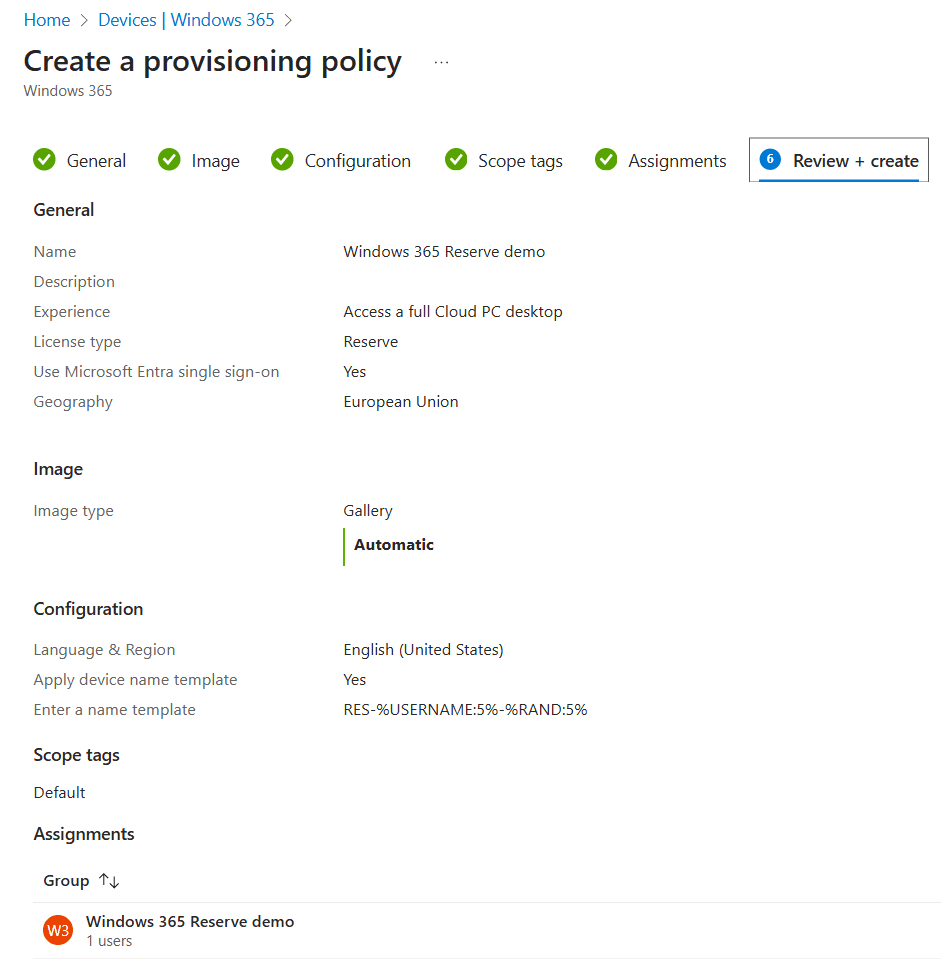
As always make sure to admire your awesome work and save the provisioning policy if you are happy with it.
We have now successfully created the provisioning policy. But that does not automatically provision the Reserve Cloud PC.
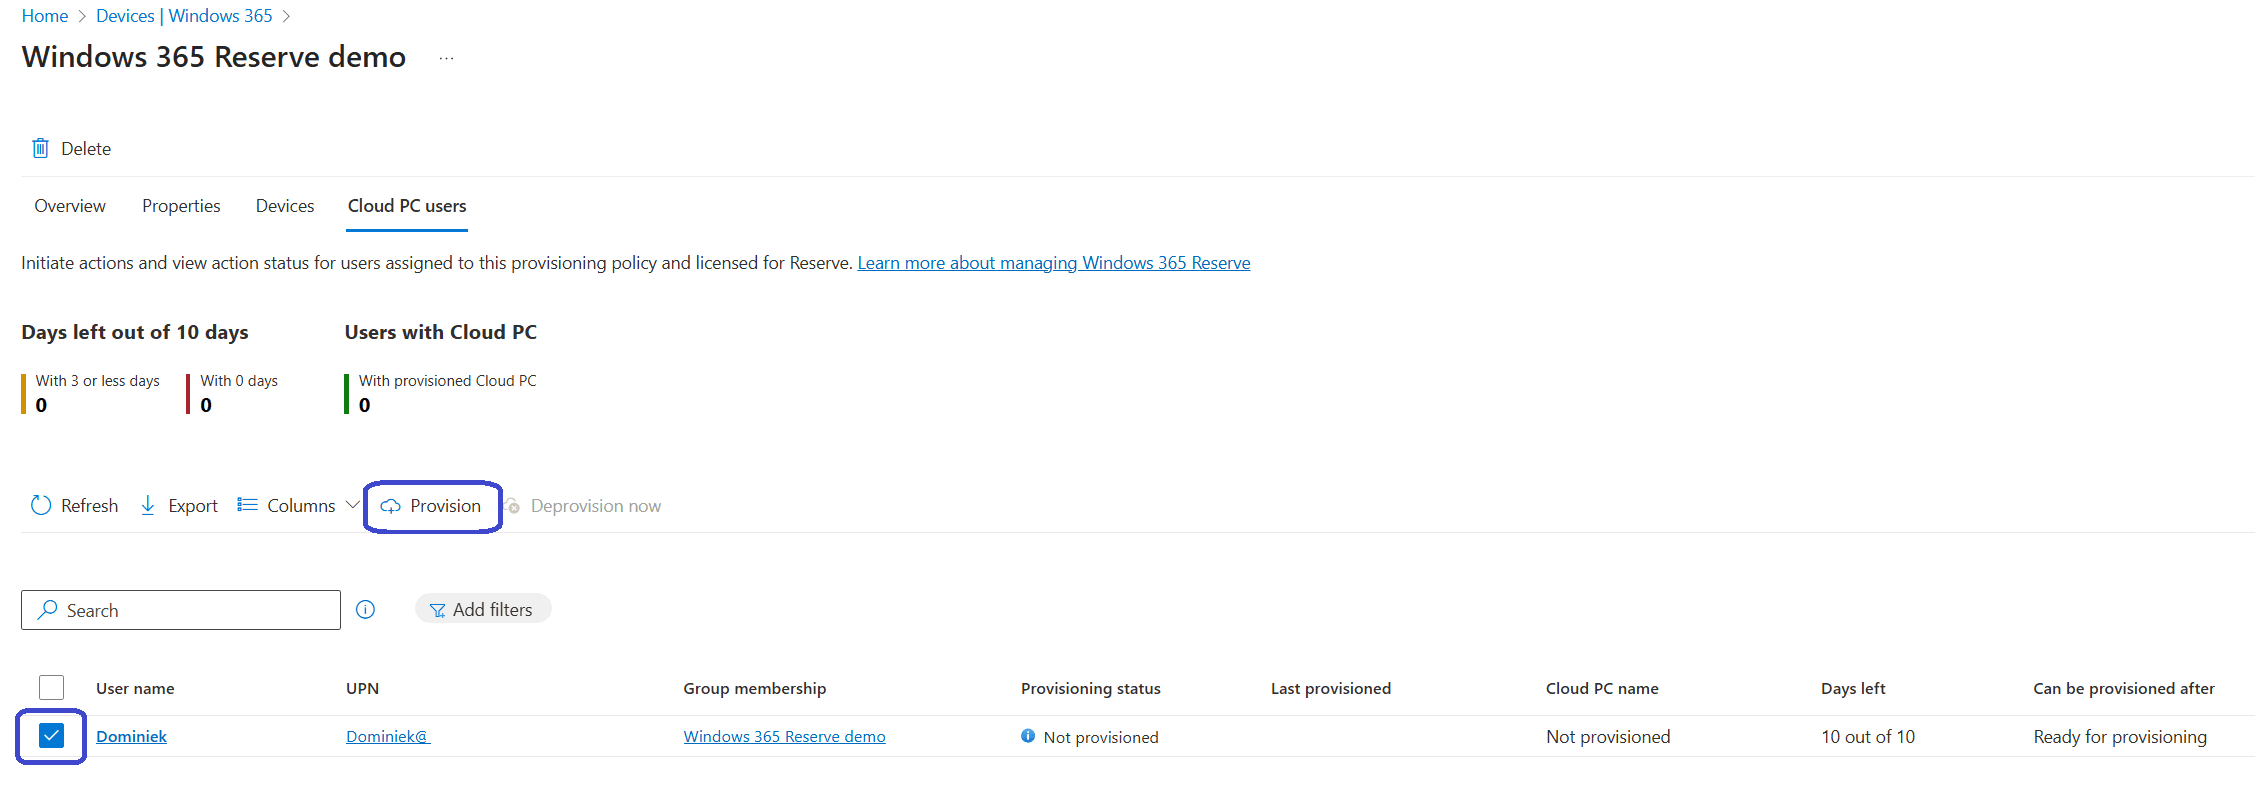
Provisioning a Windows 365 Reserve Cloud PC is a manual action. To do so, you need to go back into the Windows 365 provisioning policy. You will get a couple of tabs with information:
- The overview tab has the Reserve tag visible and it shows basic deployment information.
- The properties tab shows an overview like you are used to with other provisioning policies. It shows general info, image info, configuration info, scope tags and assignments.
- The devices tab shows the Windows 365 Reserve Cloud PCs.
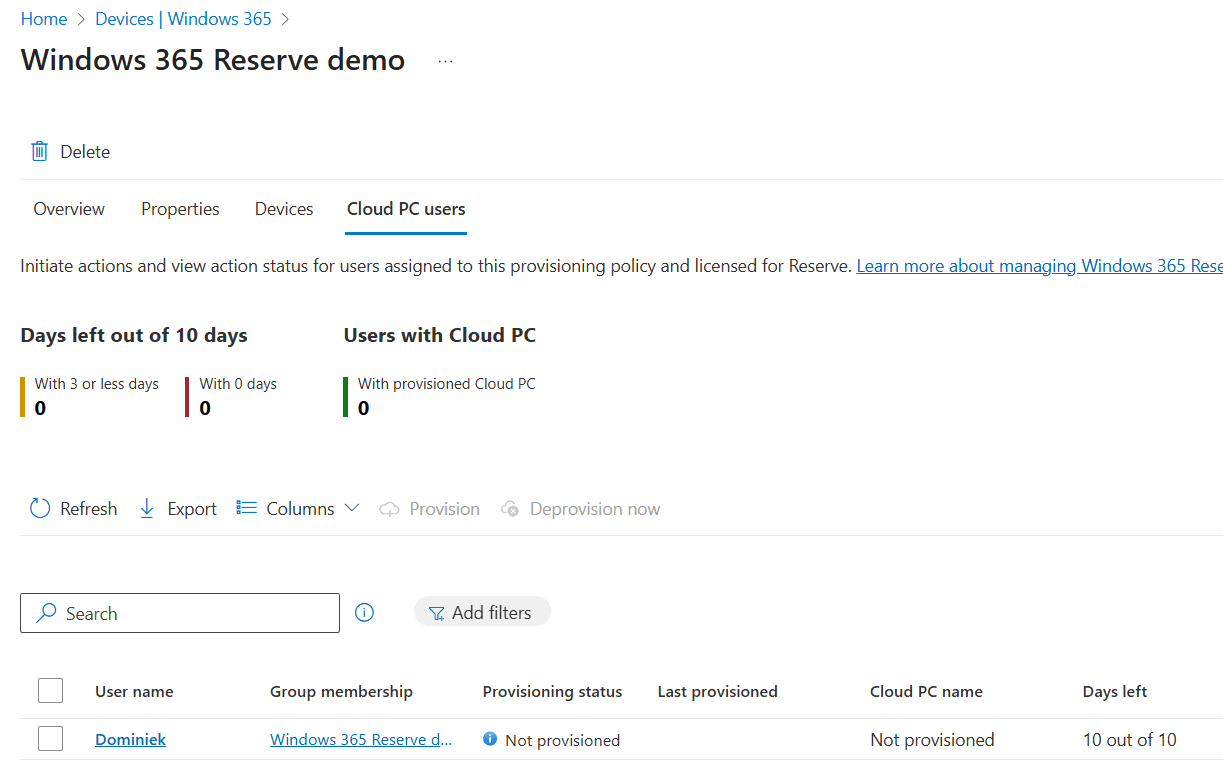
- The Cloud PC users tab is used to manually provision and deprovision Reserve Cloud PCs.

Provisioning a Reserve Cloud PC is on a per user basis, so select the user and click the provision button.
Is it still greyed out? Mind the 7 day waiting period users have when assigning the policy to users.
Once the waiting period is over, we can select the user(s) and click the provision button:
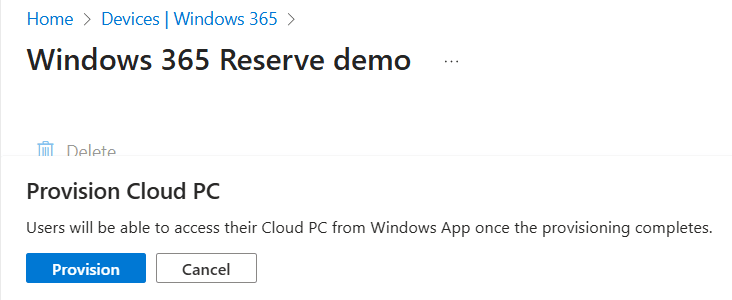
Intune will display a confirmation pop up at this point. Select Provision to continue.
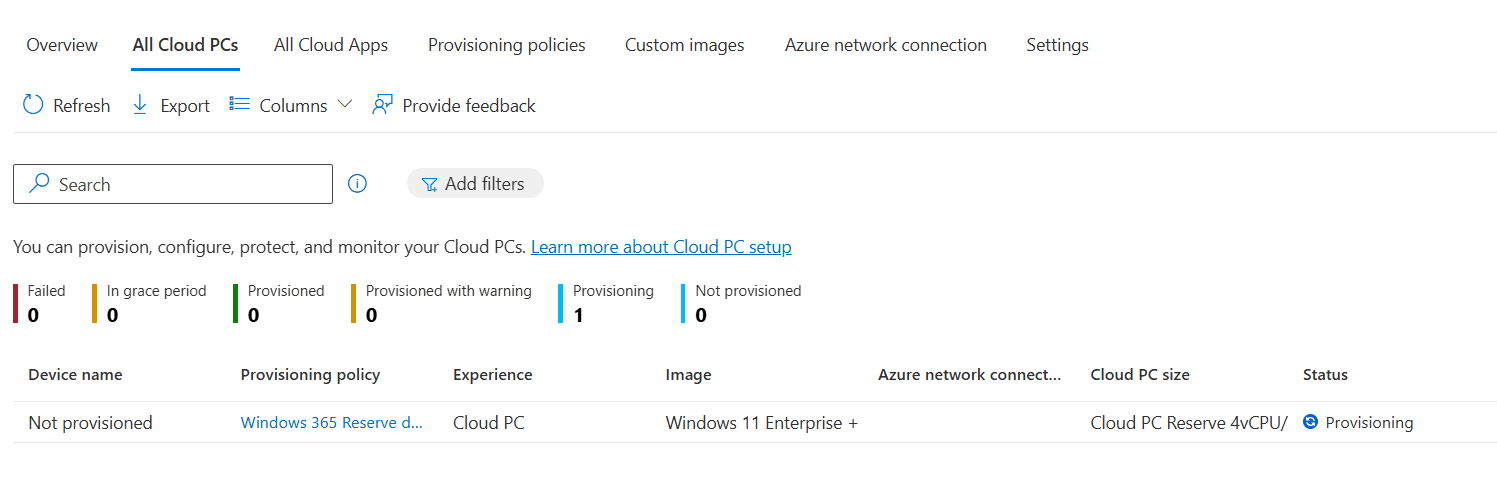
Now we have to wait a short time for the provisioning process to complete. You can monitor the status in the All Cloud PCs tab:
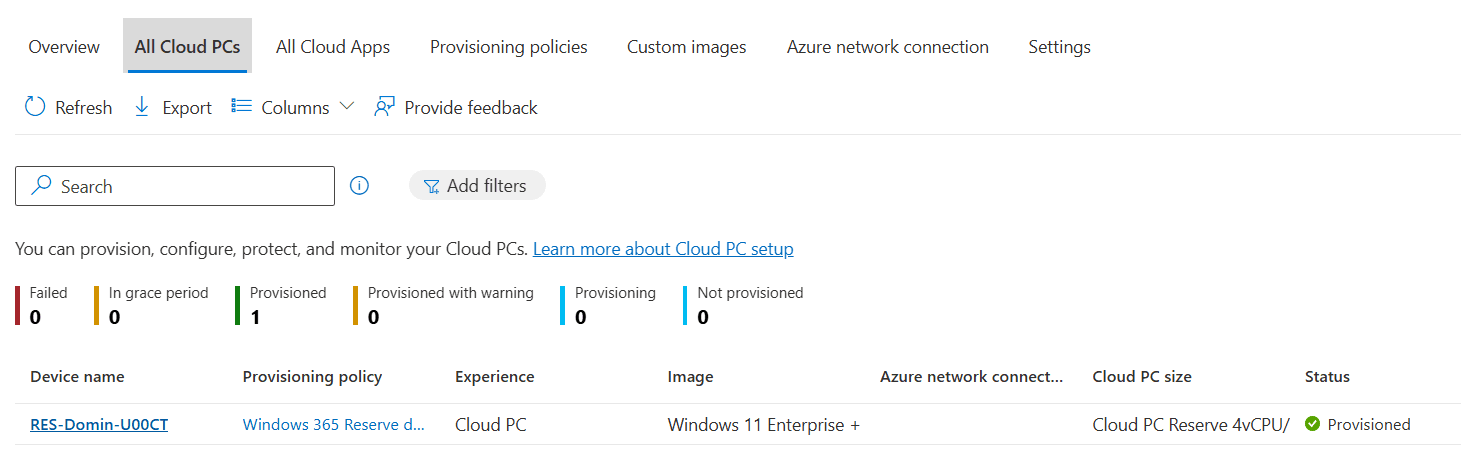
The Windows 365 Reserve Cloud PC is now ready to be used.
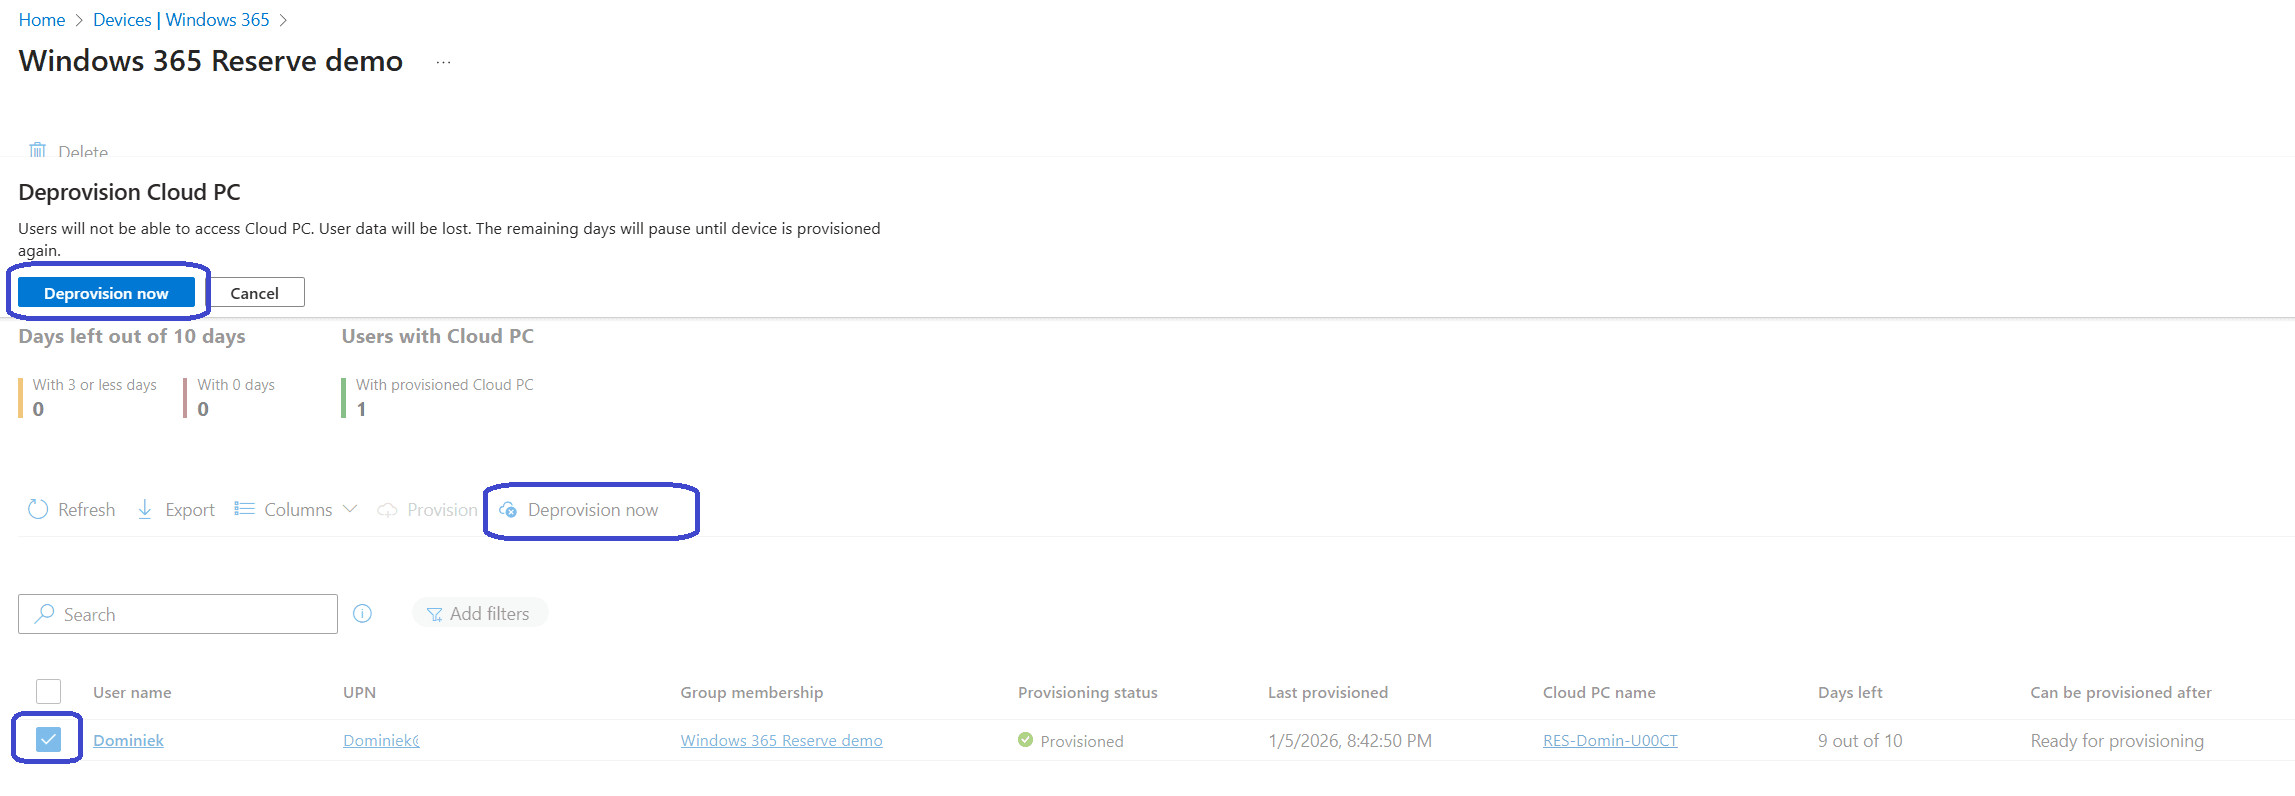
The deprovisioning process is very similar to the provisioning process. All you need to do is to select the user, click Deprovision now, and confirm the action:
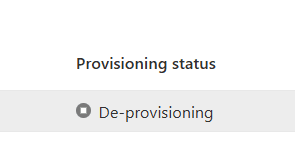
The status will change to de-provisioning.
The Windows 365 Reserve Cloud PC is now ready to be used. Let’s find out what the user experience looks like…
End user experience
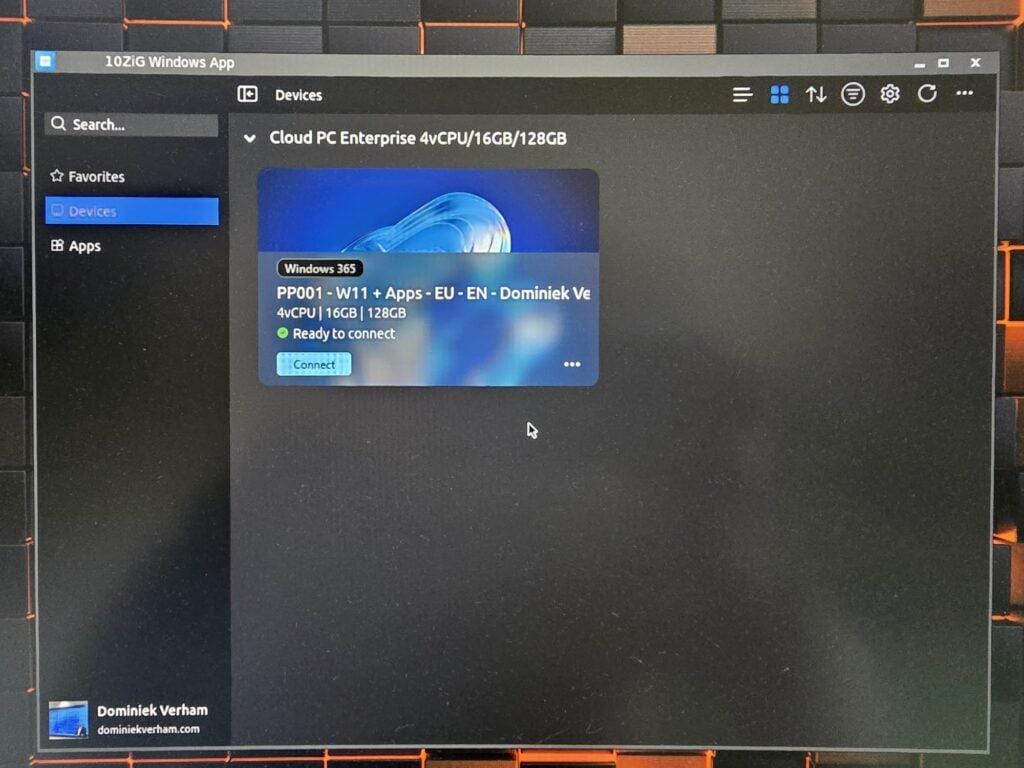
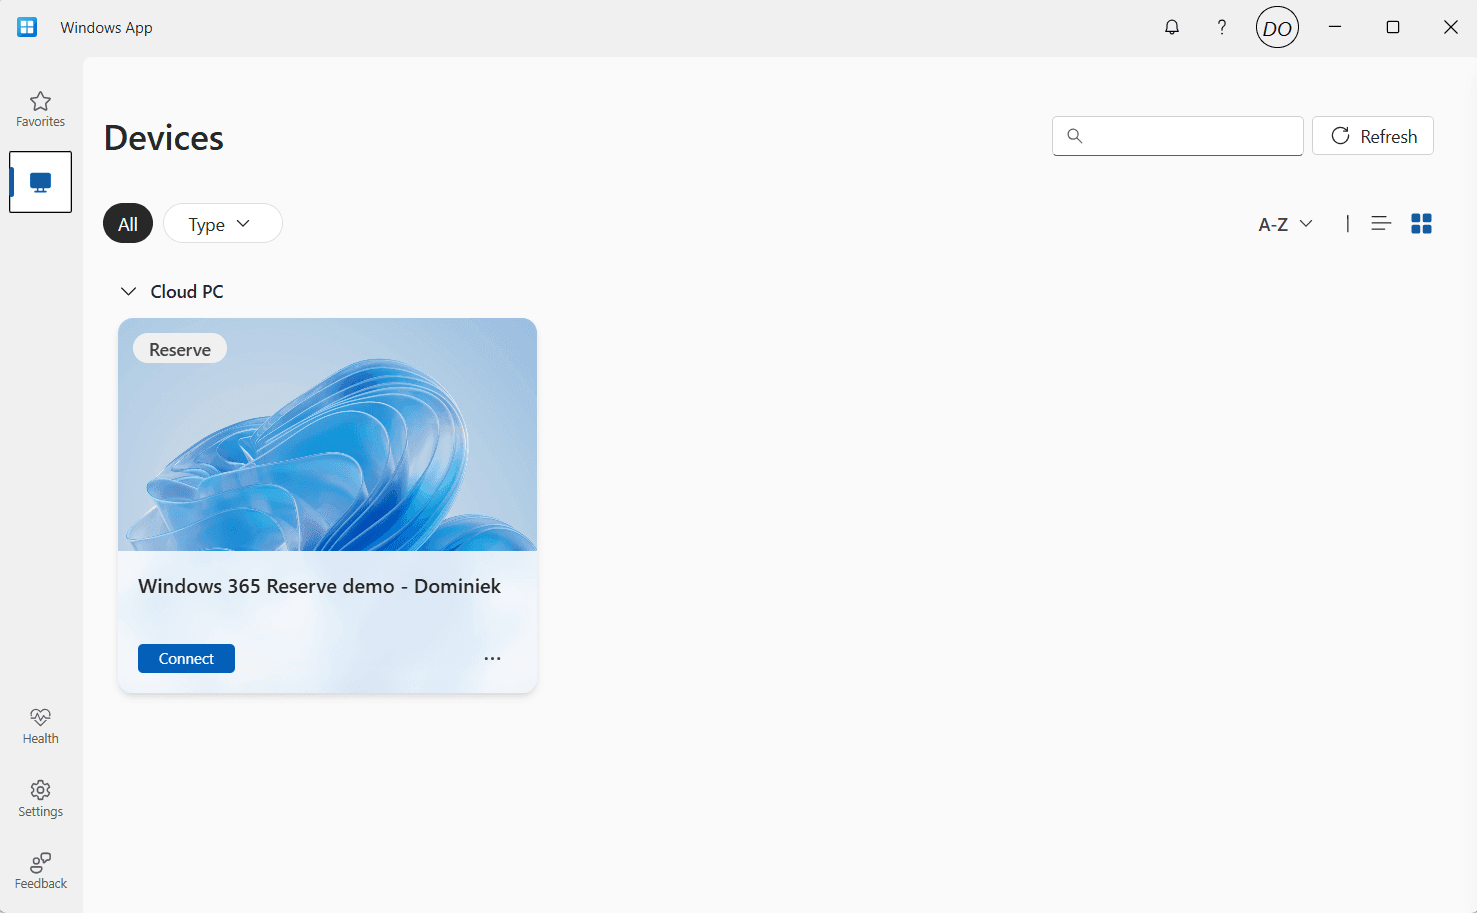
The Windows app is the go to way to connect to your Cloud PCs and that is no different for Windows 365 Reserve Cloud PCs. When users sign into their account, they can see the Cloud PC with the Reserve tag displayed on the card:
Reserve Cloud PCs have their own set of device actions. Users have the ability to restart their Reserve Cloud PC just like regular Cloud PCs. They do not have point-in-time restore available.
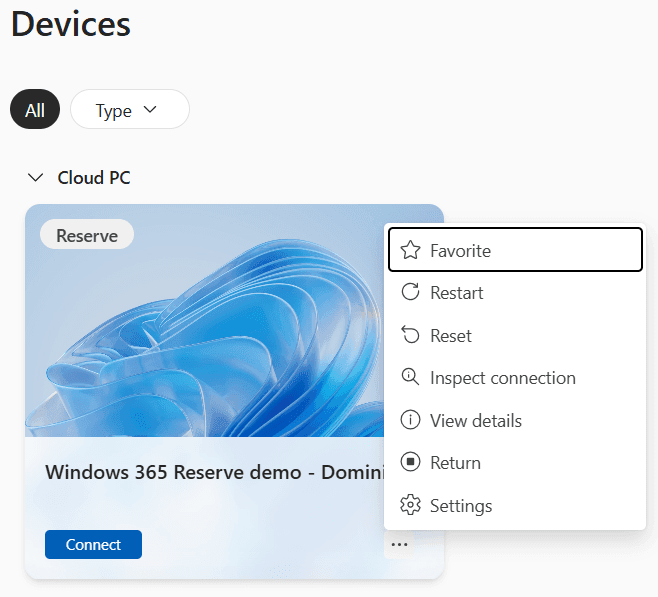
Did you notice the Return action? Users can click this action when they receive their new physical device and do not need their Reserve Cloud PC anymore, effectively pausing the timer so they can use the Reserve Cloud PC at another time. Using the return action will give the user a warning that all data will be erased.
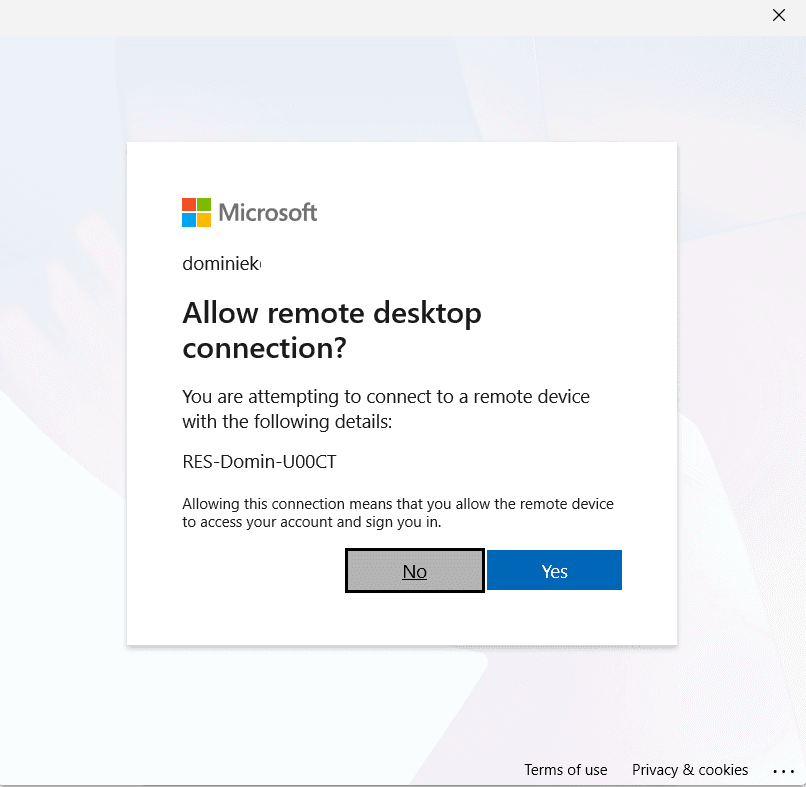
The remaining bit of the user experience is similar to Enterprise Cloud PCs. Users will get SSO notification if you haven’t disabled it at the organisation level:
Next up you’ll see the corporate desktop:
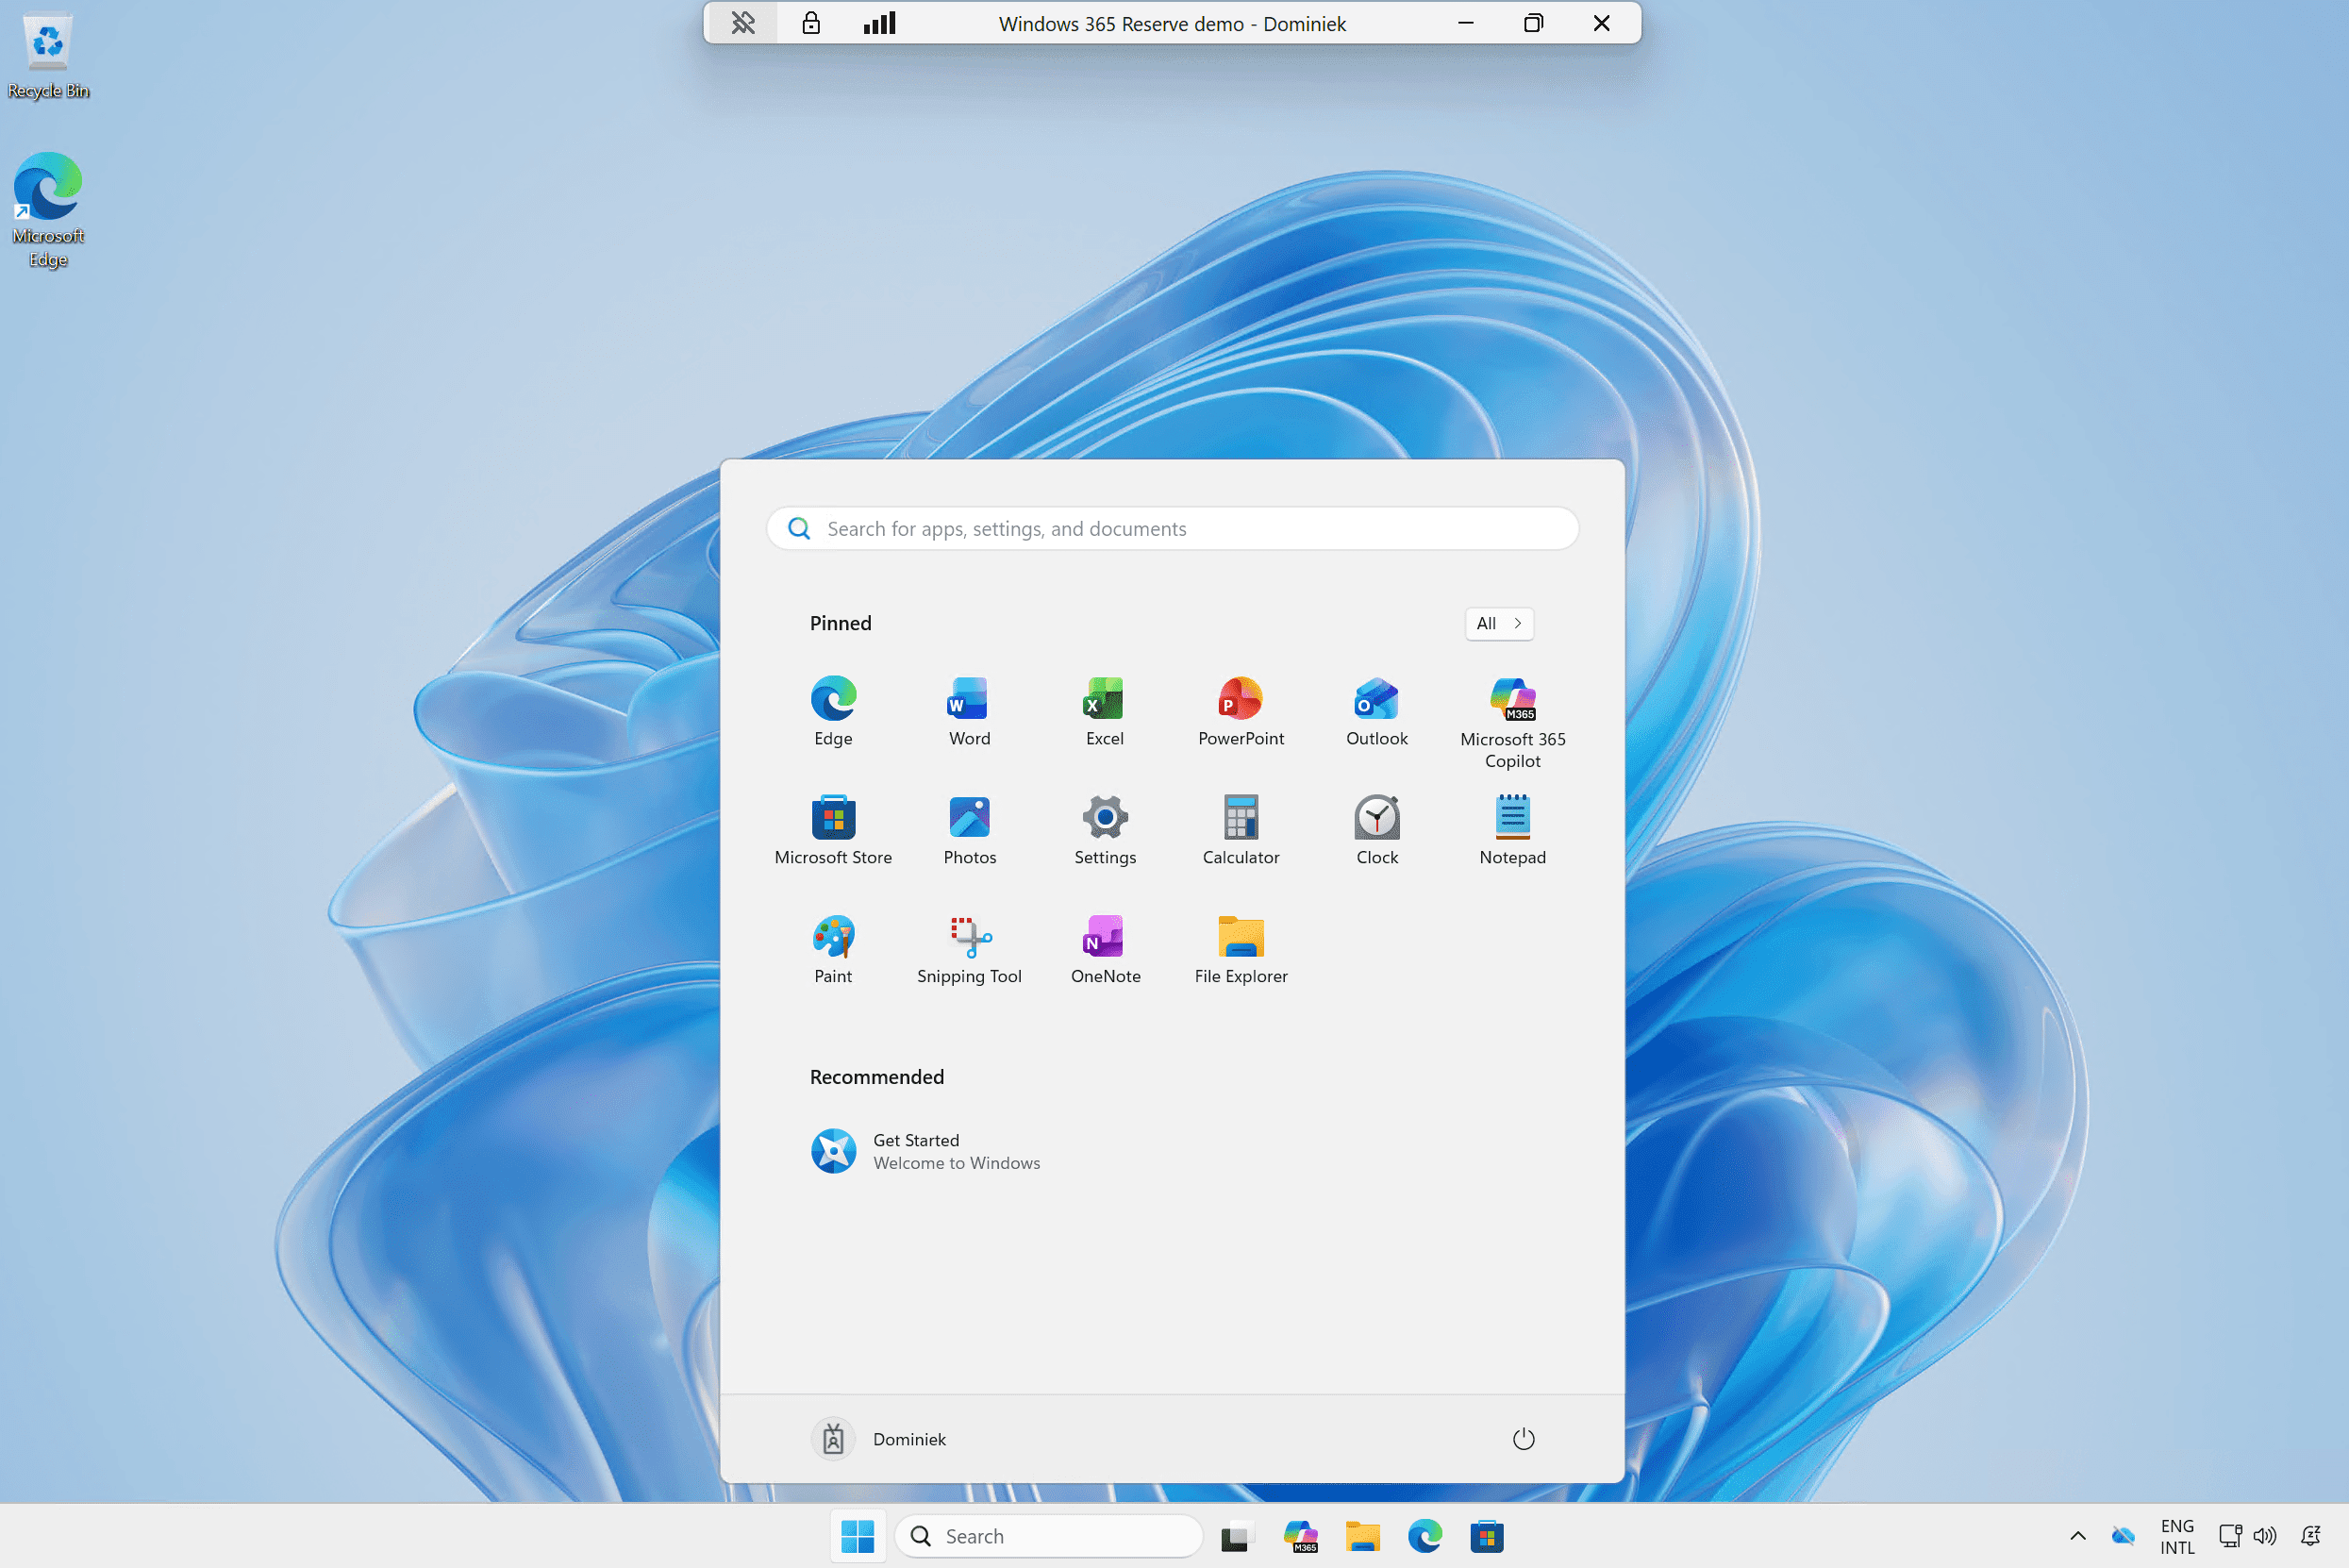
That’s how easy it is to deploy a Windows 365 Reserve Cloud PC.
Resources
Share this:
- Click to share on LinkedIn (Opens in new window) LinkedIn
- Click to share on X (Opens in new window) X
- Click to share on Facebook (Opens in new window) Facebook
- Click to share on WhatsApp (Opens in new window) WhatsApp
- Click to share on Telegram (Opens in new window) Telegram
- Click to print (Opens in new window) Print