

What’s up, everyone!
You are probably familiar with the concept of publishing applications if you are working with VDI and DaaS solutions. It’s a great way to deliver an application to your end users without giving them access to a full desktop. When would you want to use it? It could be great for:
- Frontline workers who only need access to certain apps.
- External workers who only need access to a single app.
- Provide access to more legacy apps.
This concept is called RemoteApp in the Remote Desktop Services and Azure Virtual Desktop space. Windows 365 is now also capable of streaming apps to your end users using Cloud Apps. Let’s find out how to configure and use it.
Prerequites and known issues
Prerequisites
Windows 365 Cloud Apps is built on Windows 365 Frontline. You will need a Windows 365 Frontline license if you want to try it out for yourself.
Know issues
Cloud Apps is currently in public preview and there are some know issues:
- Cloud Apps only detects executables in the start menu, currently it does not support Appx or MSIX apps. And yes, that is still in development.
- It’s not possible to change the icon path during the preview.
- Linking an Autopilot Device Preparation policy is supported, but publishing Intune apps is not supported during the preview.
- Custom images in W365 are supported.
- Cloud Apps uses a PowerShell script to detect apps in the start menu which runs when you upload your custom image.
Things to know!
There are also a couple of things to keep in mind:
- The maximum number of connections is limited to the number of Frontline licenses that you assign to the policy.
- Settings applied to the Frontline Cloud PCs are also applicable to Cloud Apps.
With that our of the way, we can shift gears to configuring Cloud Apps!
How to deploy Windows 365 Cloud Apps
Windows 365 Cloud Apps is managed using Microsoft Intune. The Windows 365 blade in Intune has been updated and now has a tab called All Cloud Apps. To find it, sign into the Microsoft Intune admin center, Devices, Windows 365.
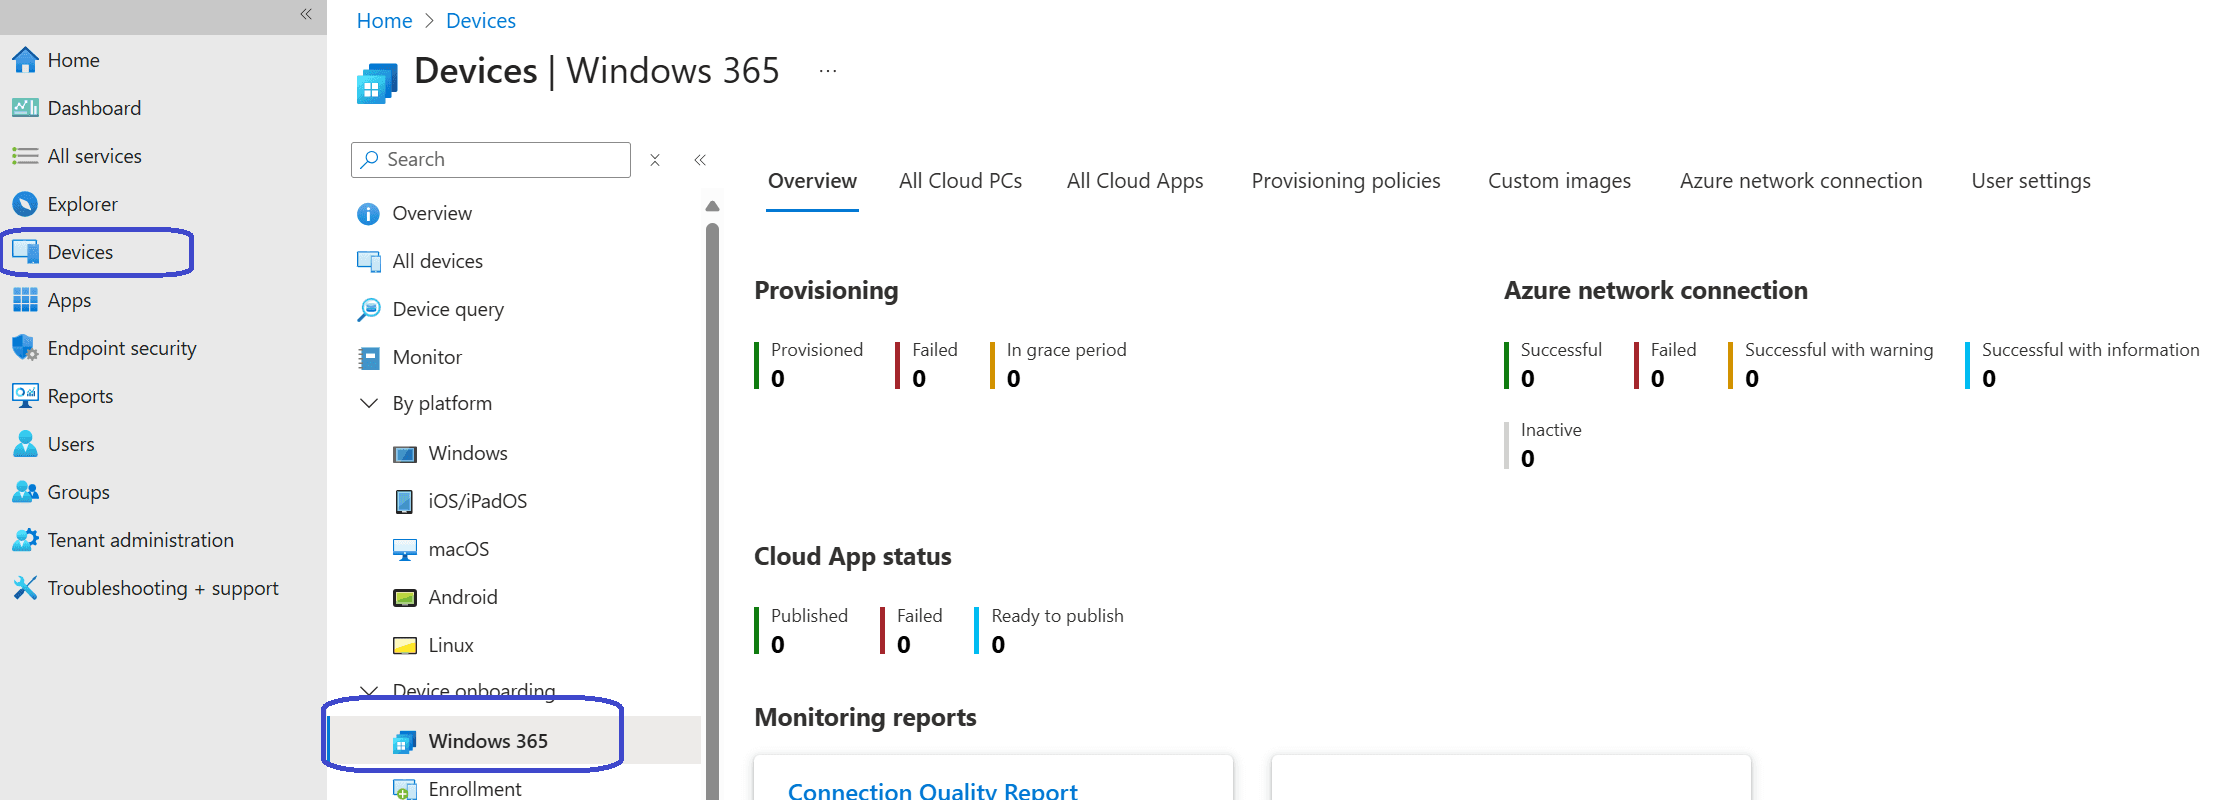
The All Cloud Apps tab will be your go to place to publish your apps to your end users. But as you can see, there are none and it’s not the place to create them:

Select the Provisioning policies tab follow by + Create policy button.
We now have a section called Experience. It allows us to choose between:
- Access a full Cloud PC desktop (which is the default experience of streaming a full desktop)
- Access only apps which run on a Cloud PC (preview). This setting is used to select Cloud Apps.
You can see that the license type and Frontline type are preselected and other options are greyed out once you select the Cloud Apps experience.

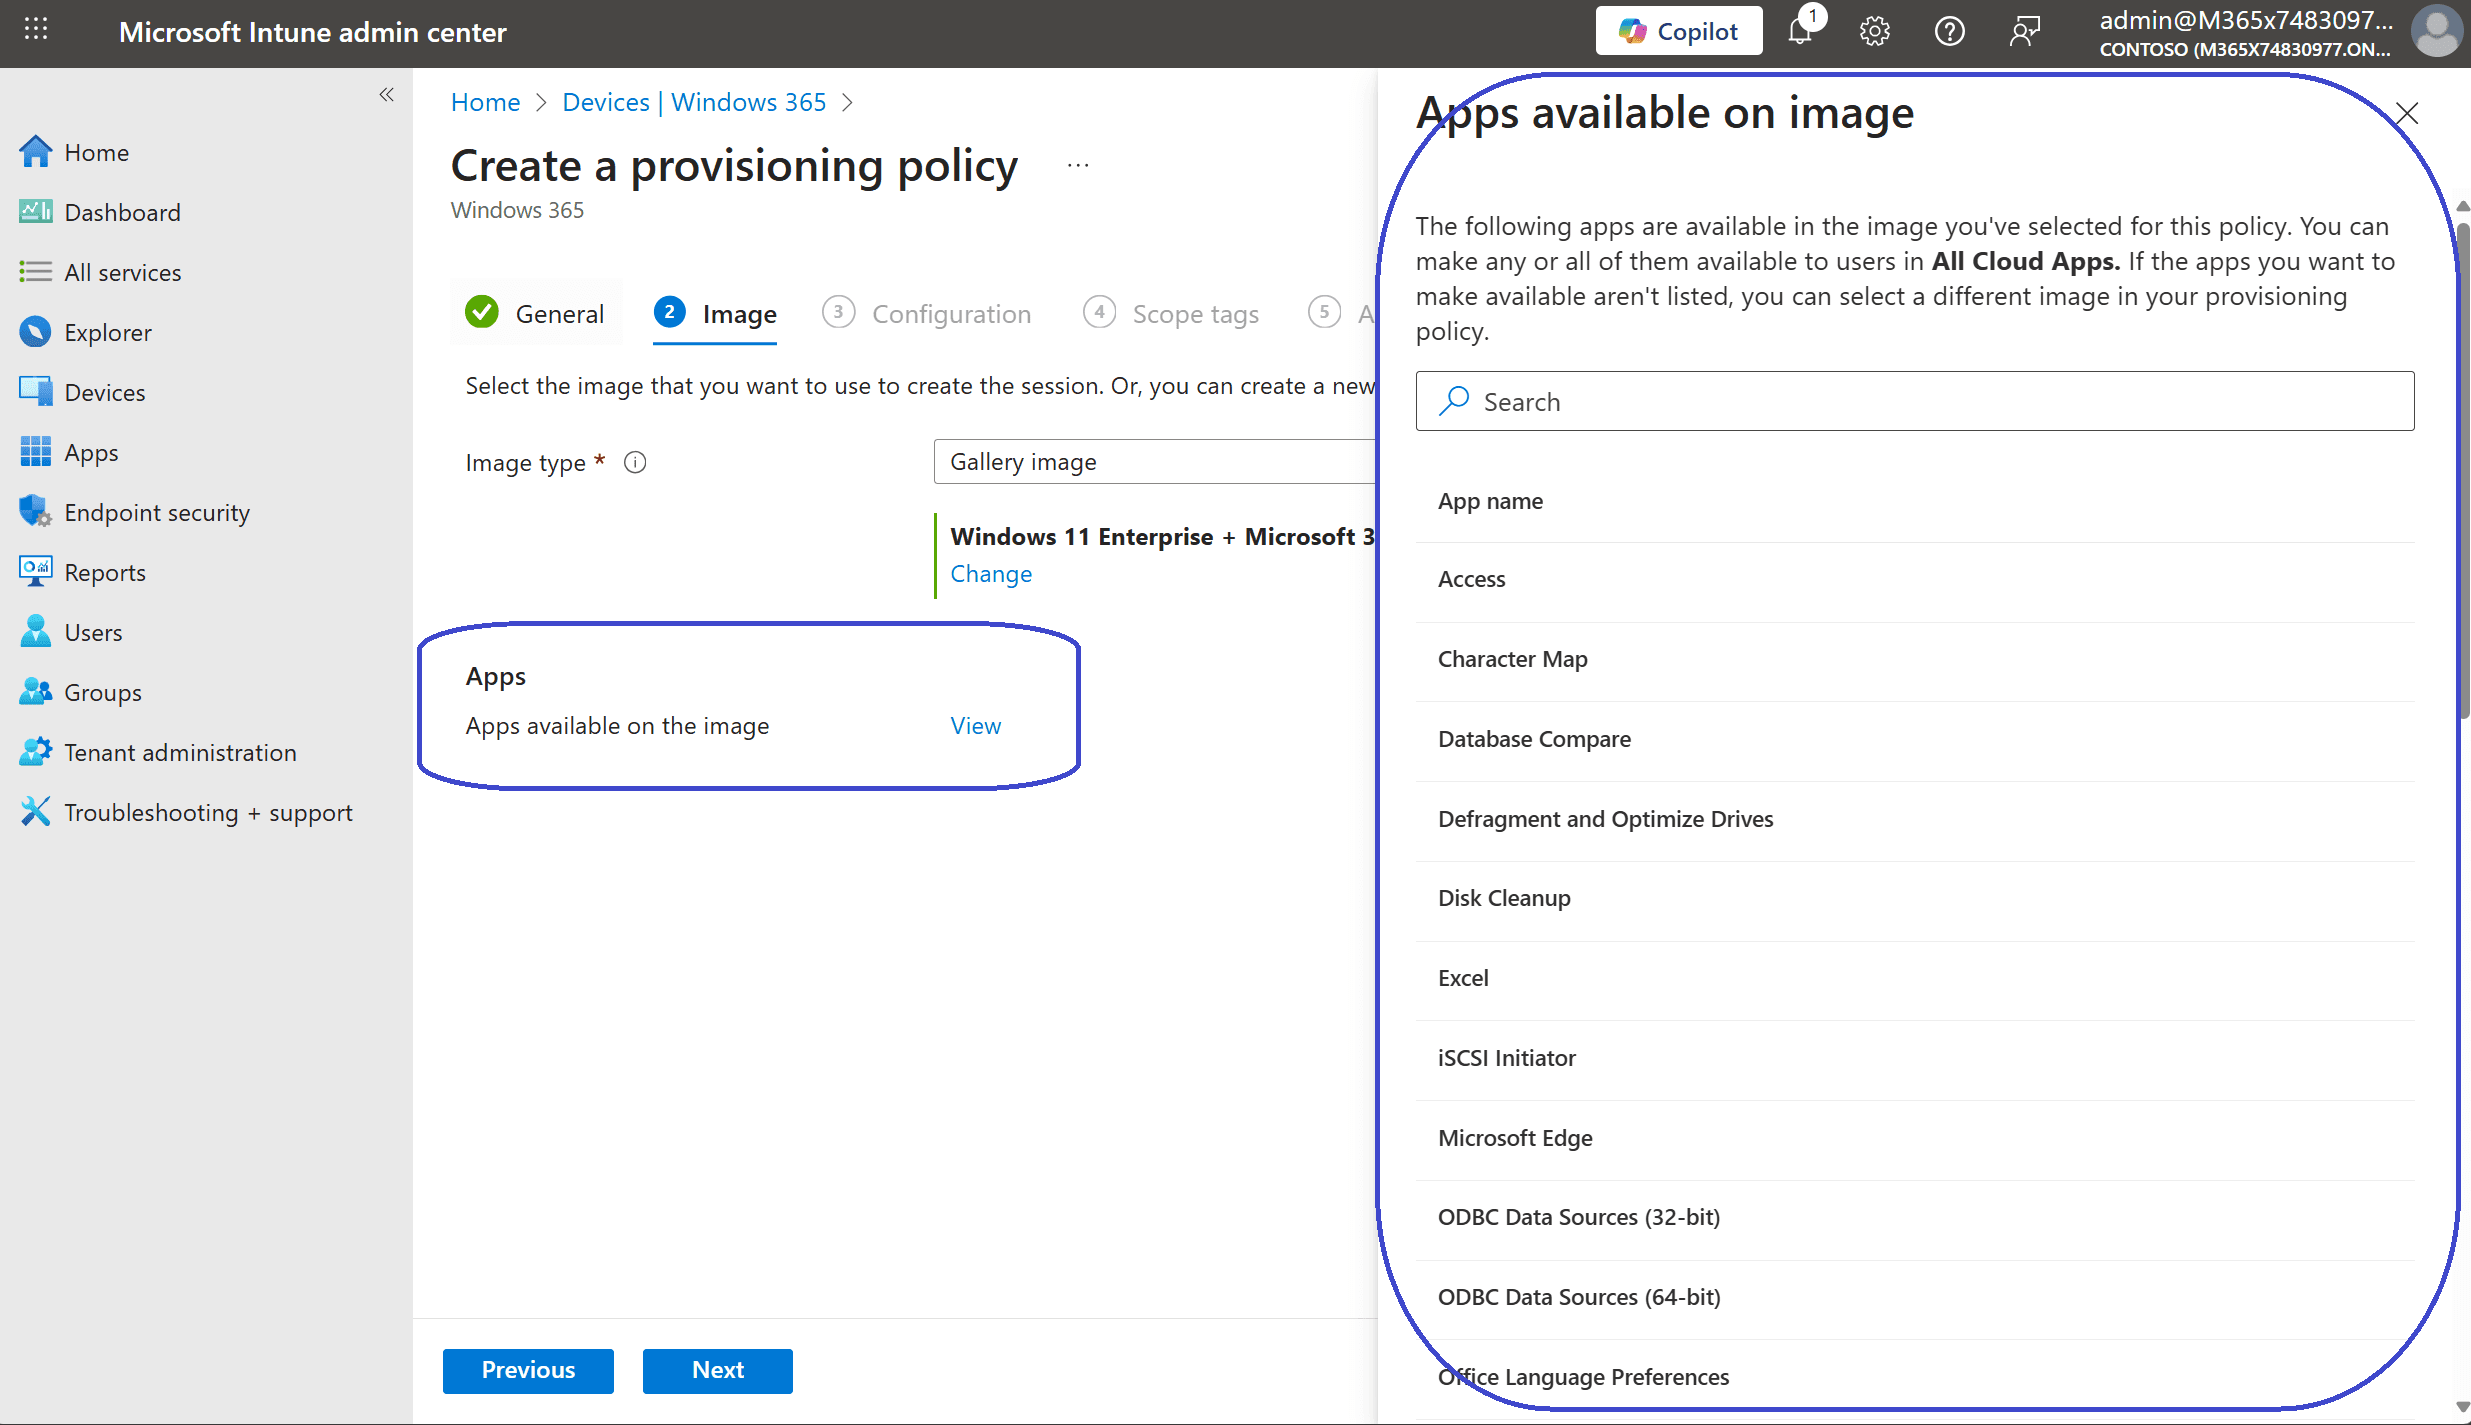
The image step allows us to select either the gallery image which is provided by Microsoft or we can select a custom image that we have built ourselves. If you use the gallery image, you only have access to the default Windows apps.
You can also create and upload your custom image with your corporate applications in the start menu. Remember to look at the limitations at this point. Only executables are detected.
Notice the view button in the apps section. Click to find out what apps are detected in the image.
The configuration step allows us to select:
- Language and region
- Apply a device naming template
- Link and Autopilot device preparation policy

The next step is to add scope tags if you want and continue to the Assignments section. Click the Add groups button to select a group containing the users that will use Cloud Apps:
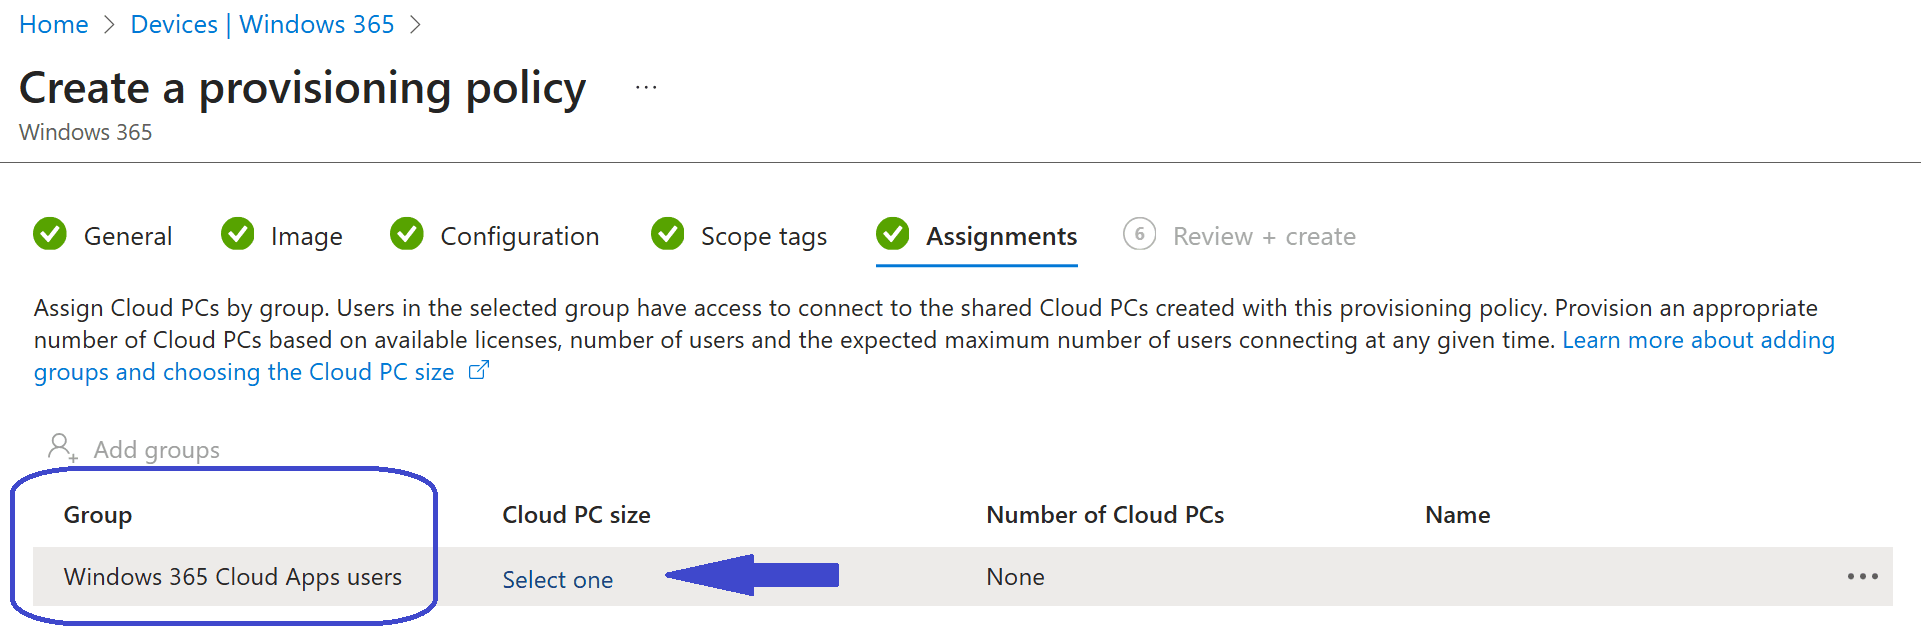
Then click Select one to add the license to the group:

I ended up with the following:

As always make sure to admire your awesome work and click the Create button to create the provisioning policy for your Cloud Apps.

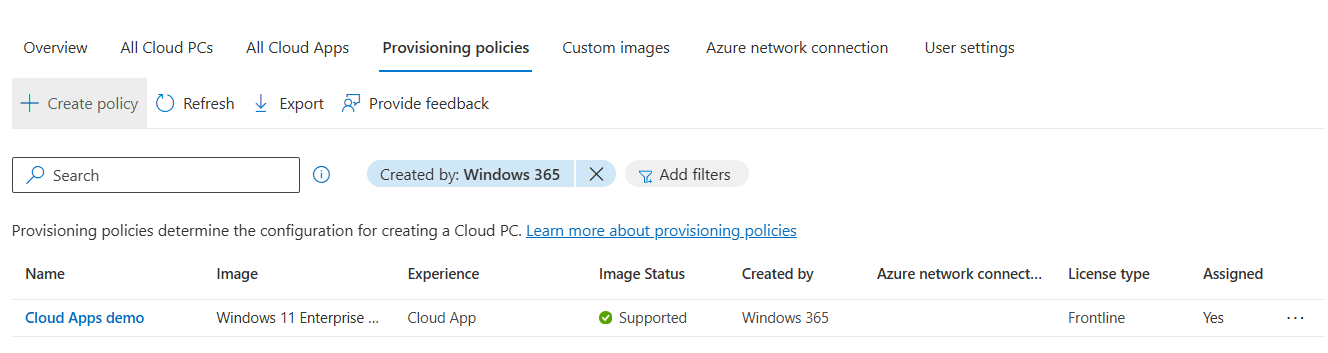
The newly created provisioning policy appears in the Provisioning policies tab and we can immediately see that it’s the Cloud App experience:
Let’s head back to the All Cloud Apps tab. We now have an overview of all the apps that were detected in the image and we can see that the apps have a status of preparing.
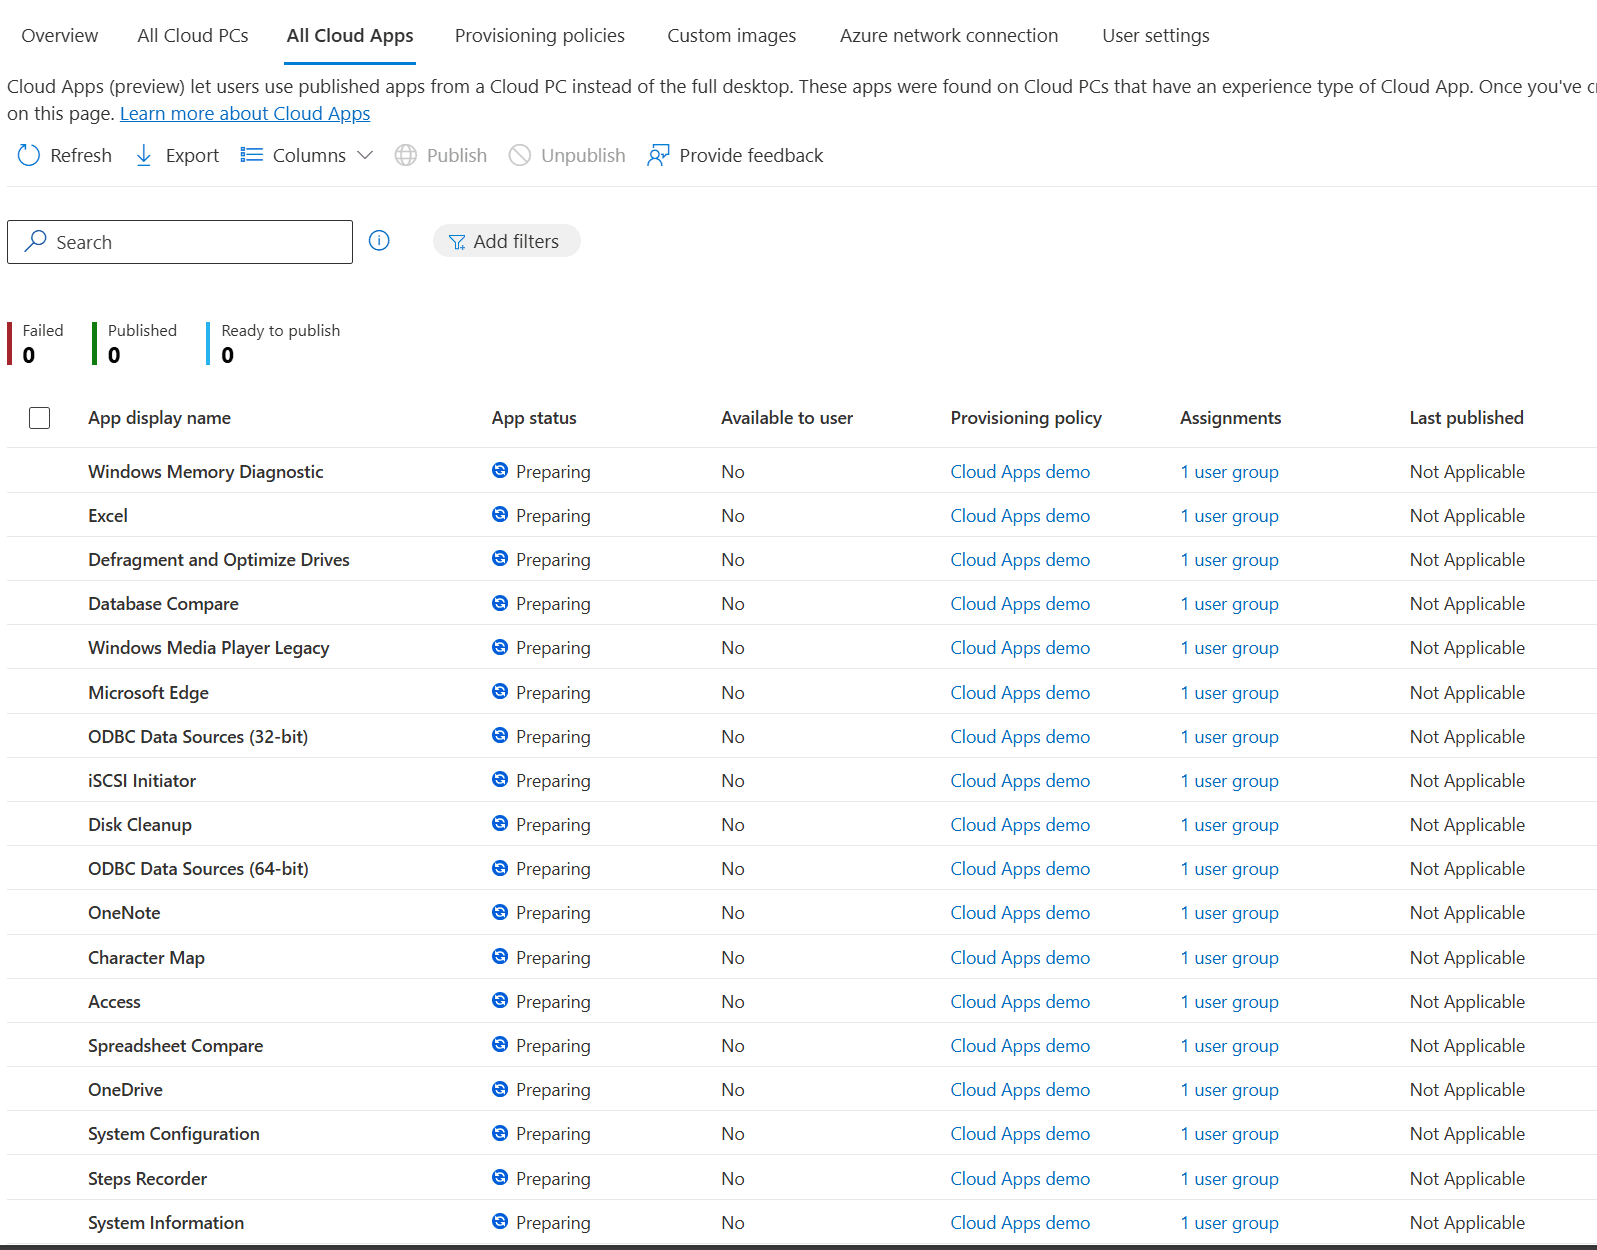
We now have to wait until the status changed to Ready to publish.
In the meantime we can have a look at the provisioning process of the Frontline Cloud PC in the All Cloud PCs tab:

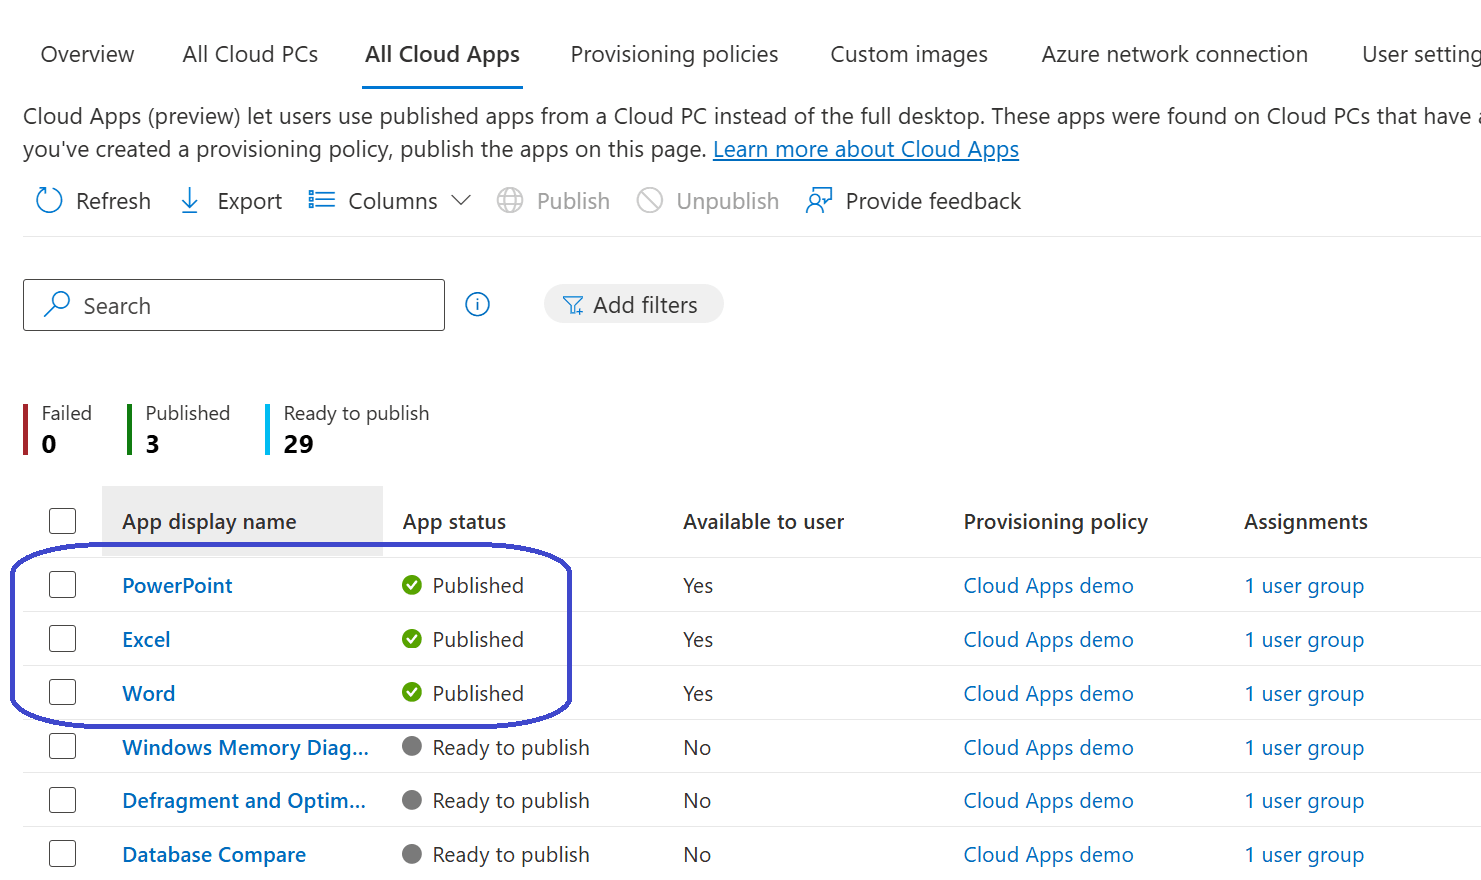
As mentioned before, the status of the Cloud Apps will change to Ready to publish. From that moment you can select the detected application and publish and unpublish the application using the corresponding buttons in the menu bar on top:

(Un)Publishing apps is really easy! Search for the app you want to publish, check the box and click the Publish button on top.
The status will change to Publishing and Published once the process completes.
That’s all there is to publish applications to your end users. Let’s check out the user experience using the Windows app.
Using Windows 365 Cloud Apps
Connecting to Windows 365 Cloud Apps can be done using the Windows app or using the browser. In my opinion you get the best user experience from using the Windows app since it will provide a seamless app experience which even looks like its running locally. Using the web browser will run the web app from within the browser. In this demo I will use the Windows app.
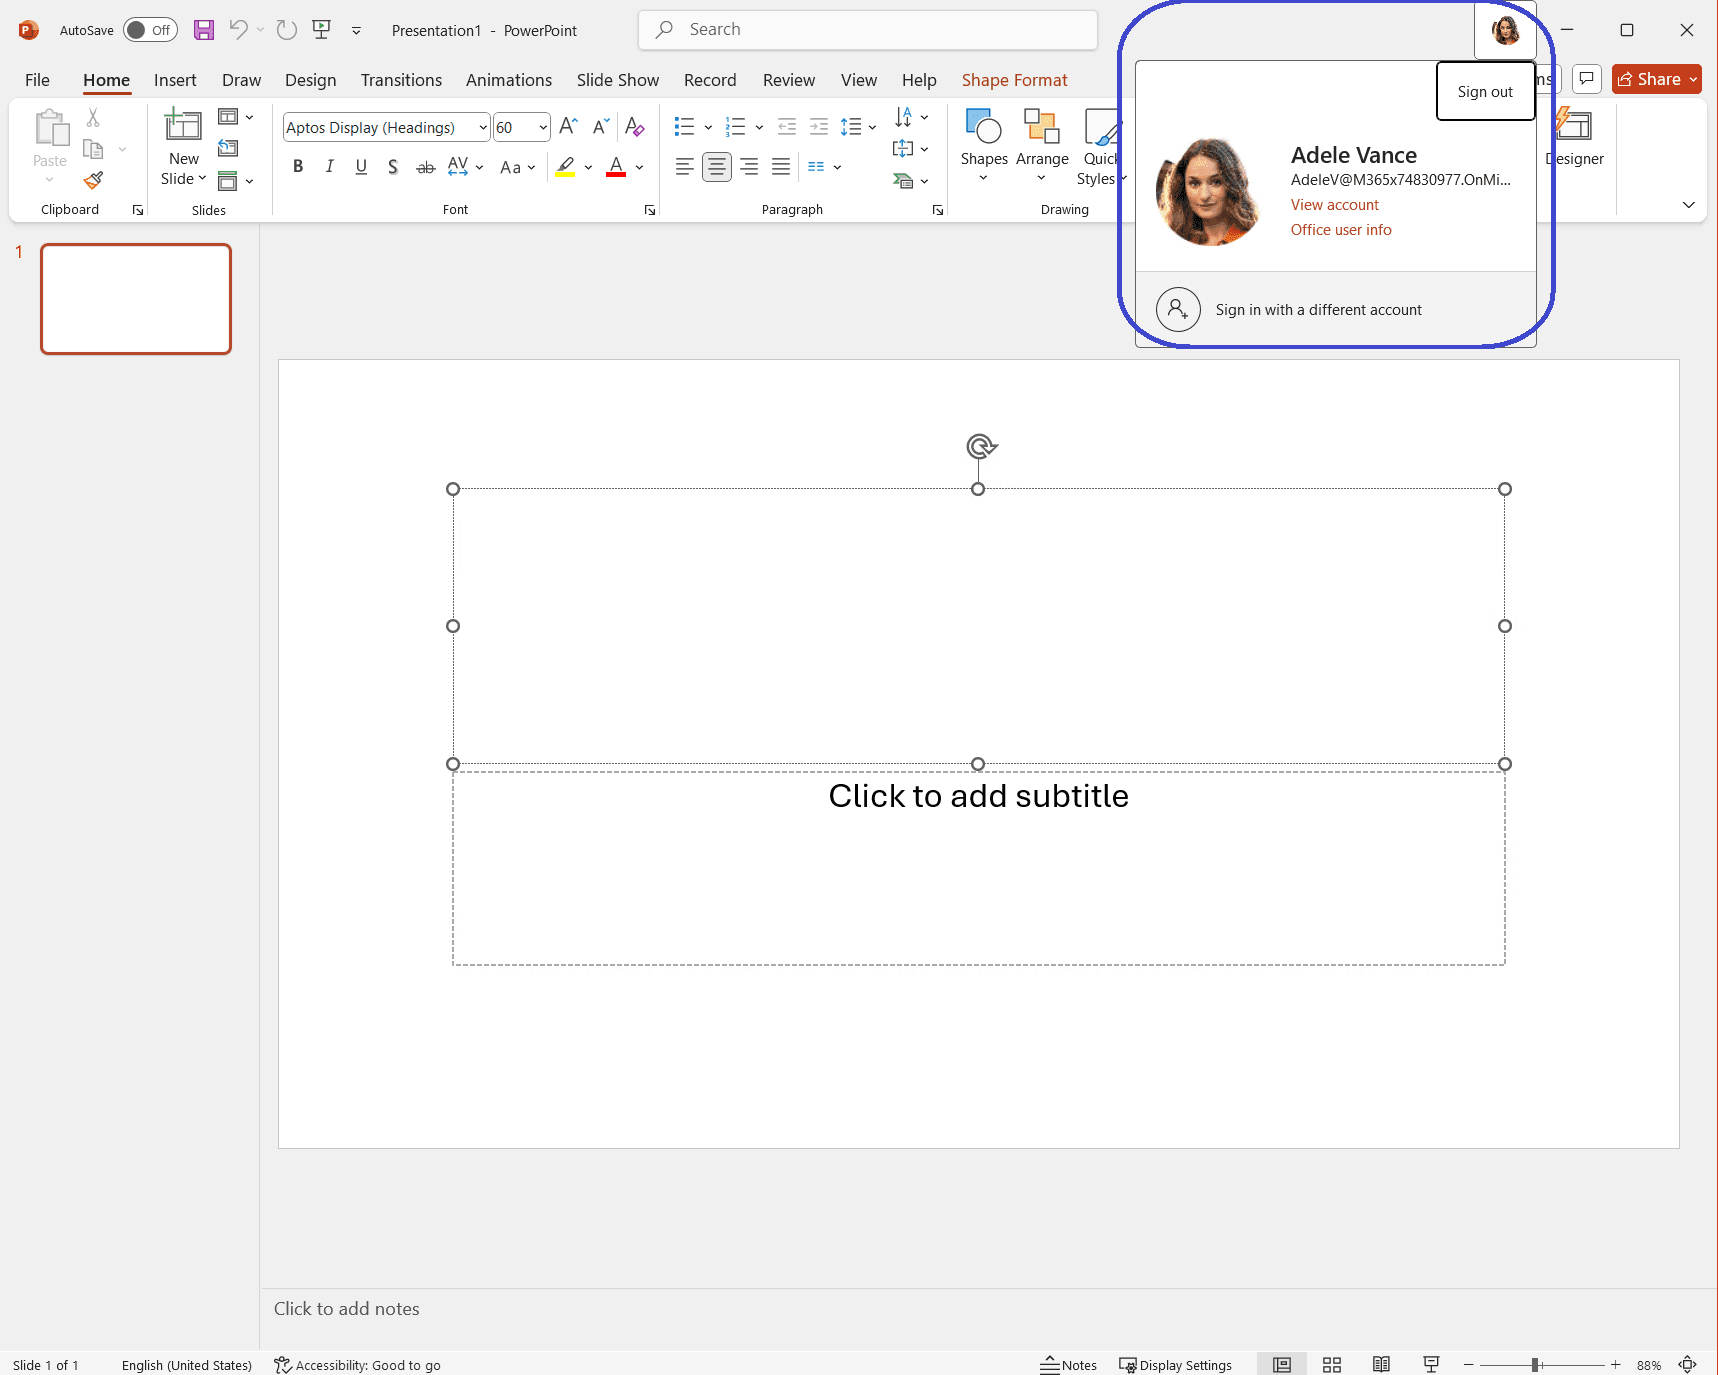
Once signed in, the user is will probably see that there is no Cloud PC available and that’s correct. The user will need to change the view to the Apps overview, 3rd icon on the menu bar on the left. From that view users can access their apps or click the three dots and mark an app as a favorite. That way the app will appear in the favorites overview (1st icon on the menu bar).

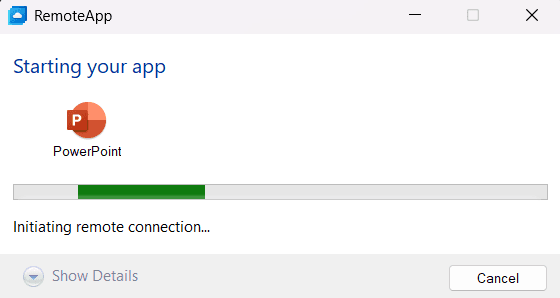
You only have to click on the app you want to use. You will see a Starting your app window:
Followed by signing into the app and MFA:
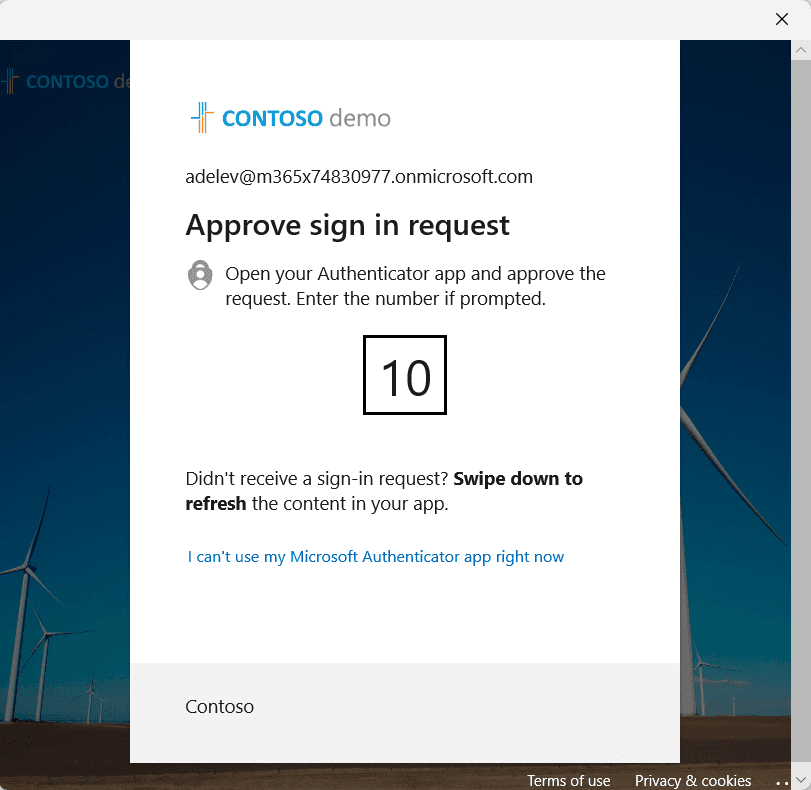
Followed by the app which is now running on a Frontline Cloud PC in shared mode instead of running the app locally:
But where can users store their corporate data using the Cloud App?
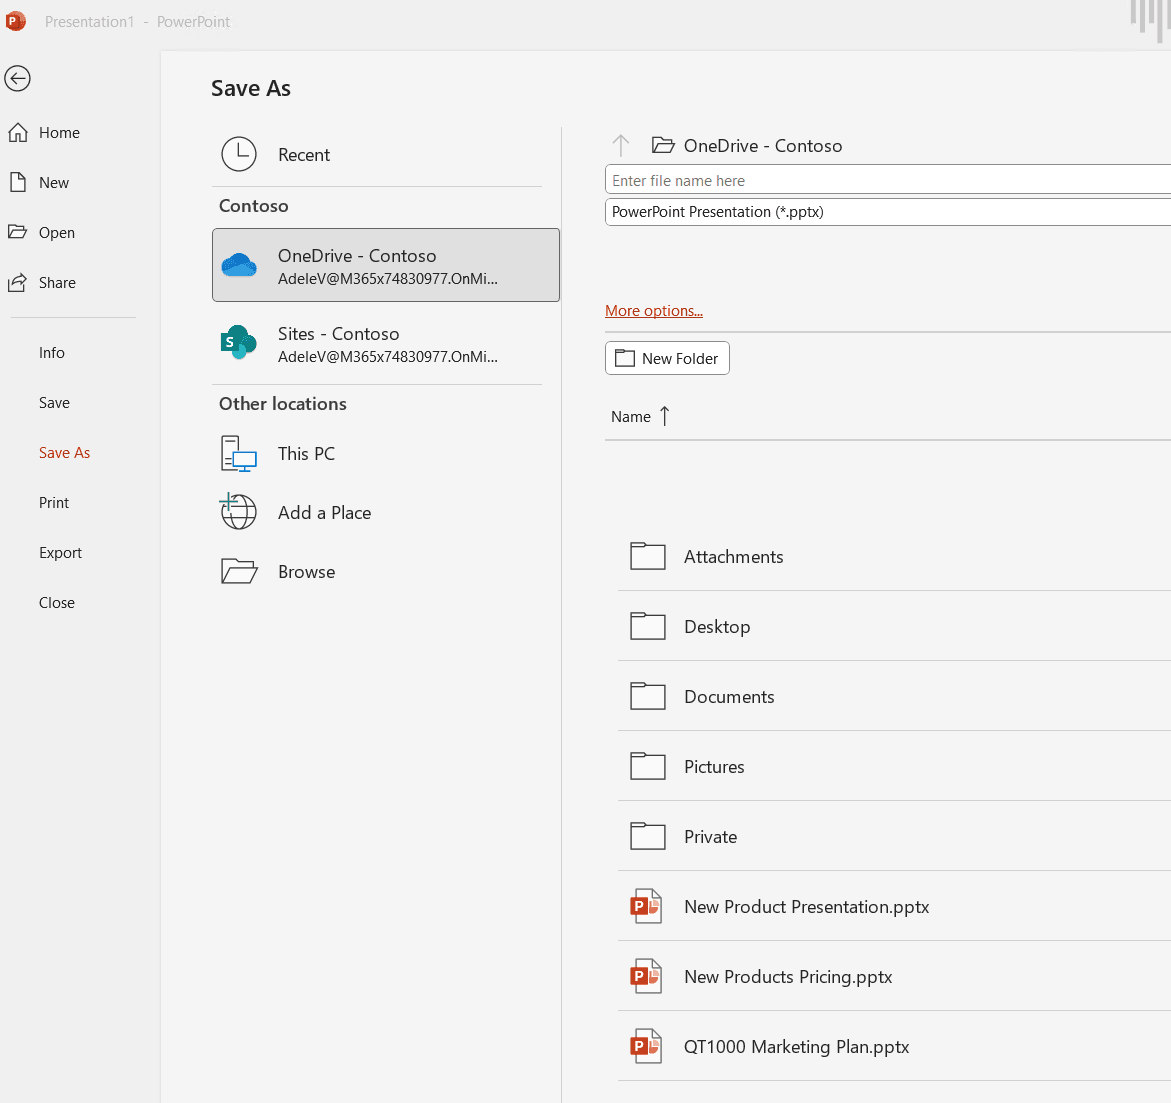
The good news is that Onedrive is automatically signed in so users can store their data and they have the option to save their data on Sharepoint Online sites:
That’s all there is to it!
Resources
I have used the following resources for this post:


One Comment
Comments are closed.