What’s up, everyone!
In my last blog I wrote about the ability to create your own restore points. But did you know you can also copy that restore point to an Azure Storage Account?
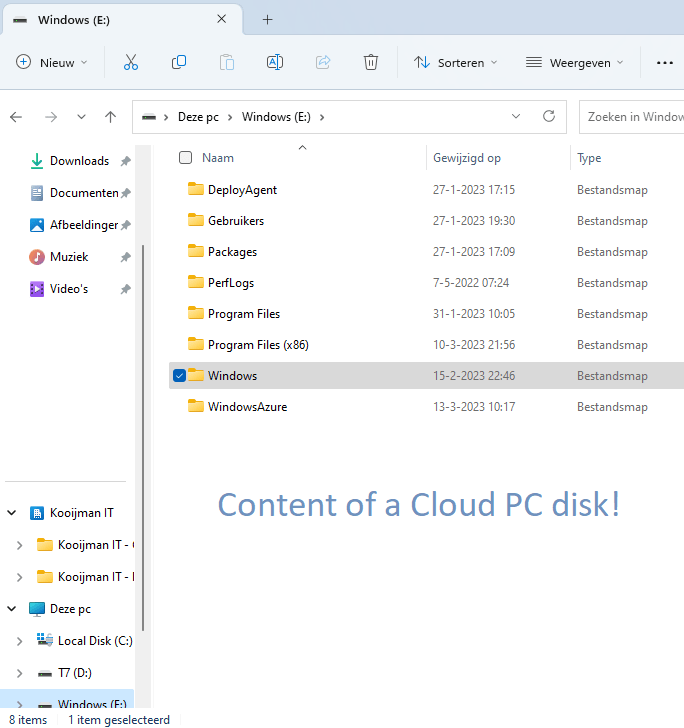
This allows for a couple of scenarios but the one that I liked the most is that you can download the .VHD so you can create a VM on your own device using the .VHD from the Cloud PC. Let’s find out how that works!
Prerequisites
The following prerequisites need to met:
- A Cloud PC with restore points
- An account that can manage Cloud PC’s and has access to the Azure subscription (and create a storage account)
How to share restore points
How to share a single restore point
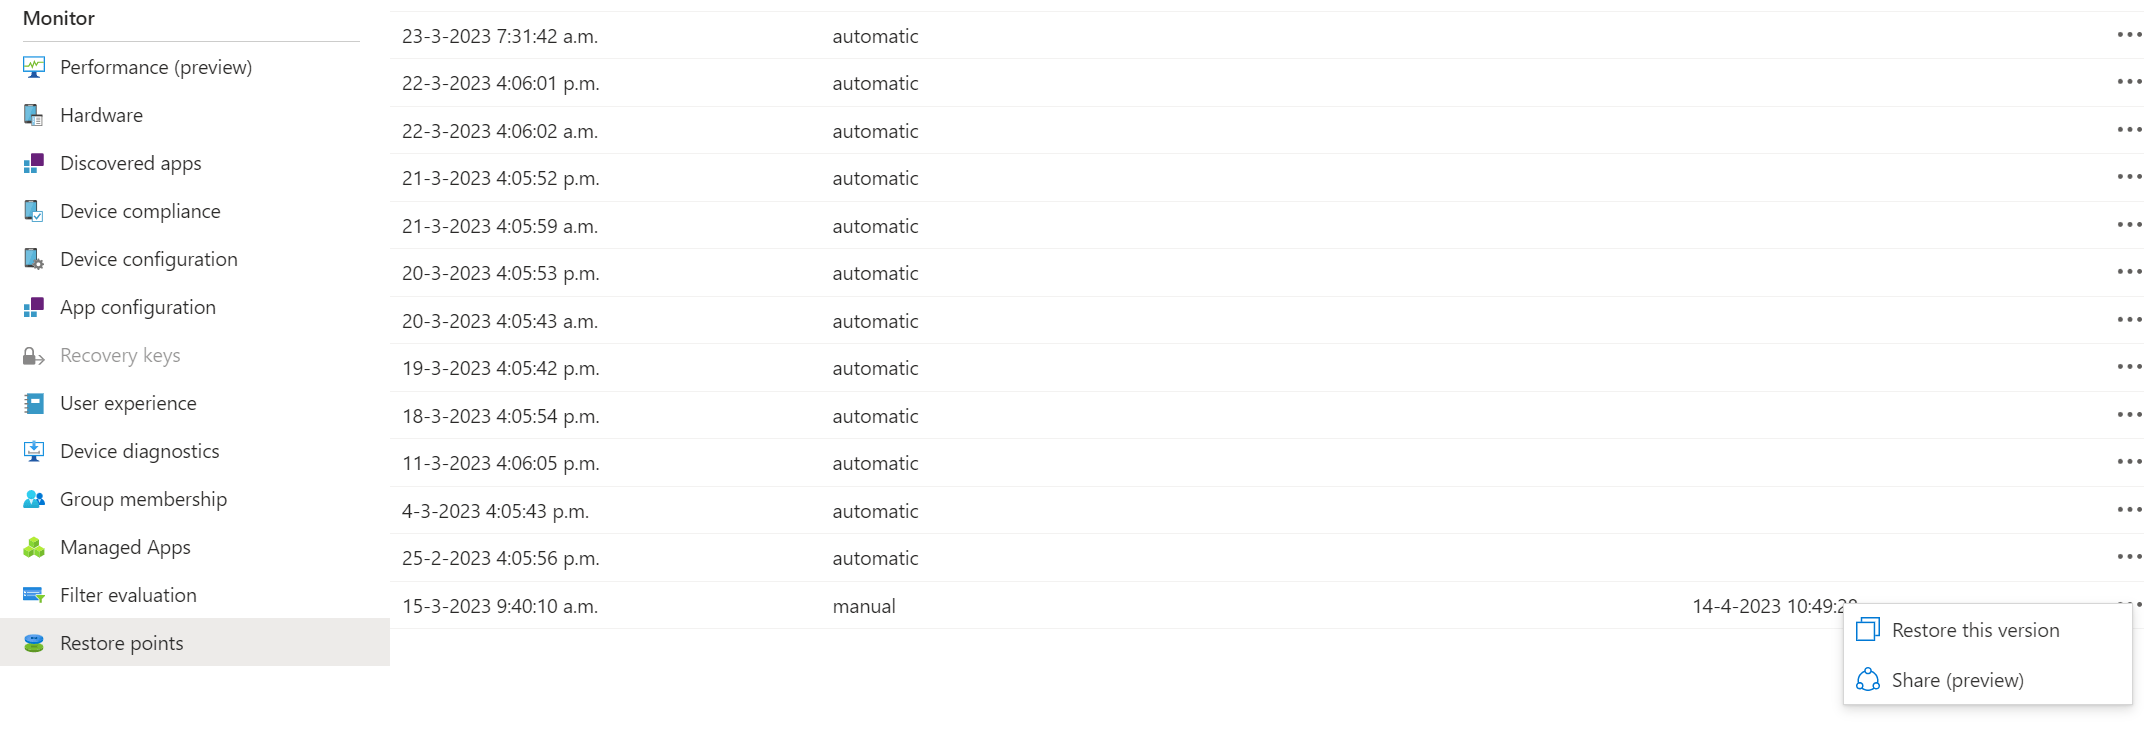
Login to the Intune Microsoft Intune admin center, Devices, All Devices and select your Cloud PC. Go to the restore points and click on the ellipses (the three dots …) and click on Share (preview).
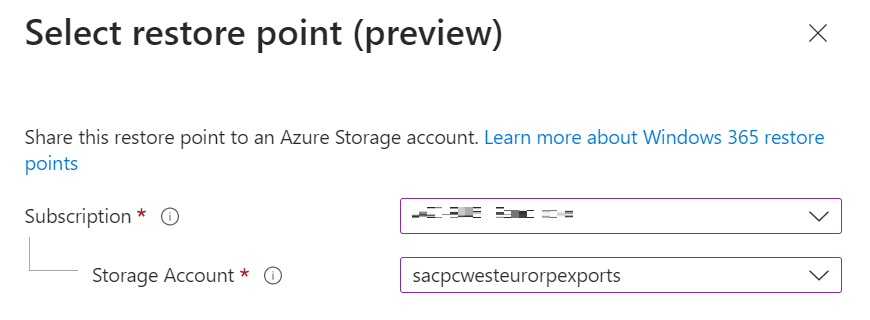
Select your subscription and storage account and click the Share (preview) button.
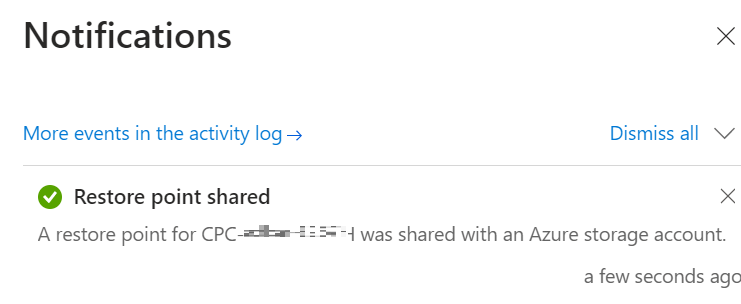
You’ll get a confirmation in the Microsoft Intune admin center.
How to share restore points in bulk
You can also share restore points in bulk. To do so go to the Devices, All Devices view in the Microsoft Intune admin center. Click the Bulk Device Actions button in the ribbon on the right.
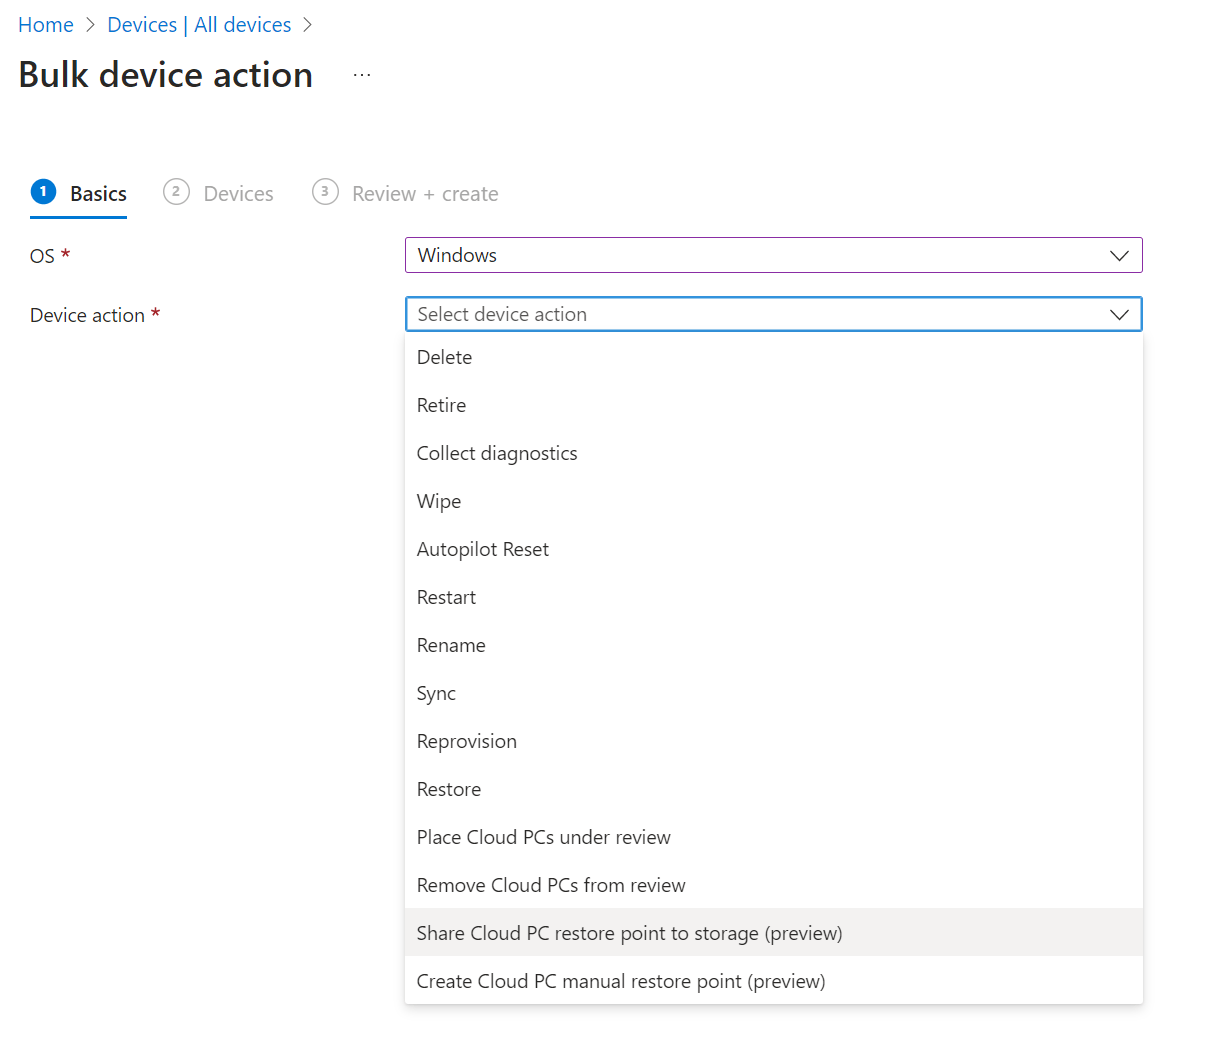
Select Windows as the OS and Share Cloud PC restore point to storage (preview) as the device action.
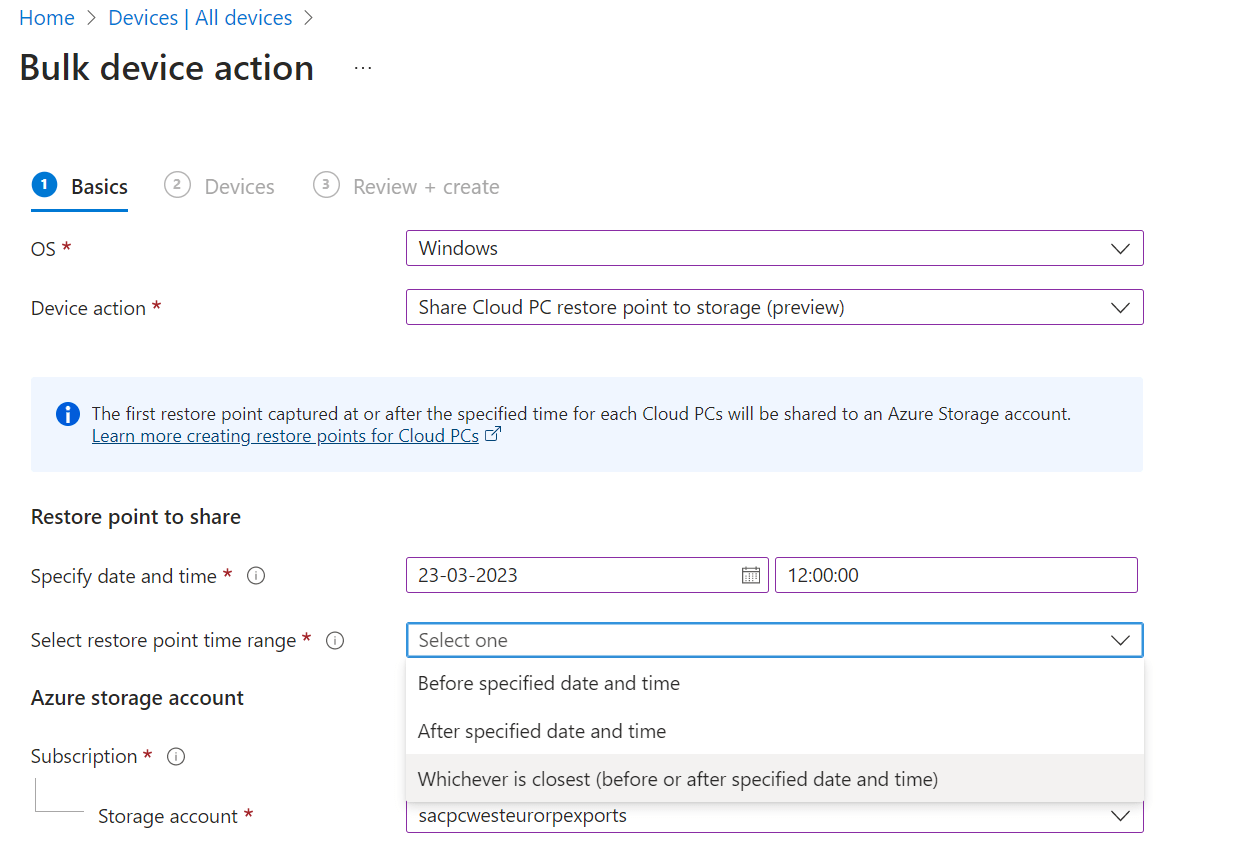
We can specify a date and time and select the restore point time range. We have three choices (which are pretty self explanatory):
- Before specified date and time
- After specified date and time
- Whichever is closest (before or after specified date and time)
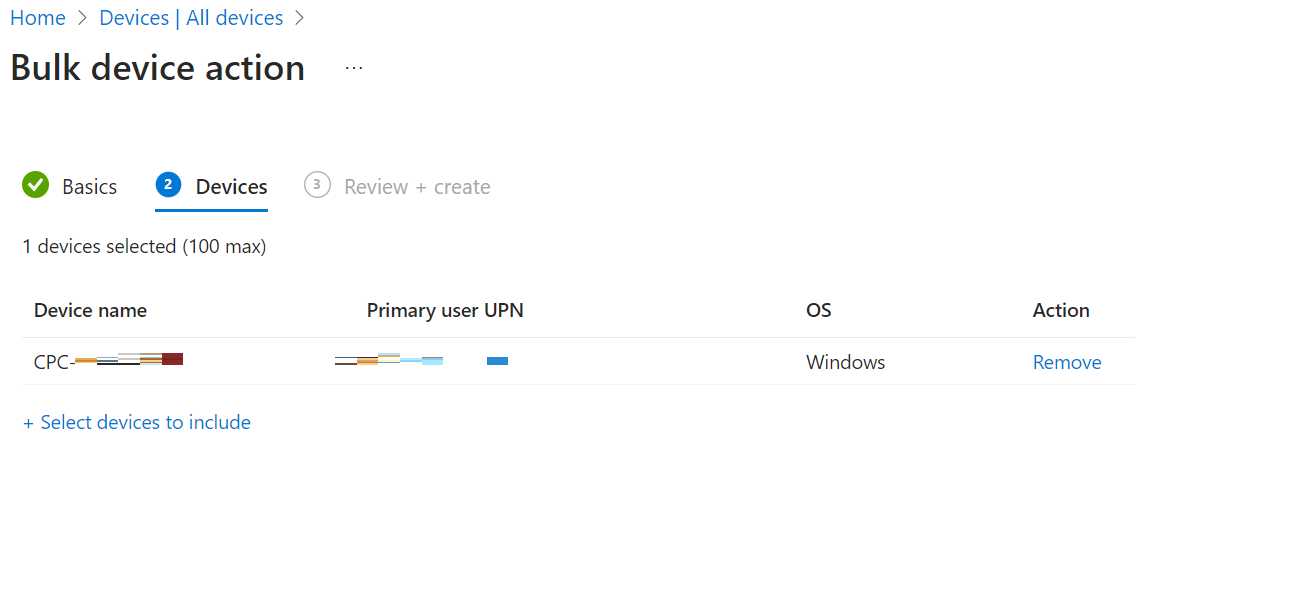
Next up is select the Cloud PC’s that you want to share the restore points of and finish up by admiring your awesome work and create the job. For this demo I only have one running Cloud PC and therefore I will not create the job.
How to download the restore point from the storage account
Now it’s time to download the restore point. There are a couple of ways to do this but I’ll keep it simple and will write about the built-in storage browser using the Azure portal. You could also use Azure Storage Explorer if you like.
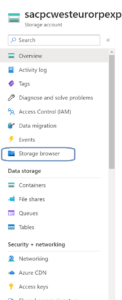
Alright, back to the storage explorer. First you’ll need to sign-in to the Azure portal and go to the storage accounts. Click on the storage account you used earlier and click on Storage browser from the menu.
From the Storage browser, select Blob containers to get an overview of the content. There’s something that resembles the name of the Cloud PC so that’s already looking good.
Just click the item to view the .VHD file.
Just click on the .VHD file to get more information. Just click the Download button in the ribbon to start the download.

You now have access to the .VHD. You can use Hyper-V to create a new VM with the downloaded disk. You might need to convert the disk type from .VHD to .VHDX. Just use the following Powershell command on a system that has the Hyper-V role installed (but this can take a while):
Convert-VHD -Path 'D:\Temp\Disk.VHD' -DestinationPath 'D:\Temp\ConvertedDisk.VHDX'Resources
I used the following resources for this post:
Share this:
- Click to share on LinkedIn (Opens in new window) LinkedIn
- Click to share on X (Opens in new window) X
- Click to share on Facebook (Opens in new window) Facebook
- Click to share on WhatsApp (Opens in new window) WhatsApp
- Click to share on Telegram (Opens in new window) Telegram
- Click to print (Opens in new window) Print


