What’s up, everyone!
Nerdio released some great new feature with the release of Nerdio Manager for Enterprise v5.0! One of those features is called Unified Endpoint Management. This feature will allow you to manage your physical and virtual endpoints that are enrolled into Microsoft Intune directly from Nerdio Manager. In this post I will take a look on how to enable this feature and how we can use it to manage our endpoints.
Prerequisites
The following are prerequisites if you want to use Unified Endpoint Management;
- Unified Endpoint Management is released in NME v5.0
- A Microsoft Intune license needs to present in the tenant
This feature is included in the standard and premium licenses. There’s also an Intune Only license if you only want to manage your endpoints via NME and do not have an Azure Virtual Desktop environment.
How to enable Intune in Nerdio Manager for Enterprise
The Intune module is disabled by default. Go to Settings, Azure environment and search for the Intune box. Click on the Disabled status.
Click on the disabled status. A popup will show the necessary prerequisites and permissions. Click OK to continue. If this is the first time that you enable Intune in NME, you will have to provide admin consent. In this case just click on the name of your tenant, review the necessary permissions and provide consent if you’re good with it.
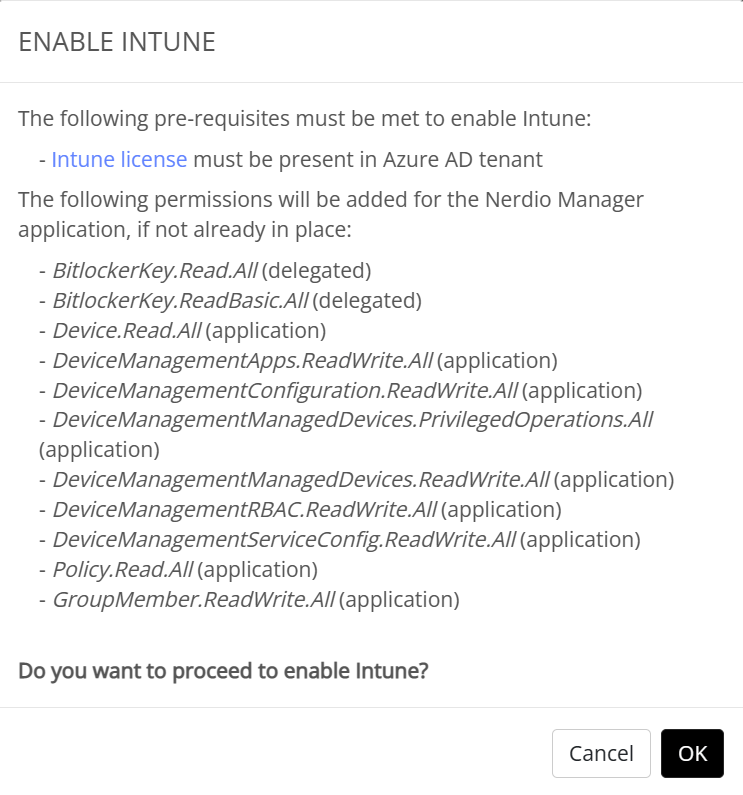
I’ve already provided the consent before so I’m ready and the Intune menu item immediately appears in the menu.
Operation mode
You can choose in what context you want this feature to run. By default NME will run in Application context and this will be OK for most of the features. But some features will require Application & user context. In this case you can click on Link user account to assign a service account with the appropriate roles (at least Intune administrator).
What does UEM look like?
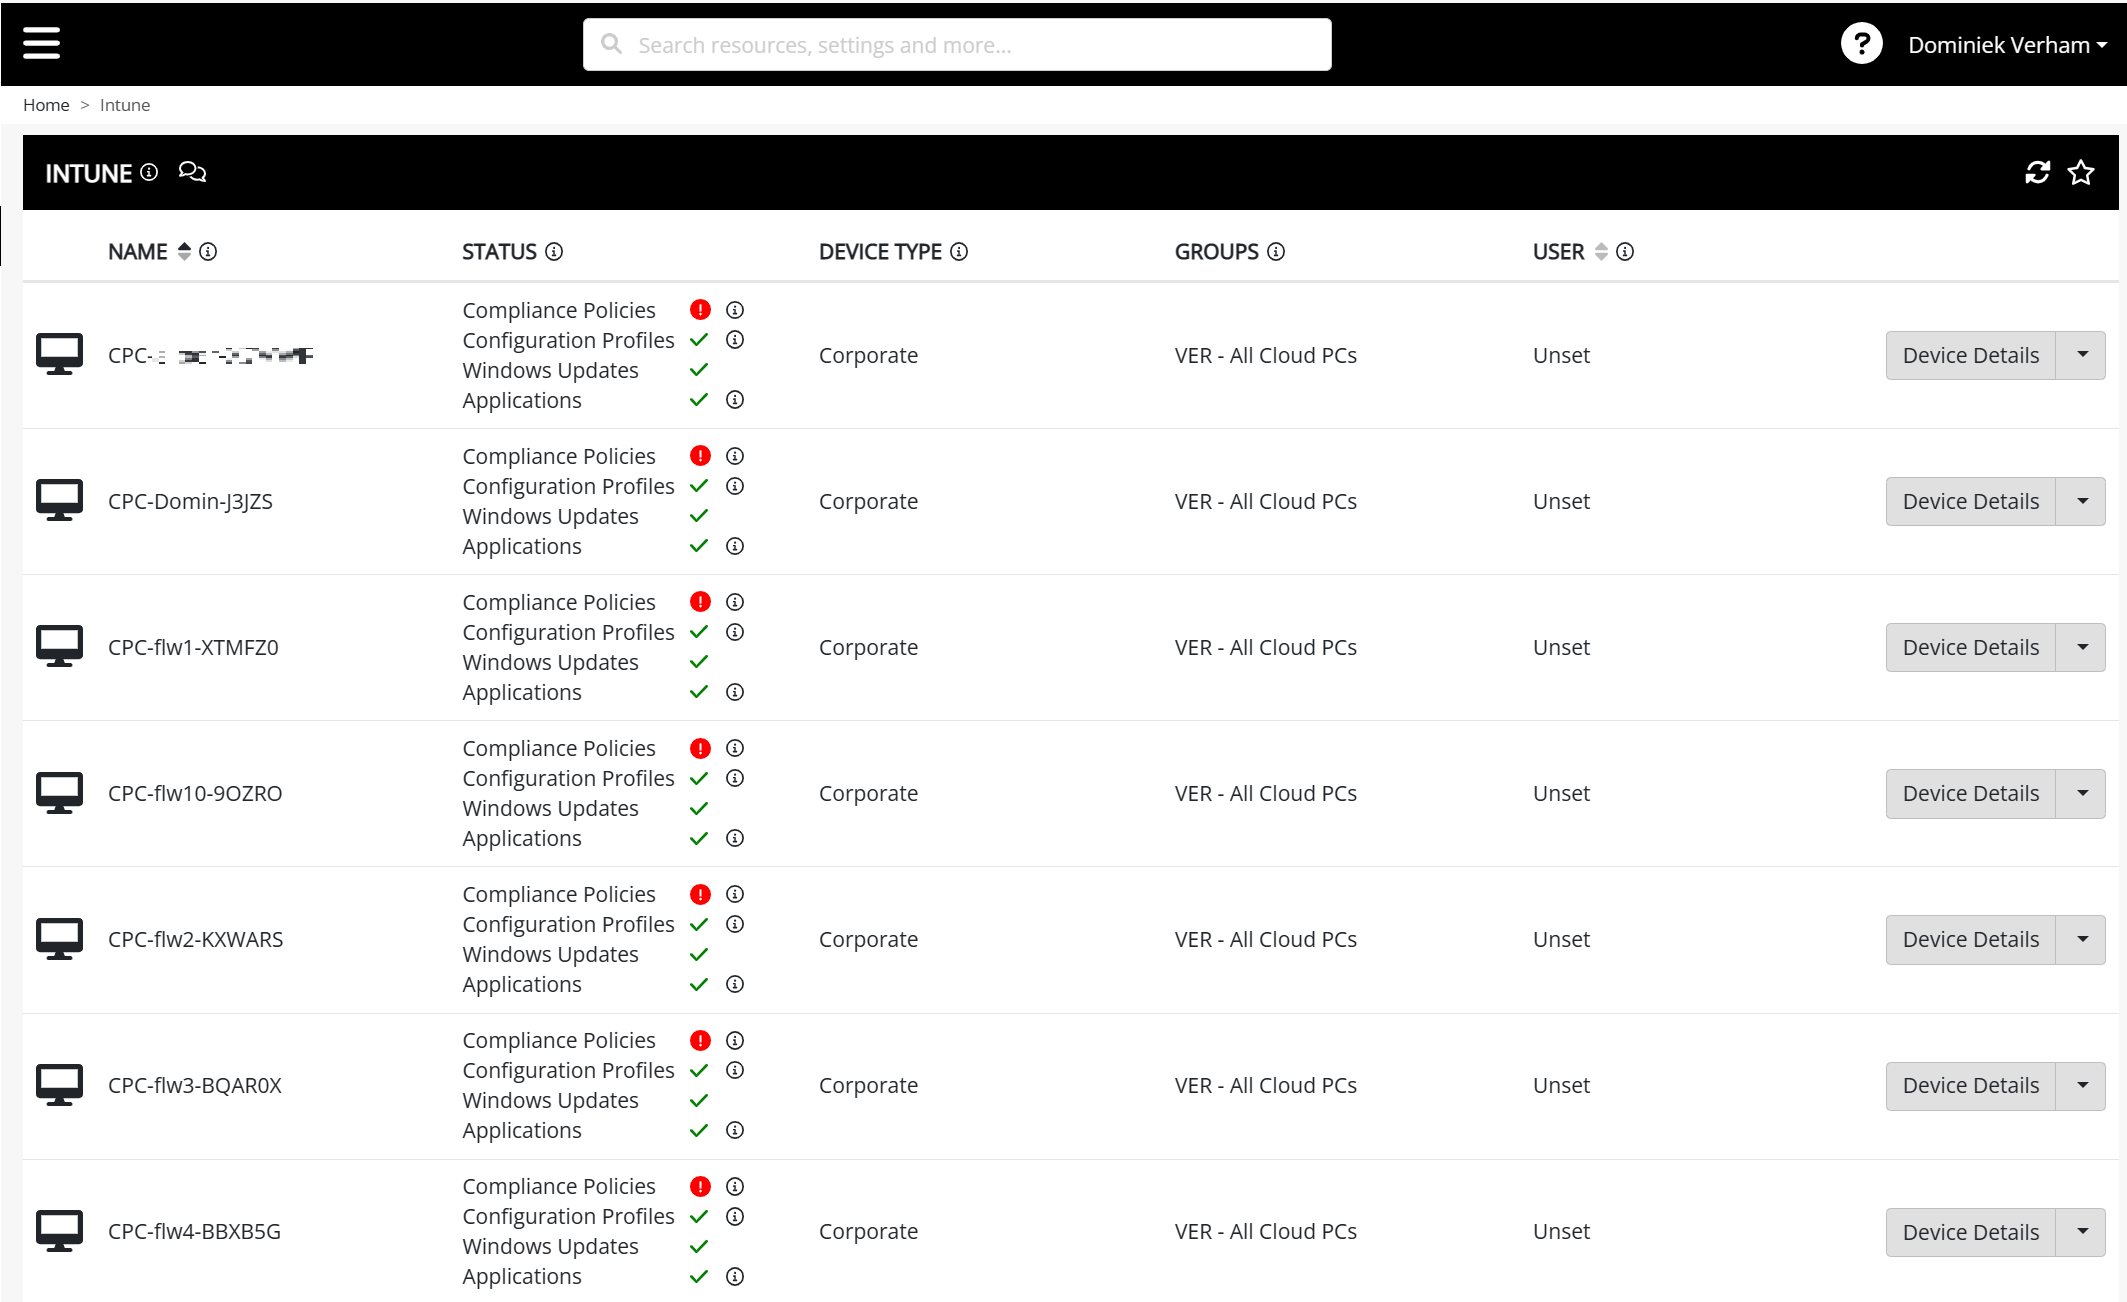
Let’s have a look at the Intune overview. Just click on the Intune menu item and you will get an overview of all the devices that are enrolled into Microsoft Intune in the Nerdio style.
This view is great to see if there’s a problem with compliance policies, configuration profiles, Windows updates or applications and you can easily manage your endpoint on the right side. There are different options for Cloud PC’s and physical endpoints which makes sense. You can retire, wipe and delete physical endpoints and those device actions aren’t suited for Windows 365 Cloud PC’s.
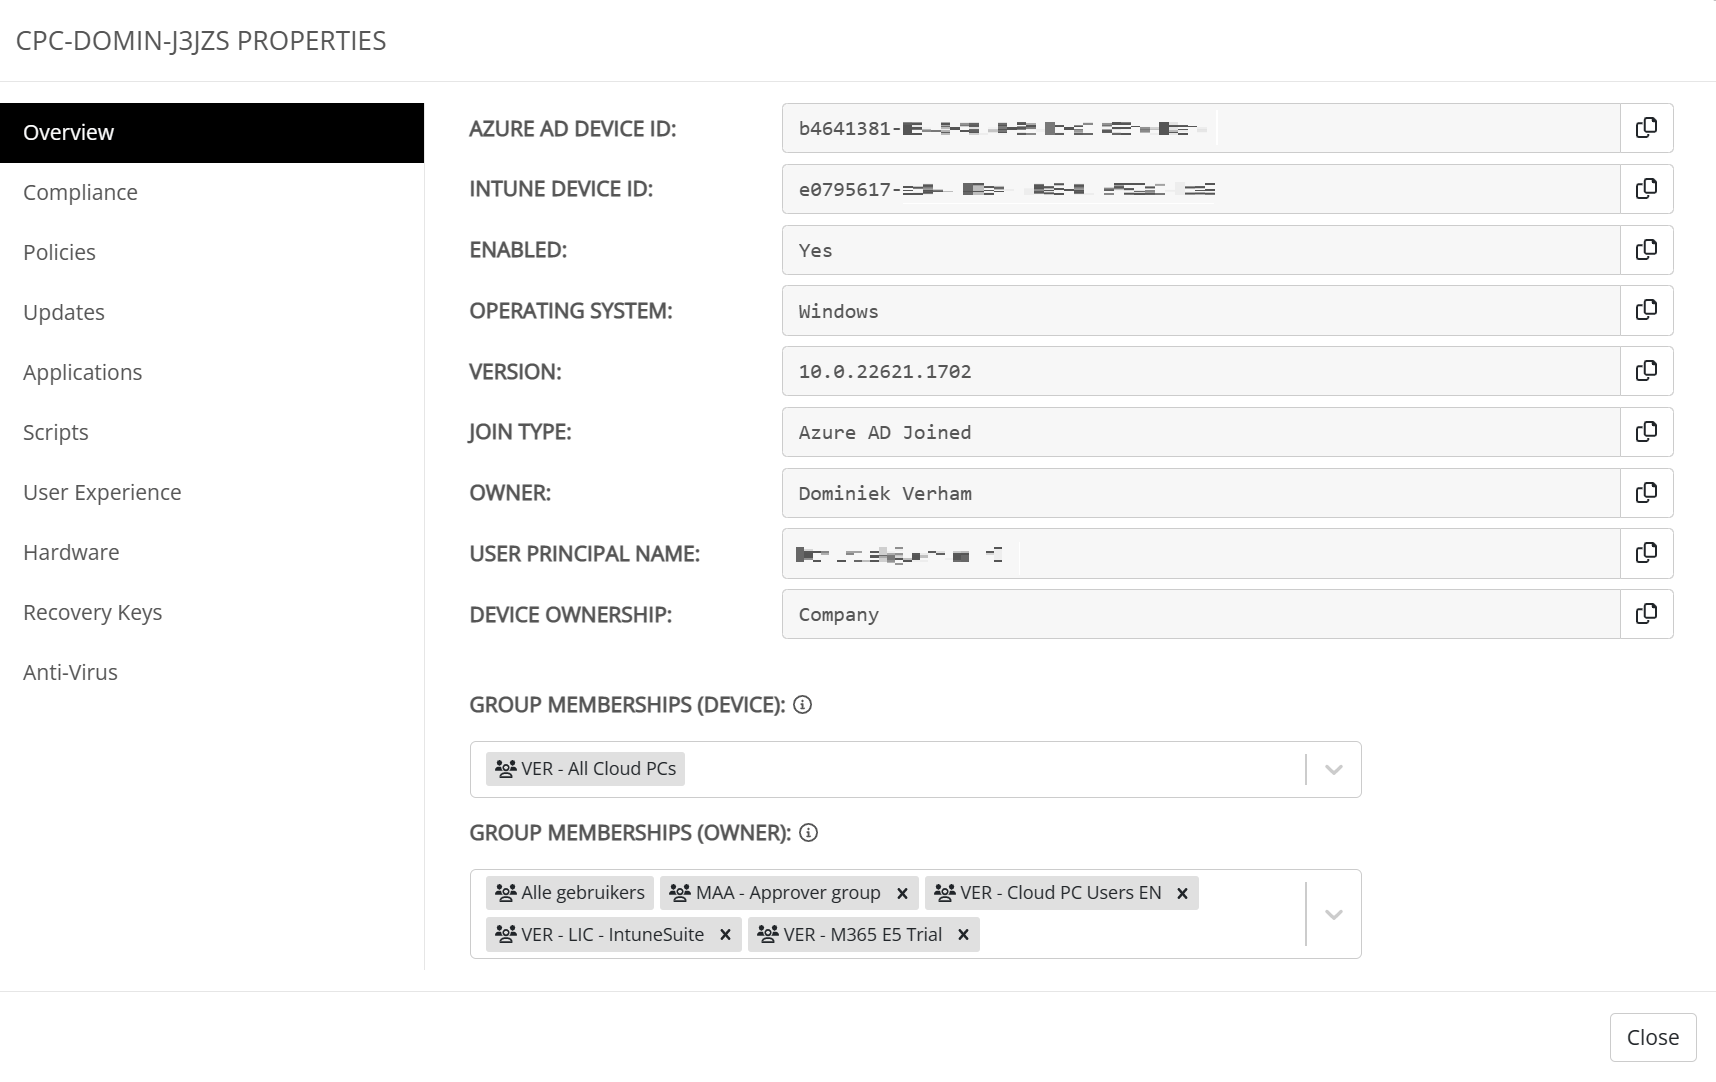
A lot of information about a specific endpoint is gathered in the device details overview. This overview can be used to add or remove groups.
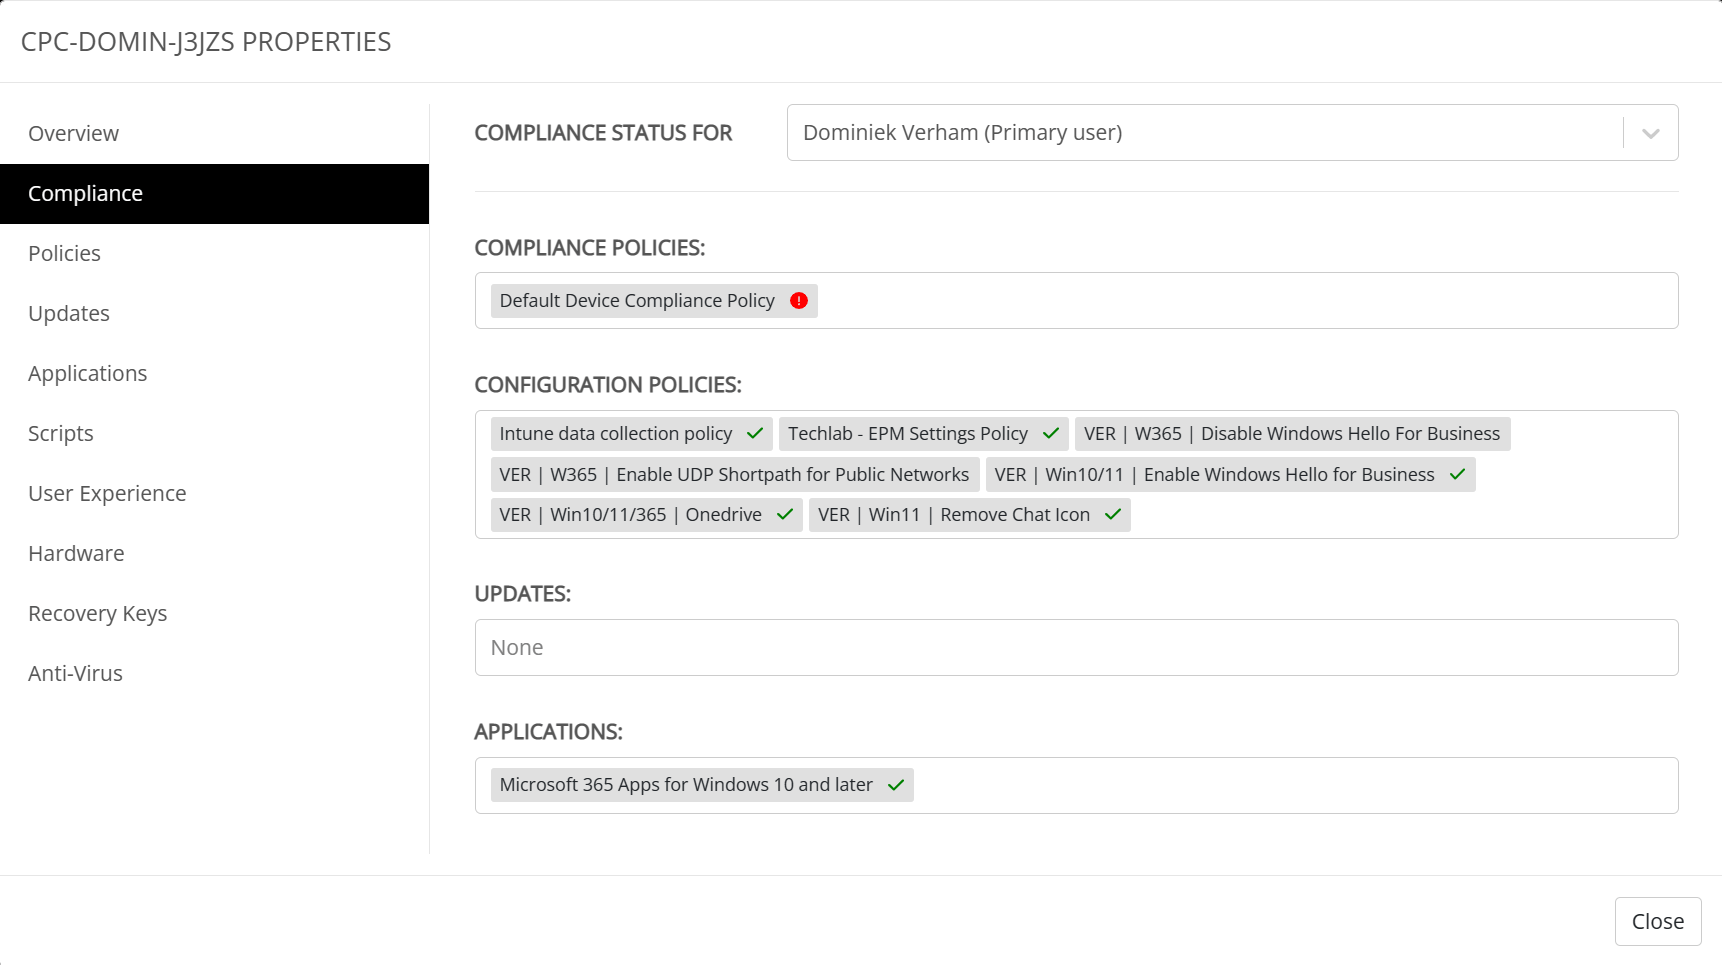
The compliance tab shows the compliance status for the primary user and let’s us know if there’s a problem with compliance policies. I can see that there’s an issue with the default device compliance policy.
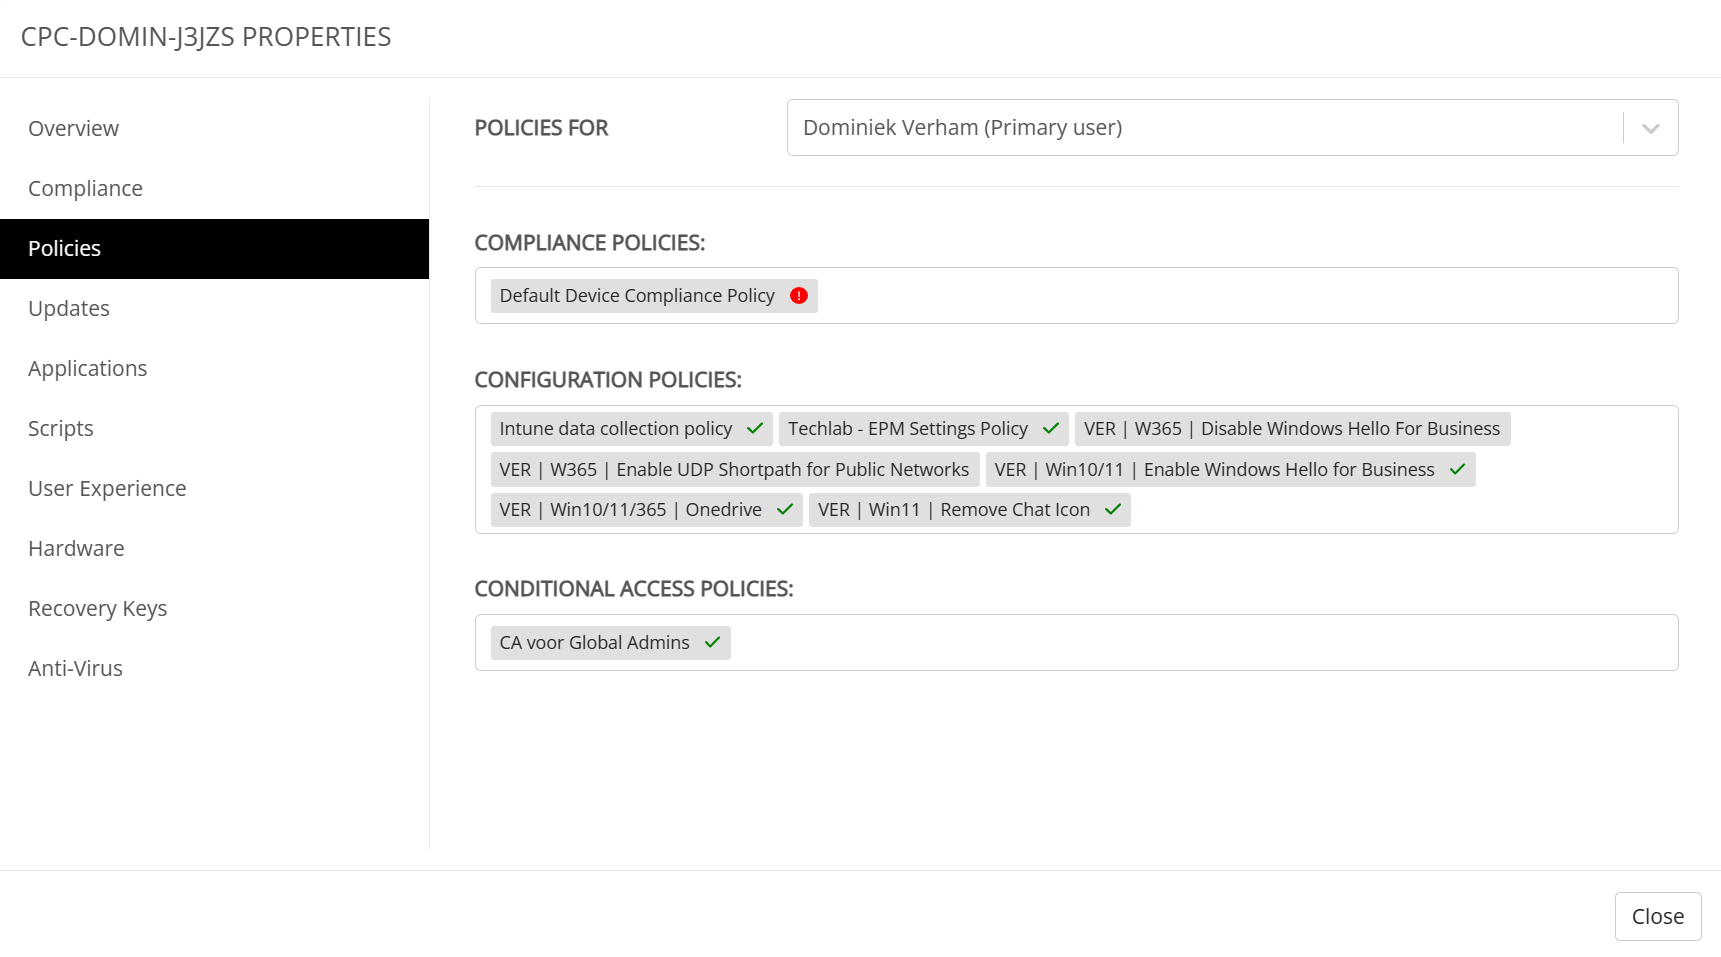
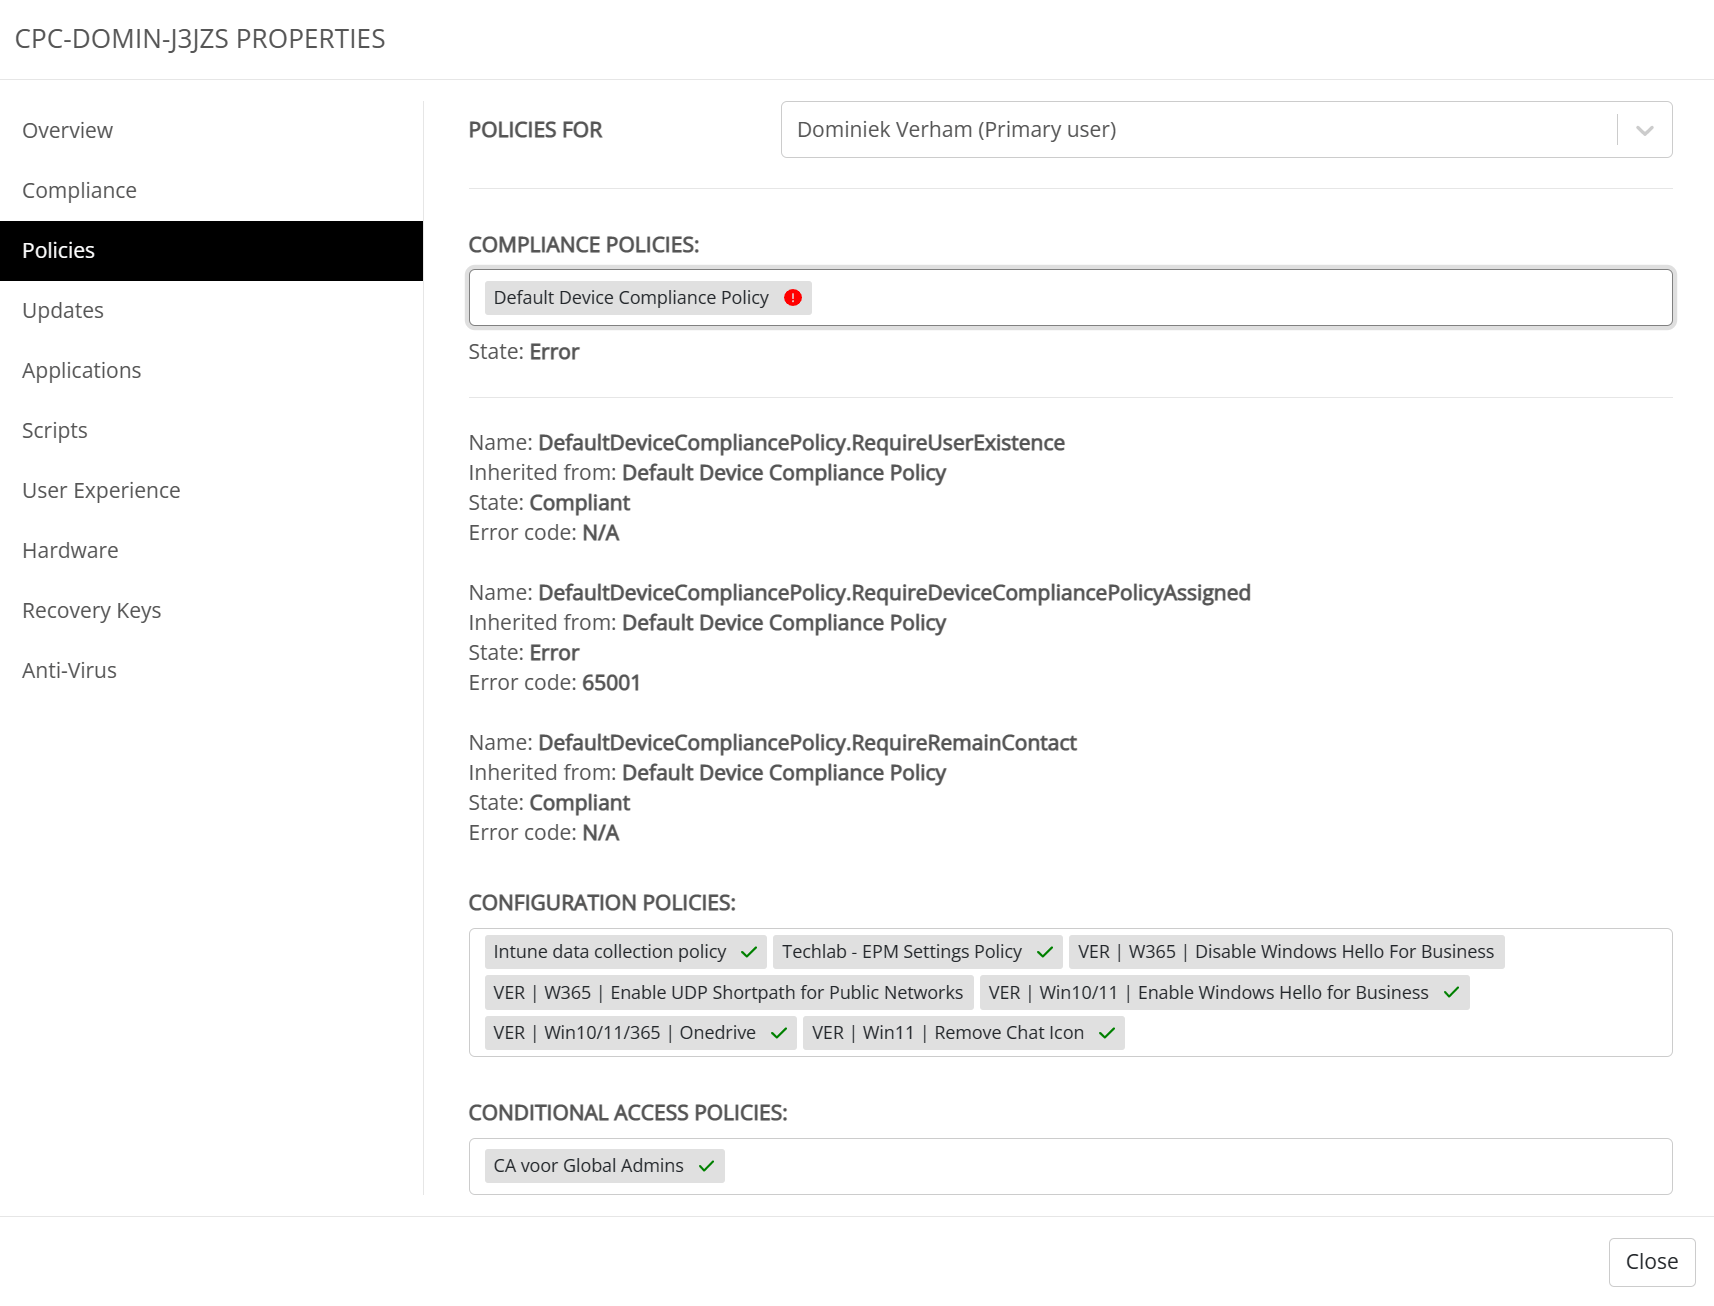
Now that I’m curious and I would like to know what’s going on. Let’s continue to the Policies tab.
You can get more information about the error if you click on the policy that has errors. I won’t go into details on the errors in my specific case since my main goal is to show you more about UEM.
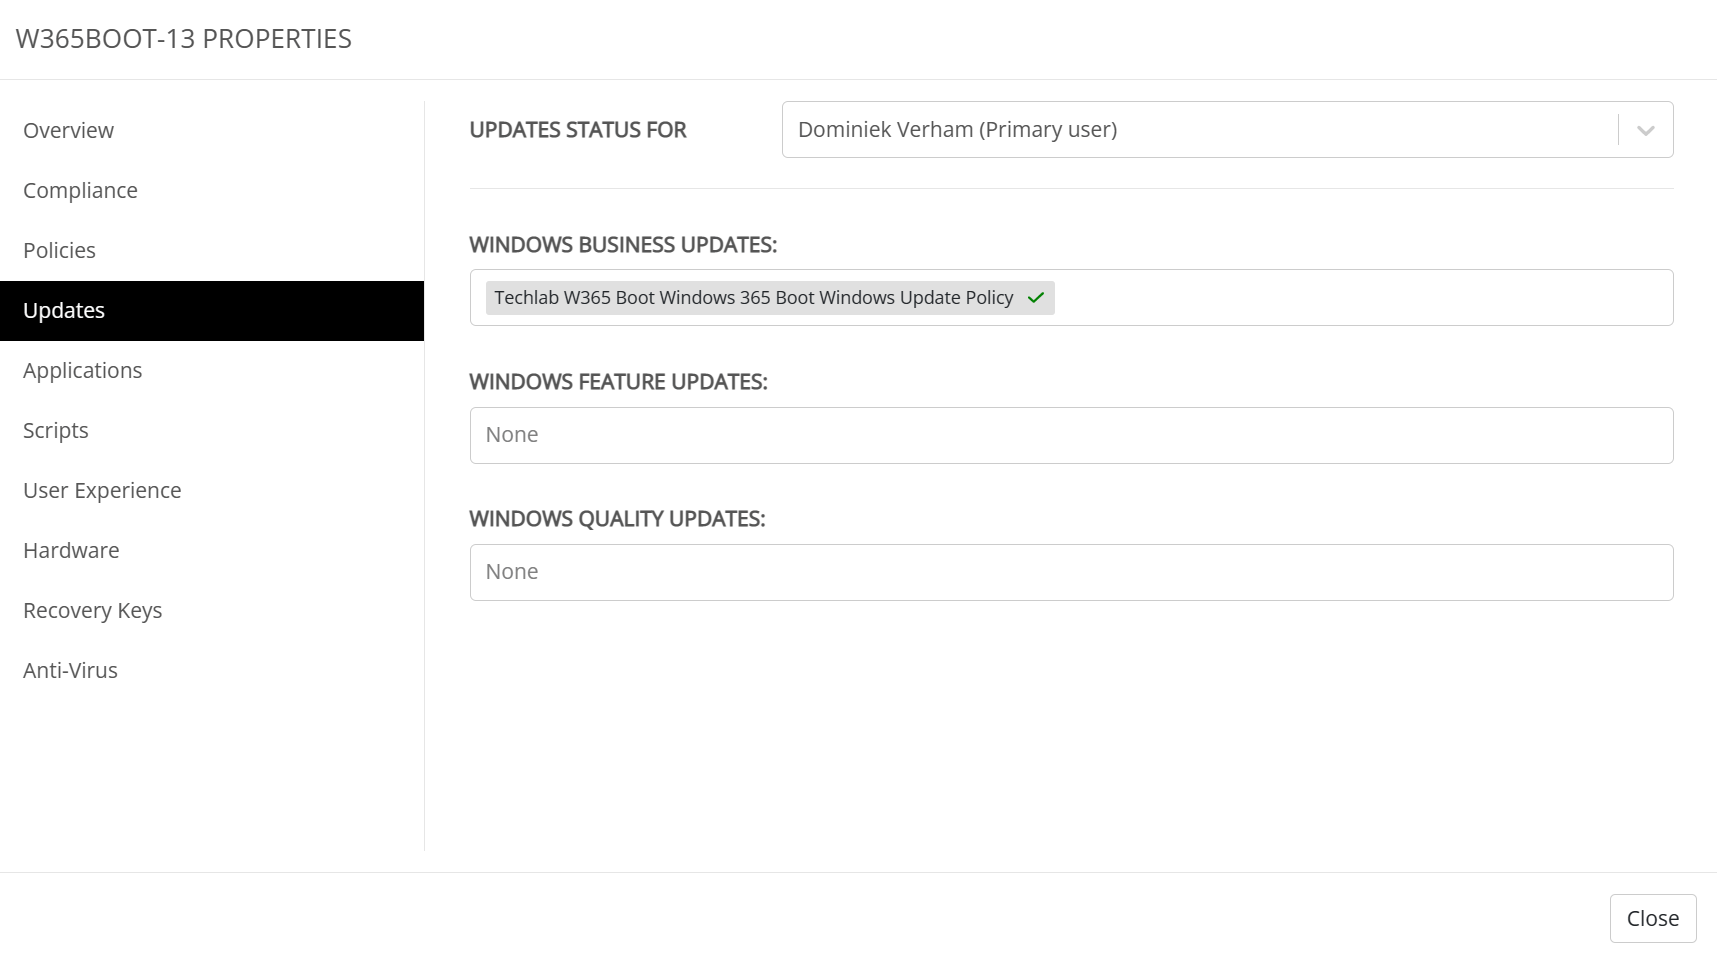
The updates tab will provide more information on updates as well as feature and quality updates. I cleaned a lot up for my last blog but I did configure a policy for endpoints to update using the dev channel. Here’s what that looks like;
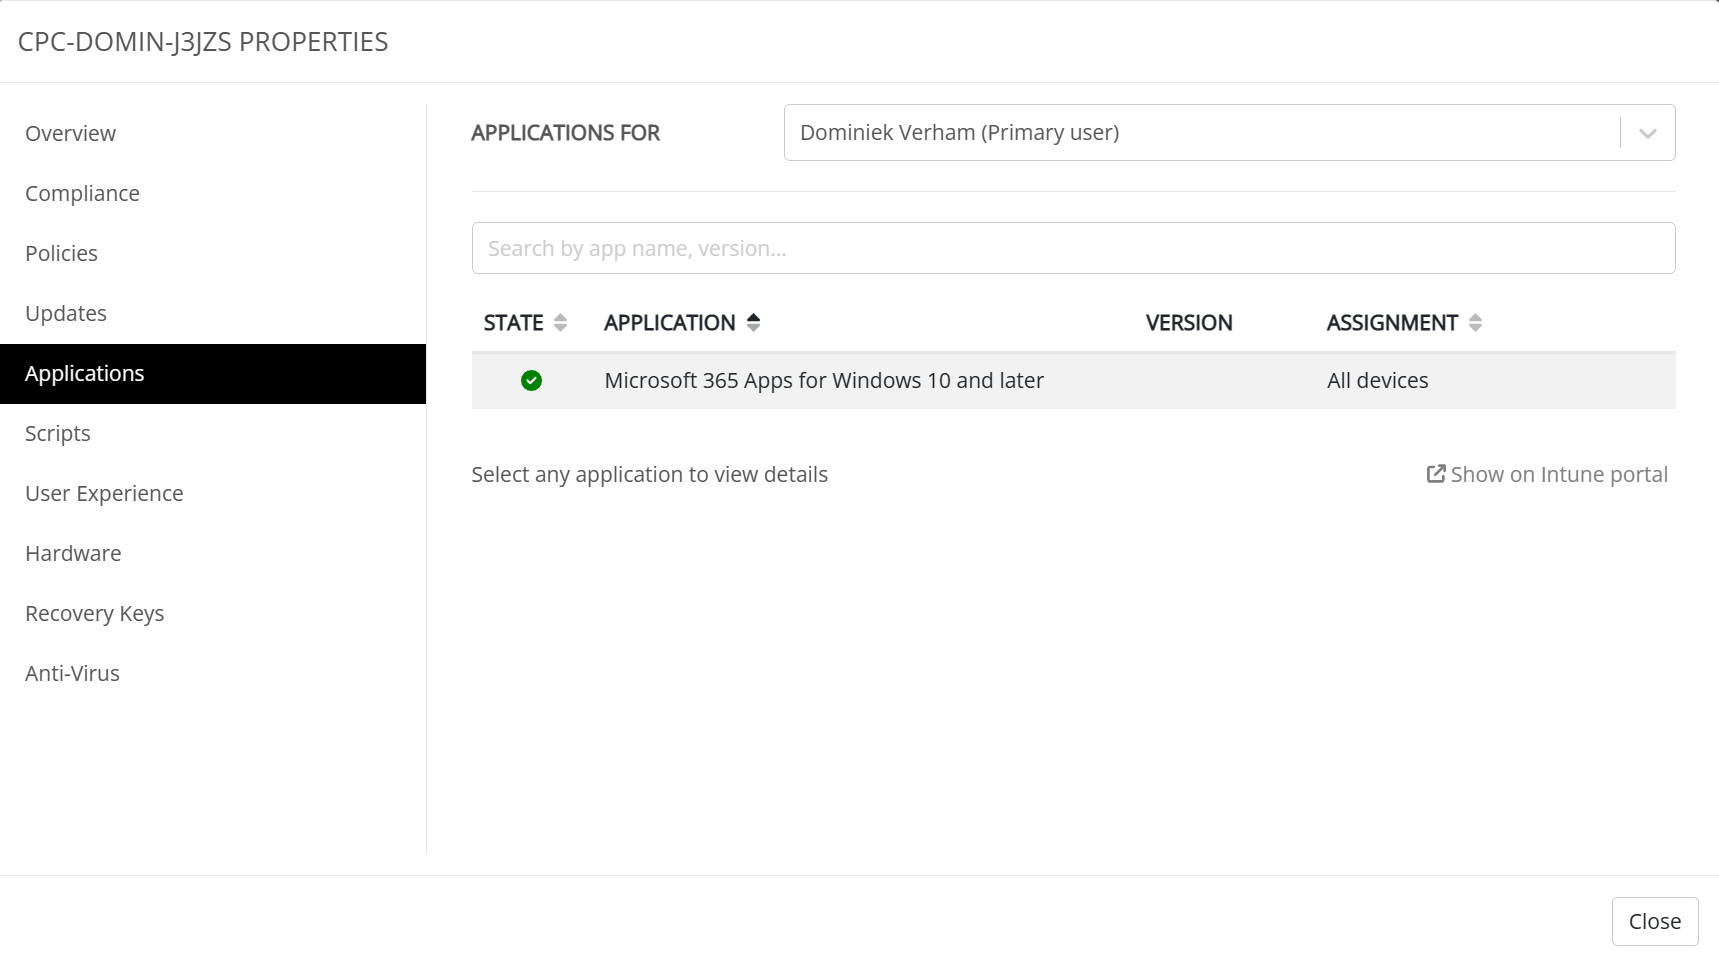
The applications tab will give you an overview and status of the assigned apps. There’s a link to the Microsoft Intune admin center for your convenience.
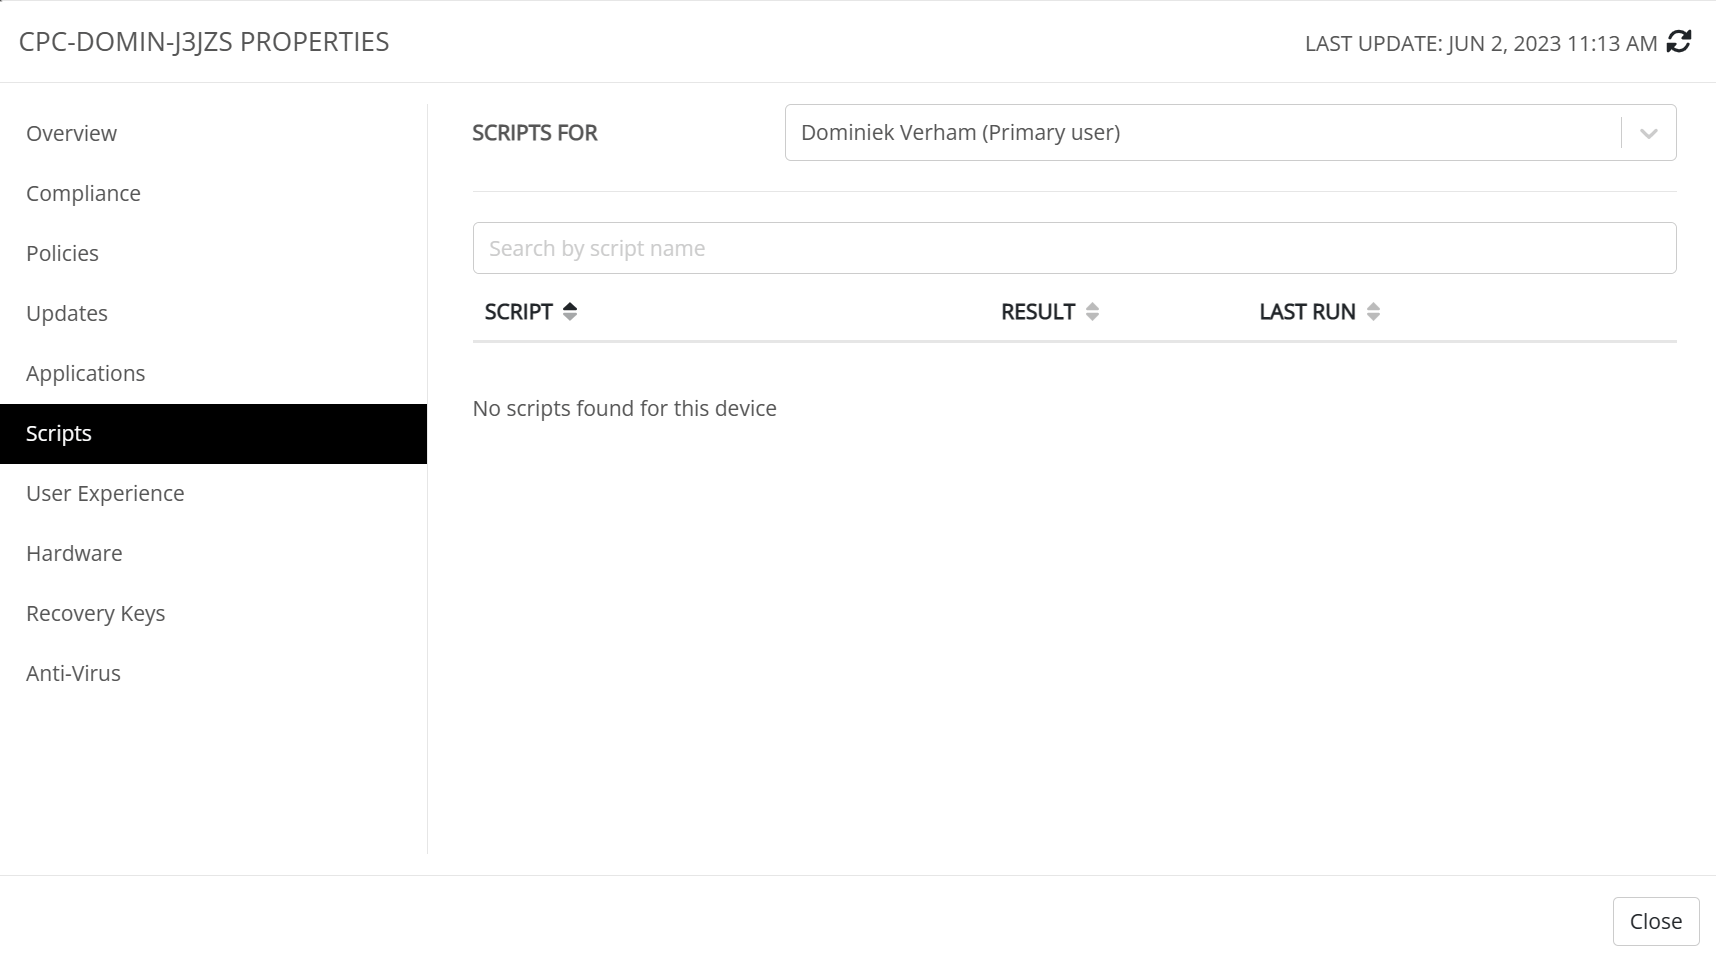
The scripts tab provides an overview of the assigned scripts. I haven’t configured any in my demo environment but here’s what the overview looks like;
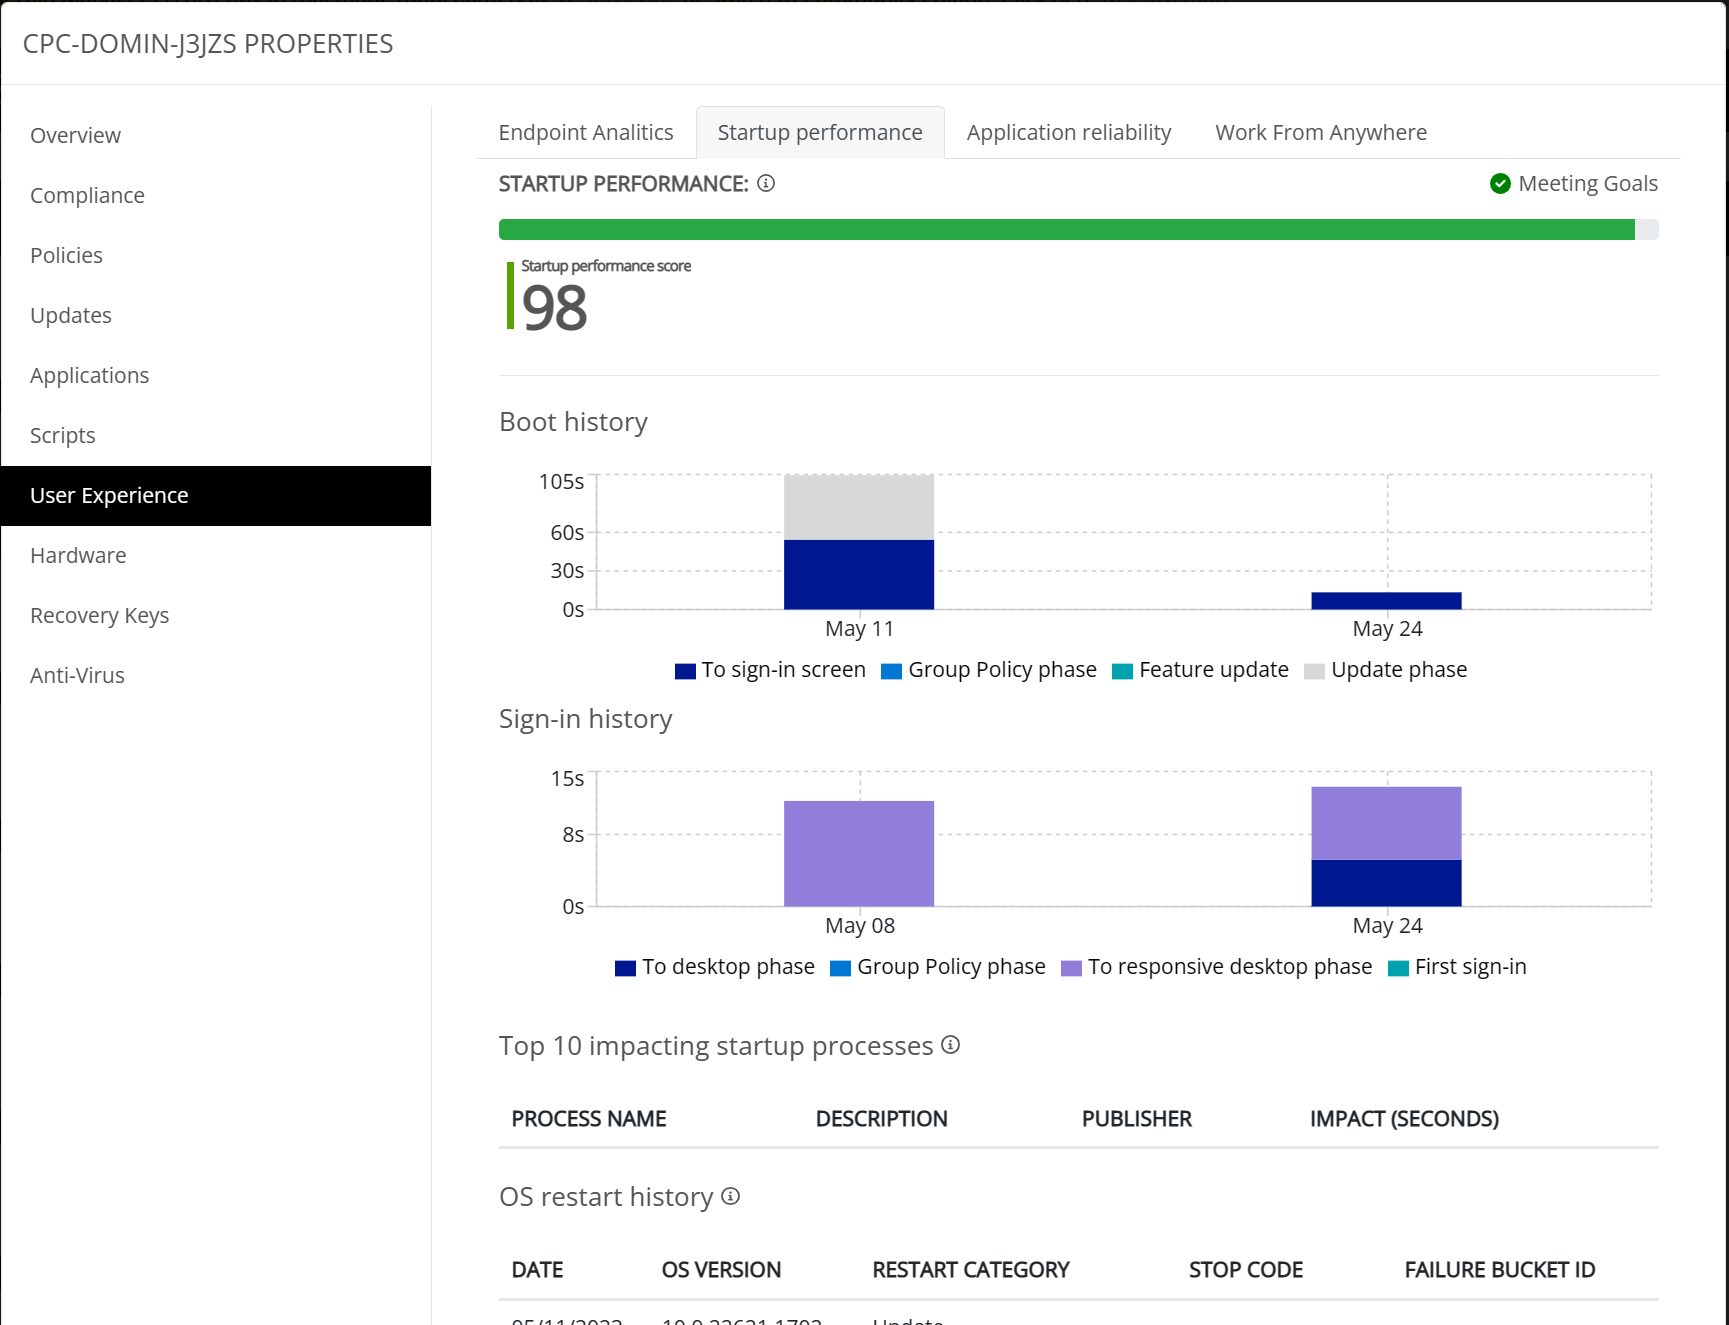
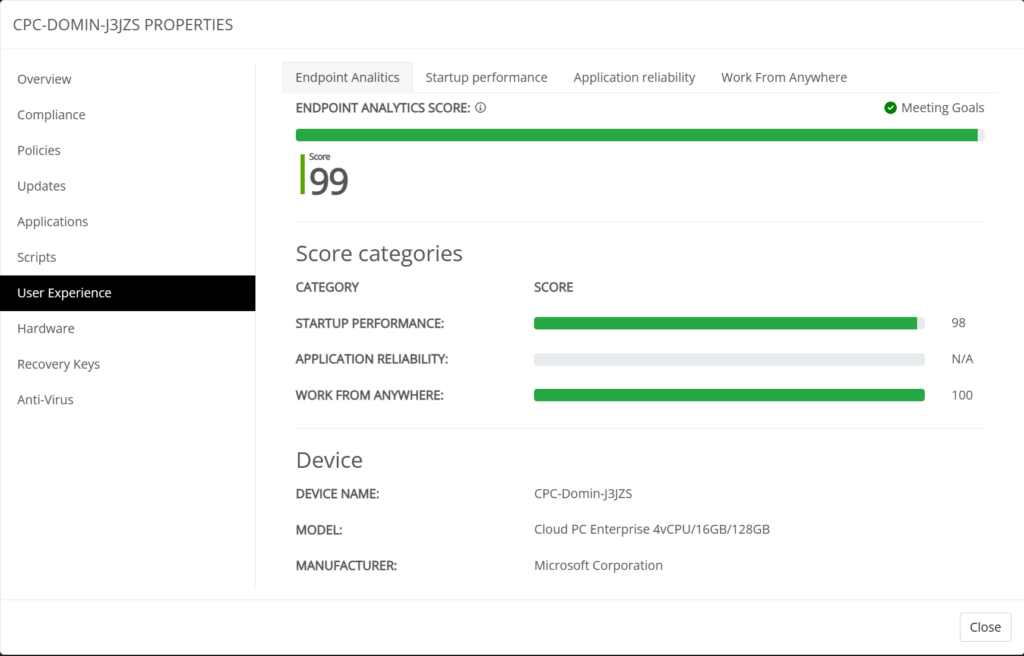
The User Experience tab pulls information from Endpoint Analytics and shows the information in the same way as Microsoft Intune does and displays information on the following topics;
- Endpoint analytics
- Startup performance
- Application reliability
- Work from anywhere
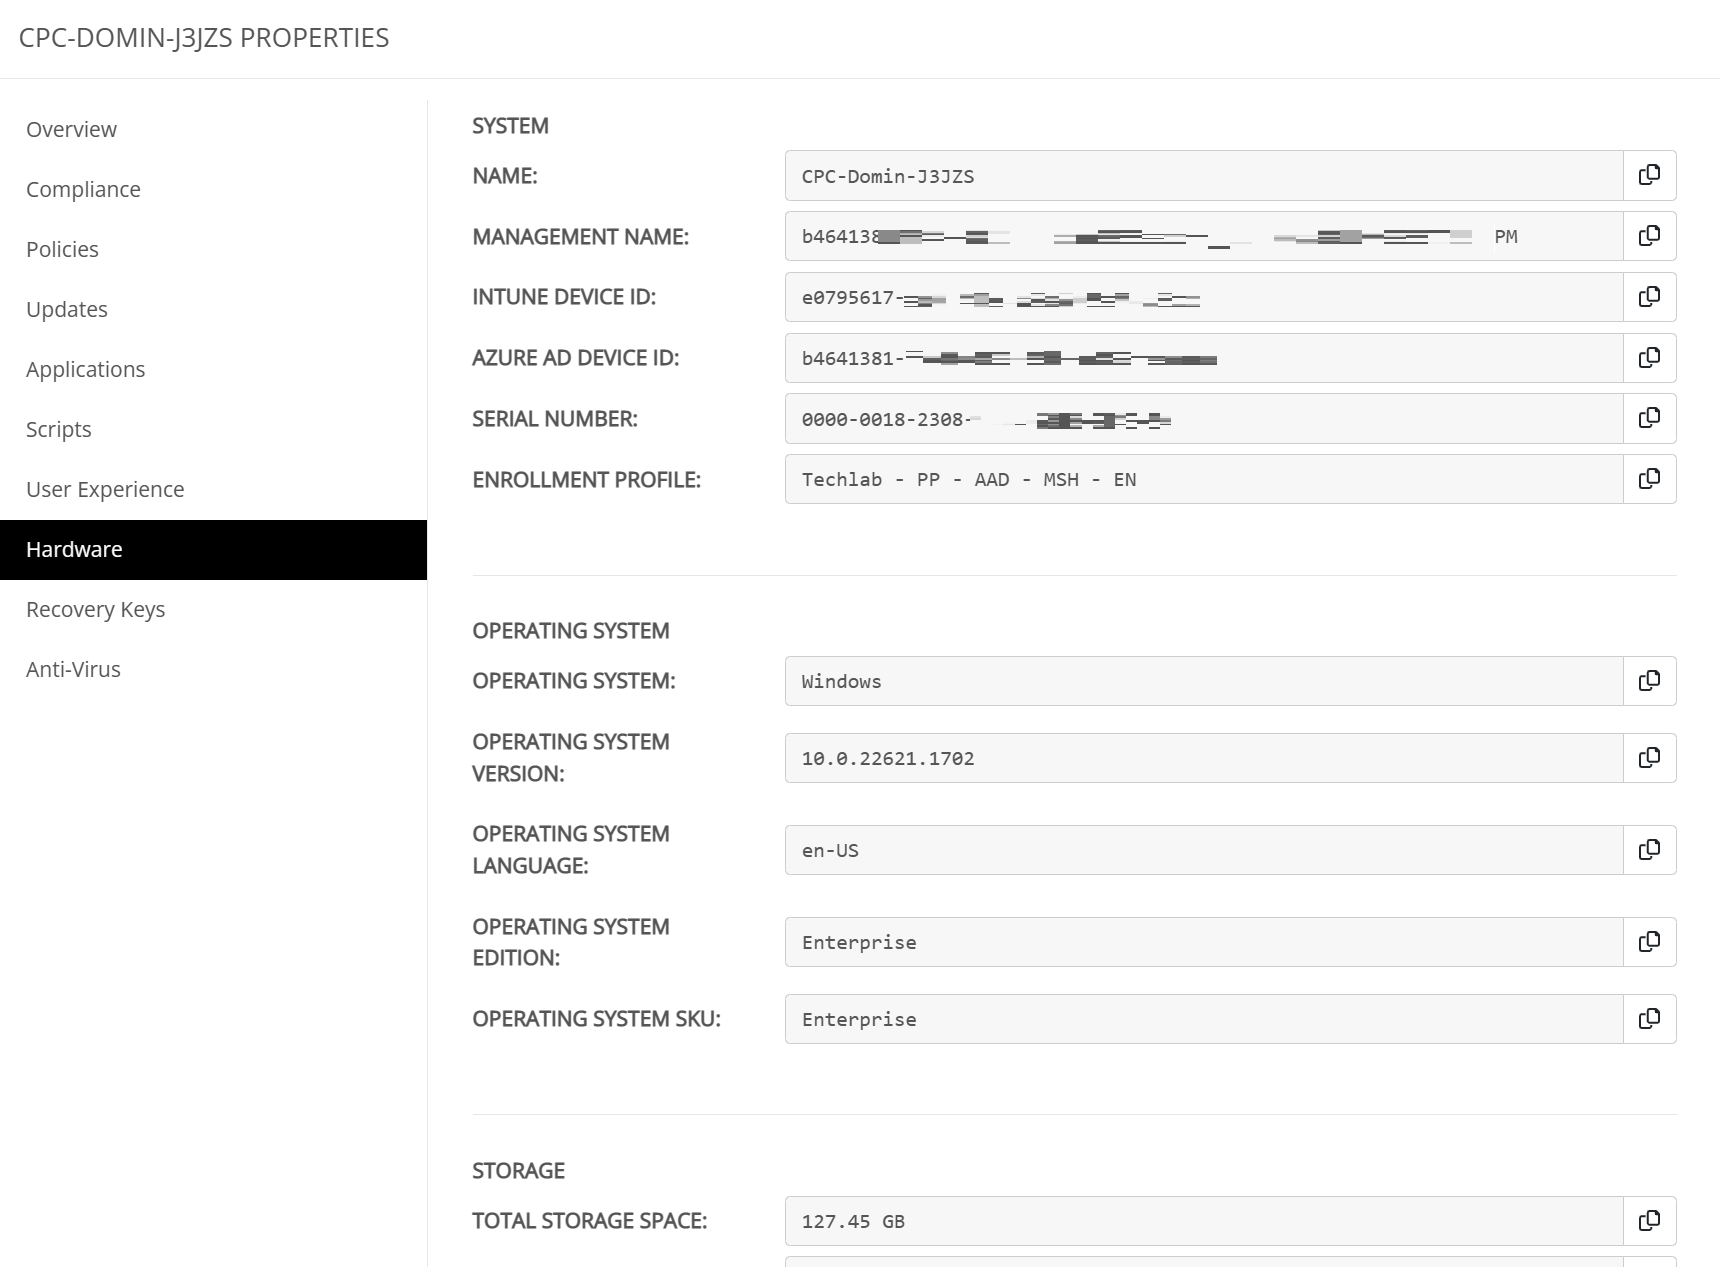
The hardware tab groups all kind of information about the device like;
- Intune and Azure AD device ID’s.
- Serial numbers
- The enrollment profile that has been used.
- Storage information.
- Enclosure information like IMEI numbers or TPM versions.
- Network details like carrier info, IP addresses etc.
- Operating system information.
- Other information like jailbreak status.
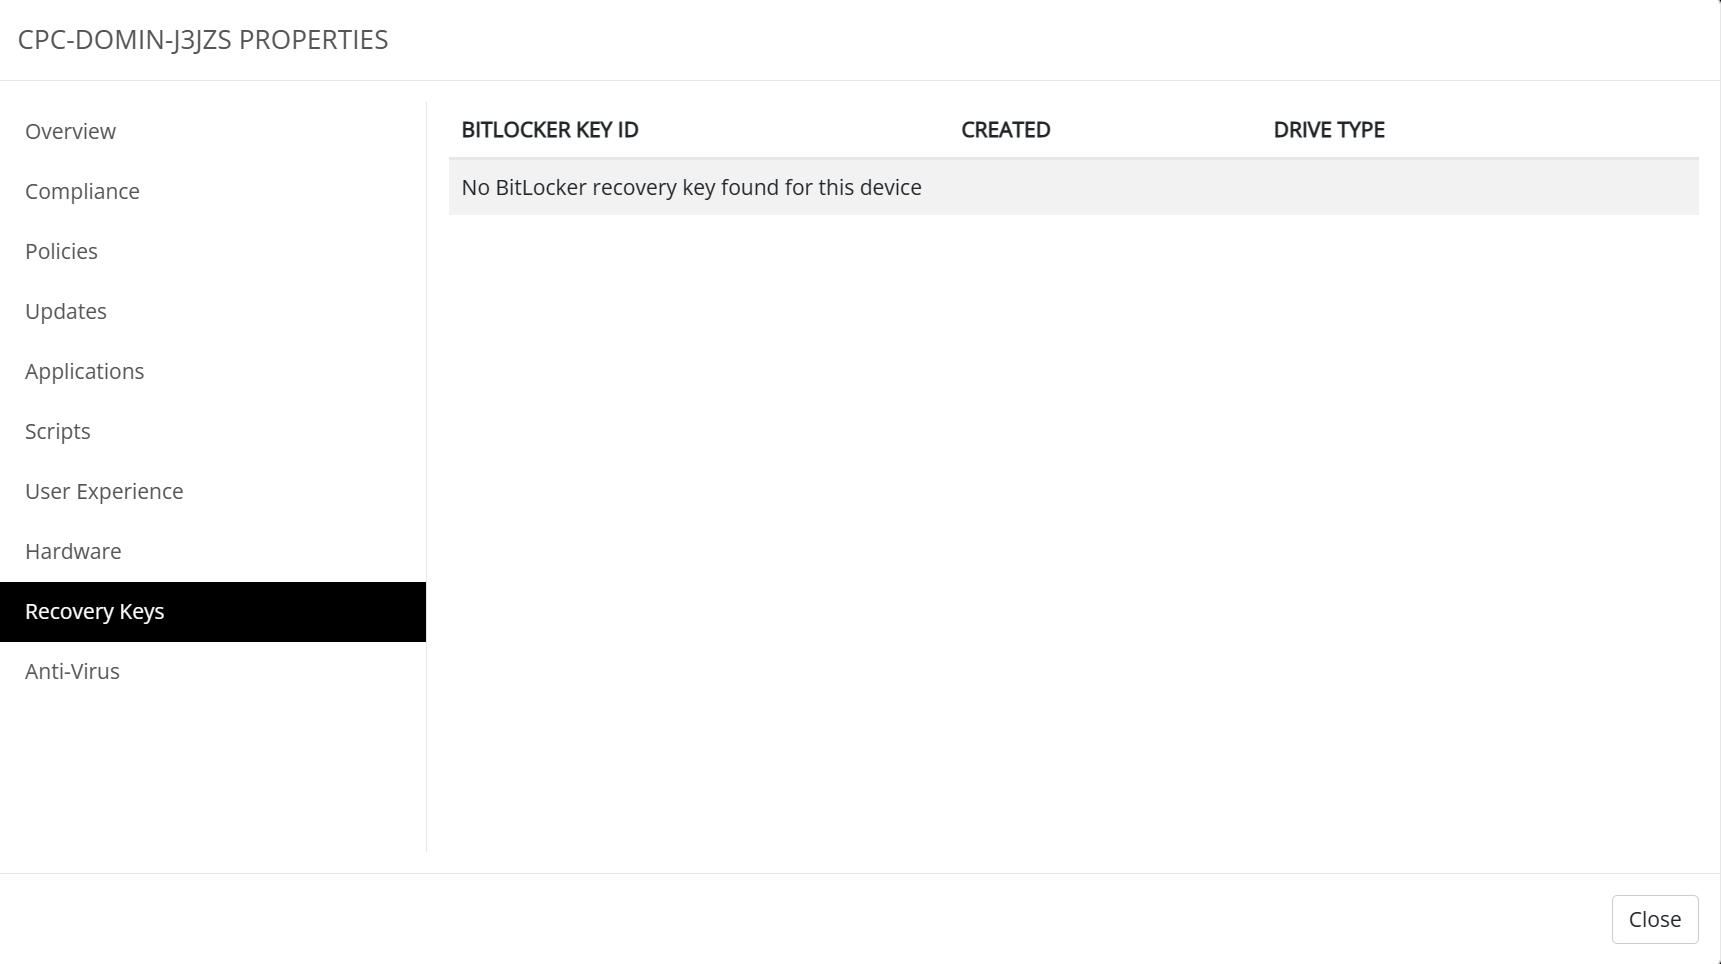
Cloud PC’s do not use Bitlocker because they are encrypted-at-rest. But if you have a physical device you would want to use Bitlocker to encrypt the local harddrive. The recovery keys can be found in the recovery keys tab.
You need to have a service account configured or this feature will not work.
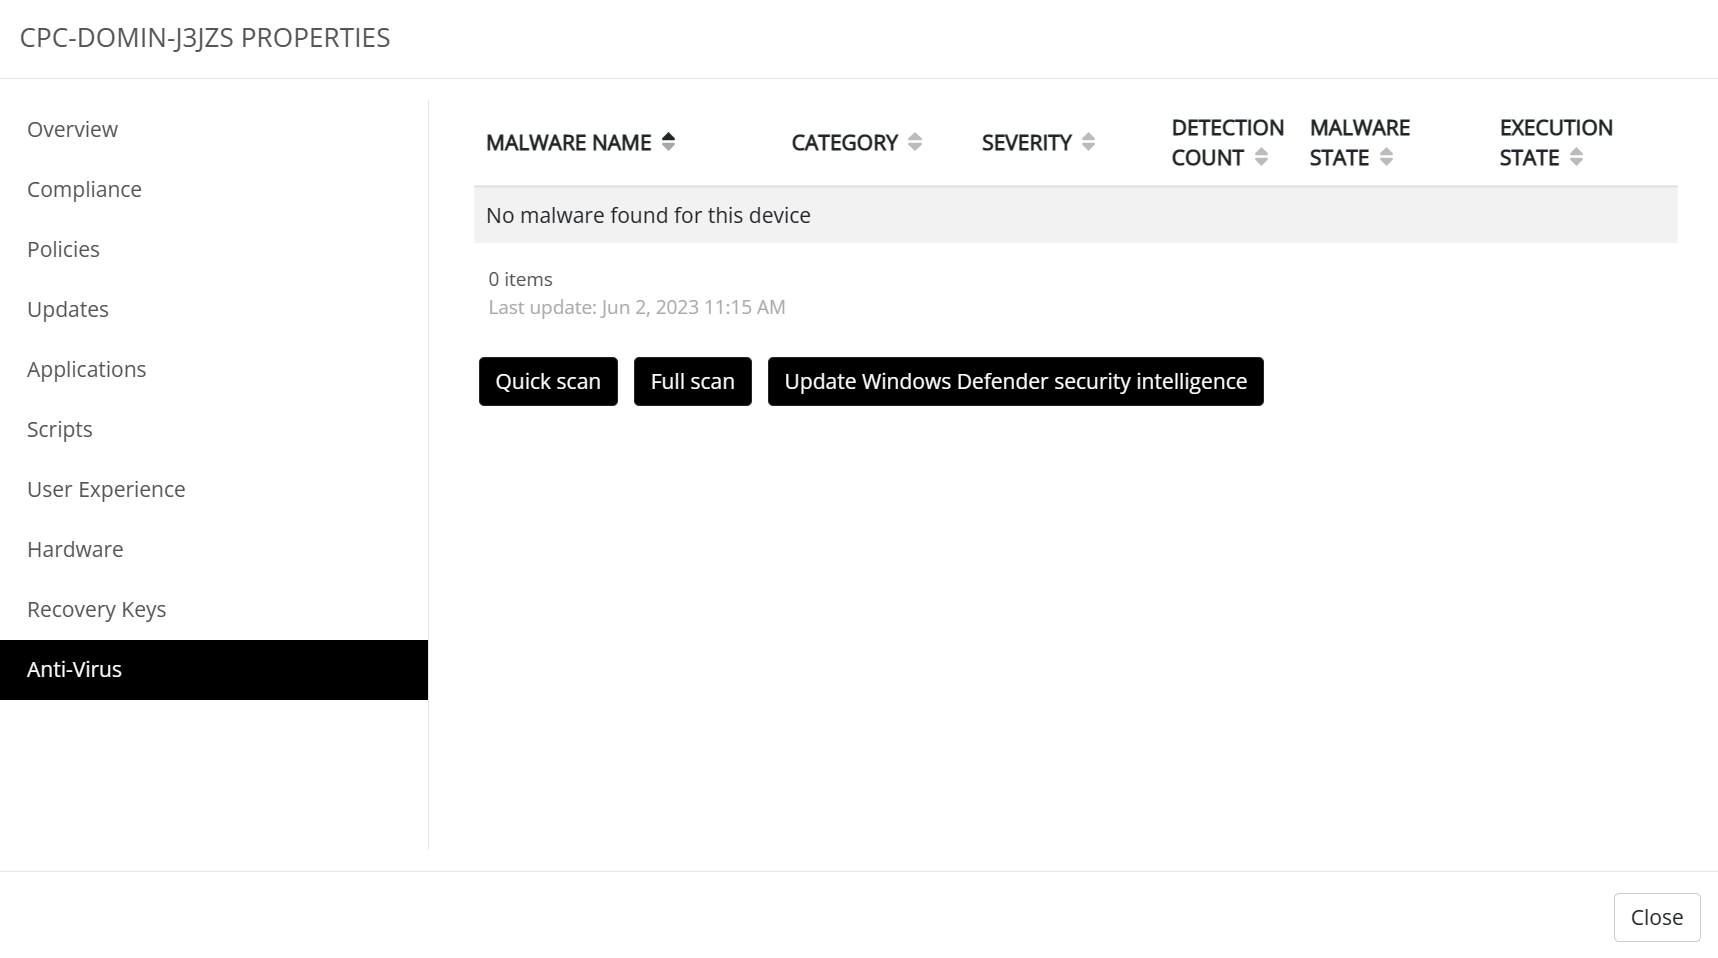
The last tab is called Anti-virus and provides a bit of information about the Windows Defender status. It will show if any malware has been found and you can perform some basic tasks like start a quick or full scan, or update Windows Defender security definitions.
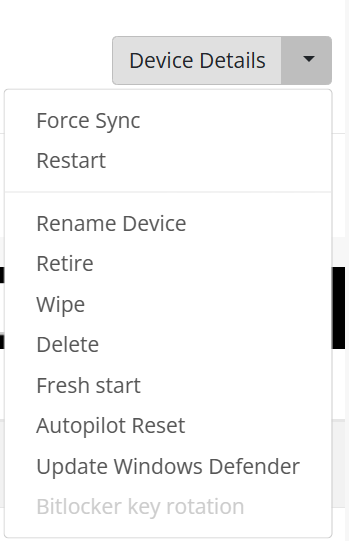
Admins can perform other tasks as well by selecting the desired task from the dropdown box;
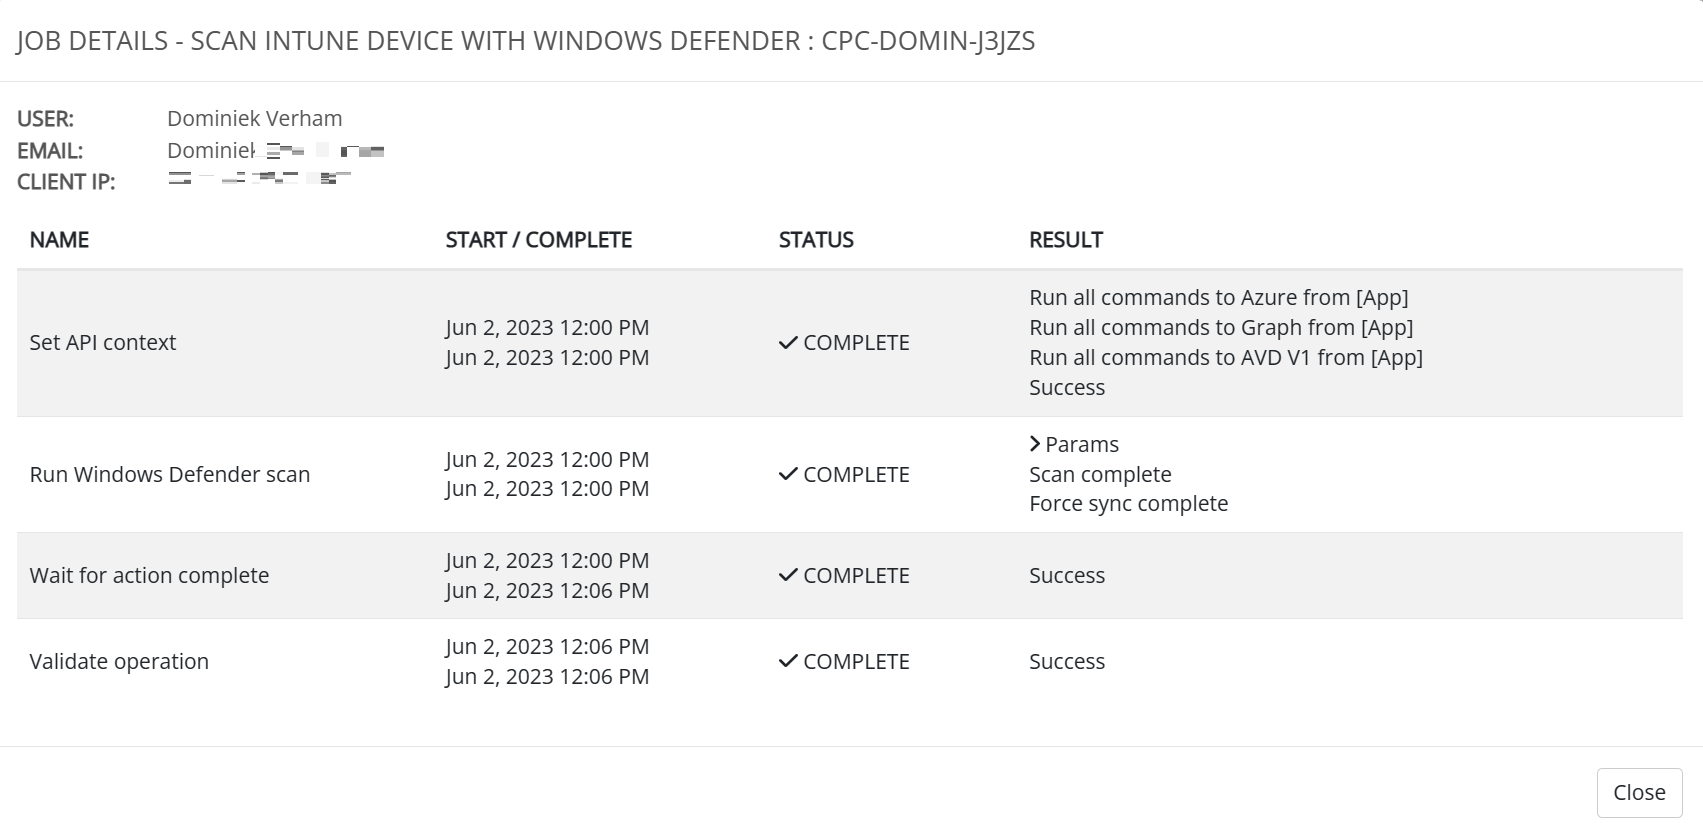
The Intune jobs section shows the tasks that have been performed and by who. I started a quick scan just recently and it shows up here;
Admins can get more information about the task by clicking on details.
Resources
I used the following resources for this post:
Nerdio Manager for Enterprise v5.0 release notes
Share this:
- Click to share on LinkedIn (Opens in new window) LinkedIn
- Click to share on X (Opens in new window) X
- Click to share on Facebook (Opens in new window) Facebook
- Click to share on WhatsApp (Opens in new window) WhatsApp
- Click to share on Telegram (Opens in new window) Telegram
- Click to print (Opens in new window) Print


