What’s up, everyone!
This post is part of a series I’ve been wanting to do for a long time now. It is about Azure Virtual Desktop / Windows 365 in combination with Nerdio Manager for Enterprise. It is a great third party tool that enables us to create, manage and optimize our Azure Virtual Desktop environment.
In the first part in this series I will show how to install Nerdio Manager for Enterprise (or NME from now on) and talk about the different moving parts.
I will link every post in the series in each intro.
Series – AVD and Windows 365 with Nerdio Manager for Enterprise
- Part 1: Setup Nerdio Manager for Enterprise
- Part 2: Configure Azure Files and Azure AD DS Authentication
- Part 3: Setup a host pool, app group and workspace
- Part 4: Ways to login to AVD
- Part 5: NME and MSIX
- Part 6: Custom Image for AVD
Prerequisites
At the time of writing, the following prerequisites are needed;

The starting point for this demo is;
- I have a Microsoft 365 tenant with an active Azure subscription.
- I have a global admin account
- I will use Azure AD DS as my Identity Provider. Here is a link if you like to setup Azure AD DS as well. Or if you prefer the steps as mentioned by Nerdio.
- The vNET and subnet was created during the setup of Azure AD DS. I changed the DNS for the vNET to point to the Azure DNS servers.
- My lab will use cloud-only accounts created in Azure AD. Since Azure AD DS will be used by NME and AVD, we need to enable SSPR. Once the user logs on for the first time, they will need to change their password. Once that process is done, Azure AD will save a password hash in Azure AD DS.
Step 1: Deploying Nerdio Manager for Enterprise to the Azure subscription
To start, go to portal.azure.com and log in with your global admin account. Open the Azure Marketplace.
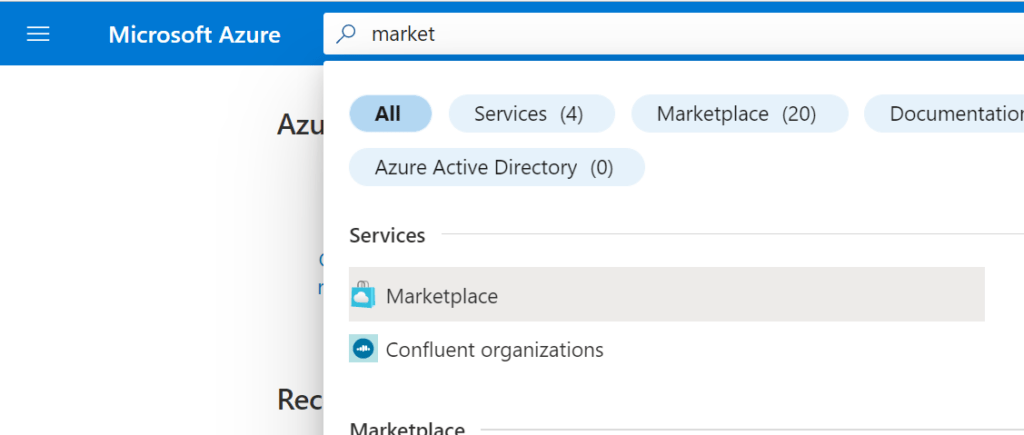
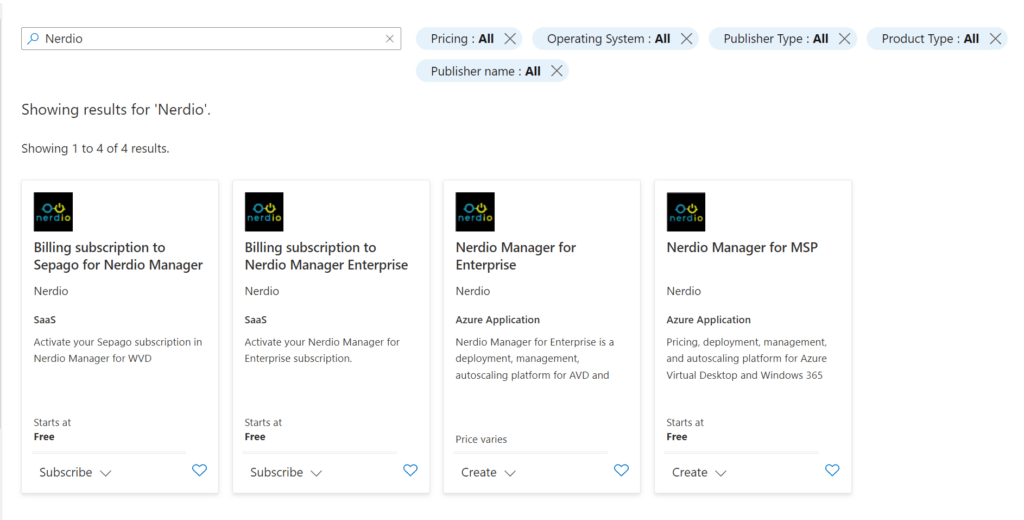
Search for Nerdio.
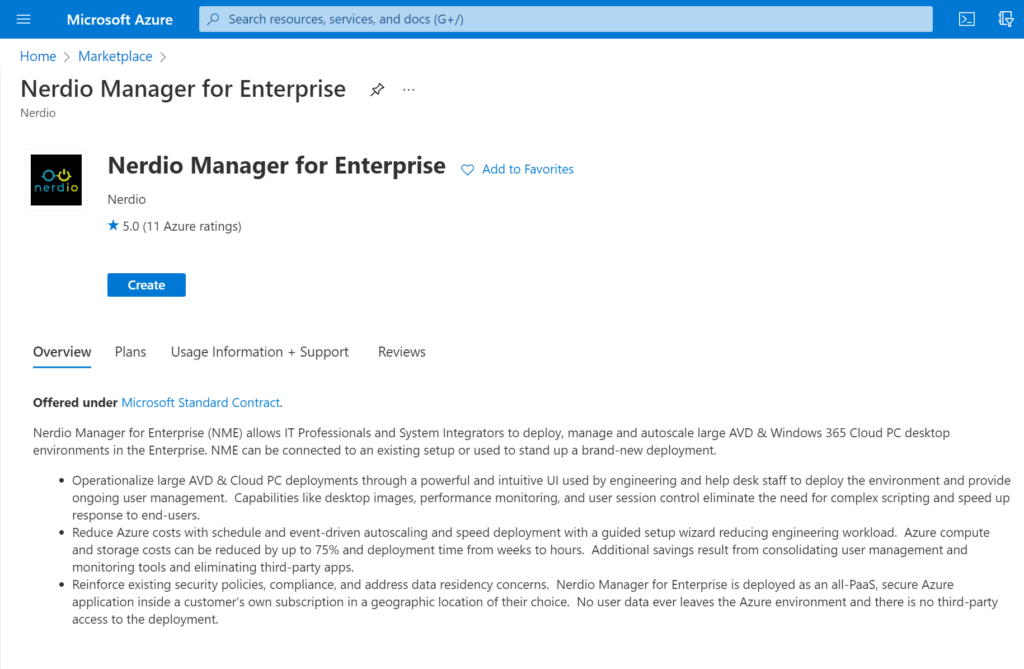
Click on Nerdio Manager for Enterprise and click on Create.
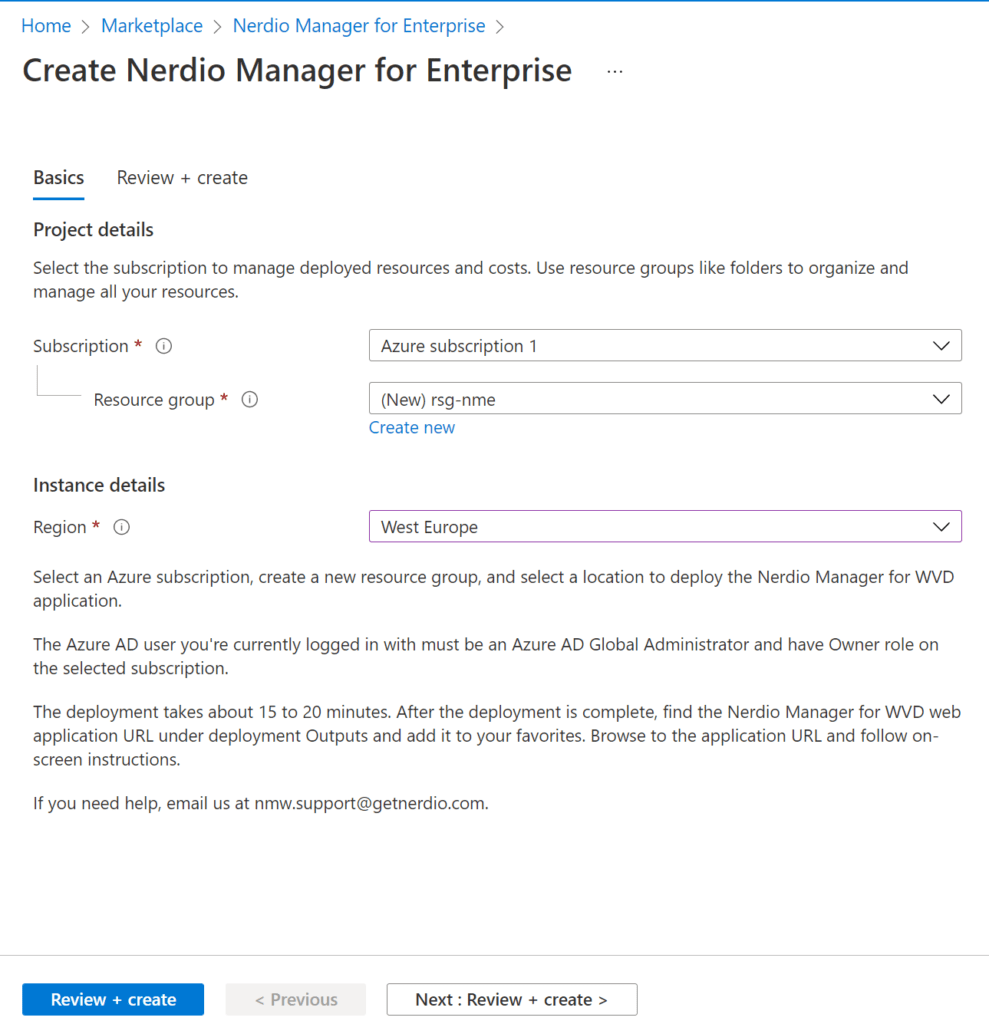
Fill in your Azure subscription. Select an existing resource group or create a new one. I made a new one; rsg-nme.
Choose your region.
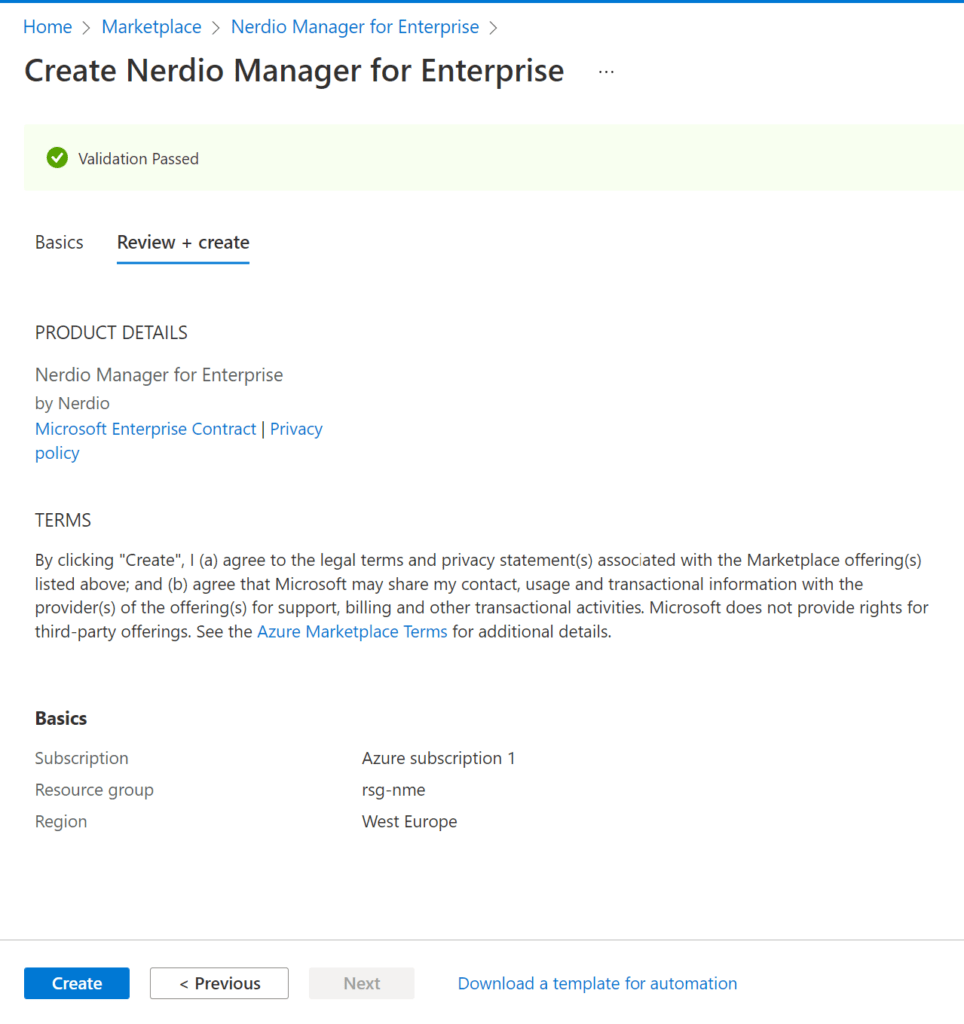
Review the settings and click on Create.
The deployment will start.
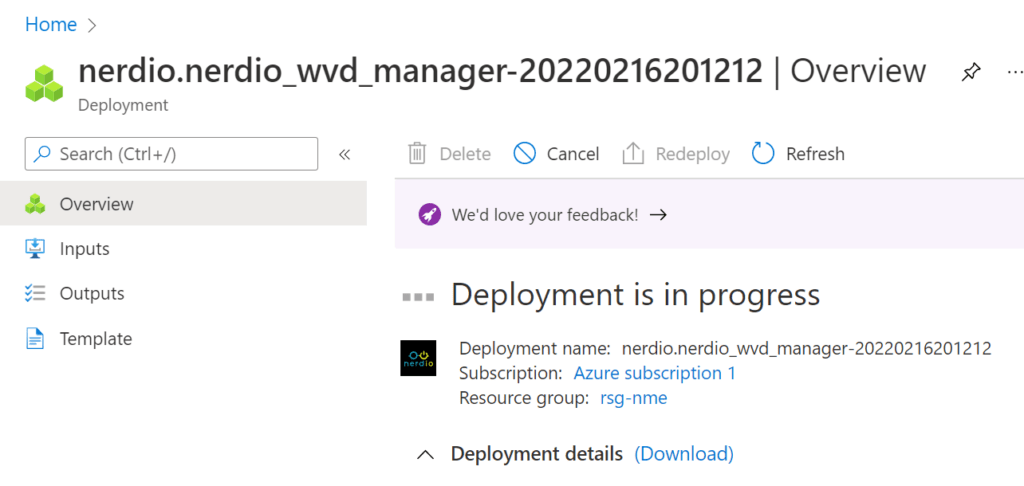
Wait until the deployment is complete.
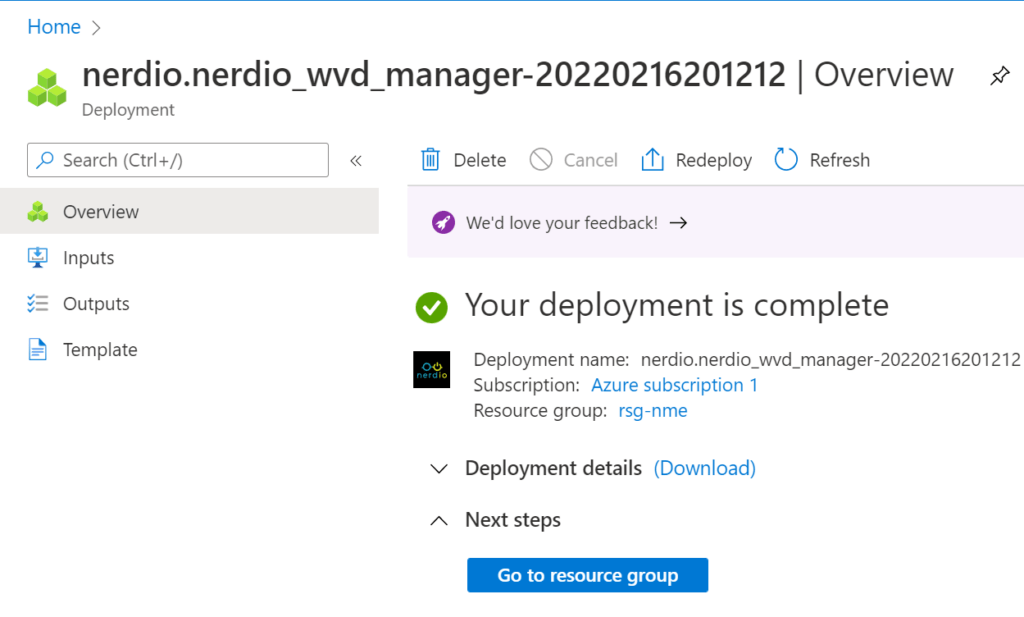
Now that all the moving parts are installed, let’s find out what the NME URL is.
Go to the resource group.

Click on the app service.

The URL on the righthand side is the admin URL we need to configure NME.
For instance:
https://nmw-app-url.azurewebsites.net
Step 2: Initialize Nerdio Manager for Enterprise
We need to initialize the environment before we can login. The NME page gives us a Powershell command we need to copy and paste into the Azure cloud shell. Make sure the account is a global admin and subscription owner.
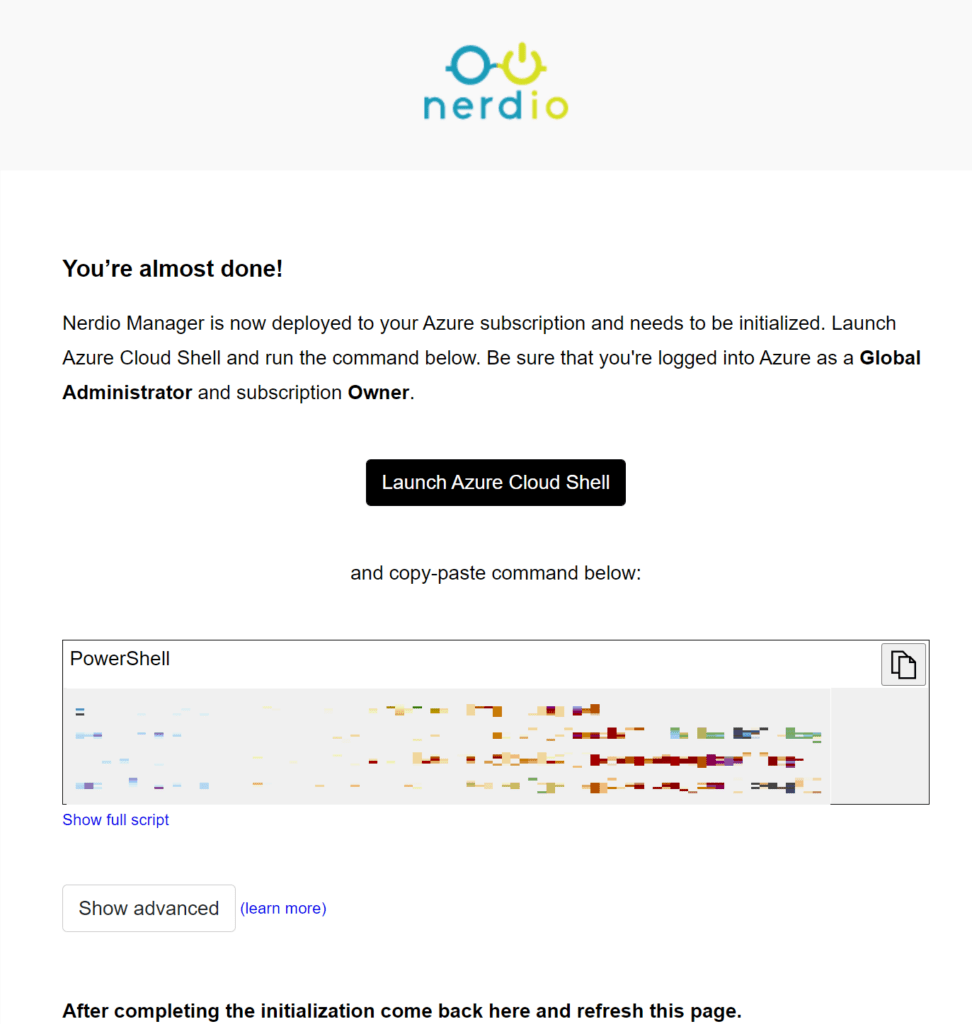
Click the copy icon on the Powershell box and click on Launch Azure Cloud Shell. Click on Powershell.
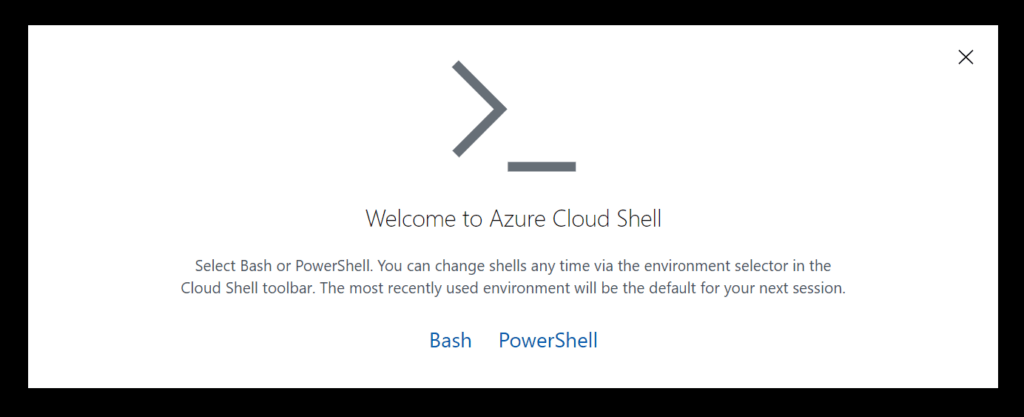
The following message will pop-up if there’s no storage mounted. If this happens, select the subscription and click on Create Storage.
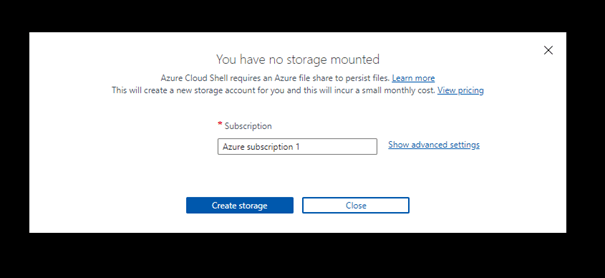
The Azure cloud shell will load.

Paste the Powershell command and wait for it to complete. The command is done when the message Deployment completed successfully appears.
Now that NME is initialized, we can proceed to configure NME.
Step 3: Configure NME
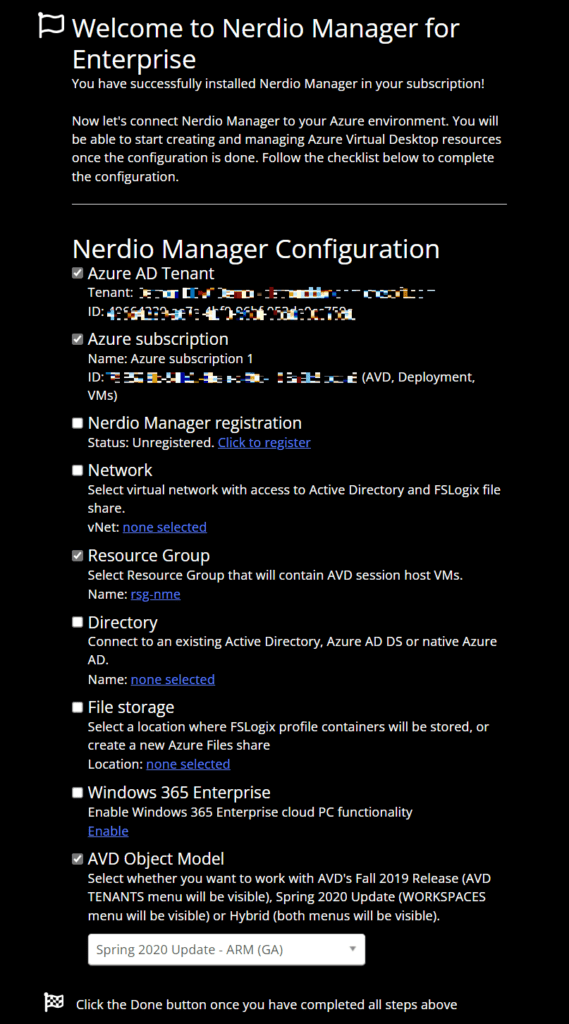
Click on Click to register. Fill in the details to register Nerdio Manager.
Next up is to configure the network. As mentioned before, make sure DNS is set to the Azure AD DS servers. Select the Resource Group, the Network and Subnet.
Choose your directory from the dropdown list and fill in the required fields.

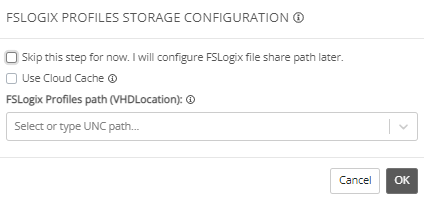
I will setup the File Storage location later on, so for now I chose to skip this part.
At this point I do not meet the requirements to enable Windows 365 Enterprise cloud PC functionality. So for now this functionality will be disabled.
Choose the relevant AVD Object Model. I chose the latest version which was at the time of writing; Spring 2020 Update – ARM (GA).
Click on Done. We are now asked to grant admin consent.
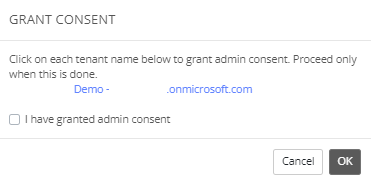
Click on the name of your tenant and grant the admin consent.
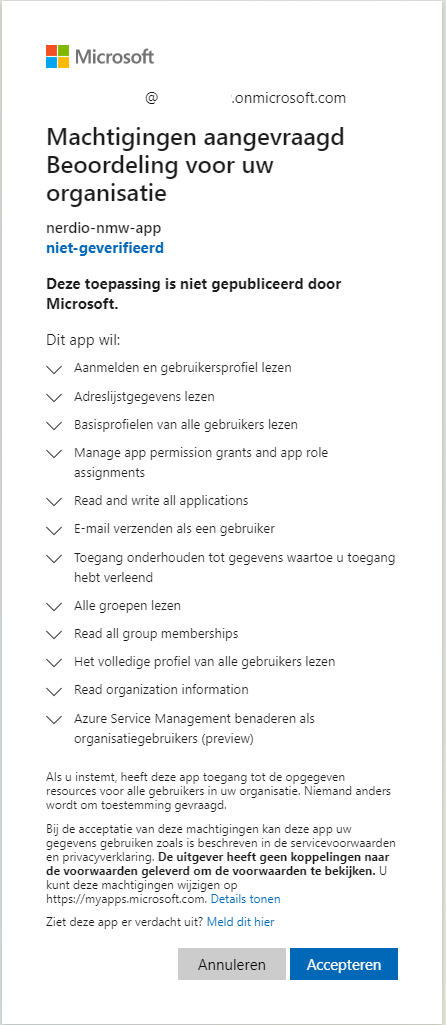
If everything checks out, the message ‘Admin Consent granted’ will appear. It’s OK to close that tab in the browser.
Next, check the box on ‘I have granted admin consent‘ and click OK in the Grant Consent message that is still waiting for us in the NME Portal. The page will automatically refresh.

And we are done! Nerdio Manager for Enterprise has been setup.
Usually I’ll try to keep posts short and sweet, but for this post I chose to describe the process in detail. I hope this detail will help everyone, even when others do not have an environment to test with.
As mentioned before, this post will be part of a series. So keep in touch to see the other posts come online!
Troubleshooting
Nerdio does a great job of documenting the installation as well as other tasks. These documents can be found on their support site.
Share this:
- Click to share on LinkedIn (Opens in new window) LinkedIn
- Click to share on X (Opens in new window) X
- Click to share on Facebook (Opens in new window) Facebook
- Click to share on WhatsApp (Opens in new window) WhatsApp
- Click to share on Telegram (Opens in new window) Telegram
- Click to print (Opens in new window) Print


